Wednesday, July 30, 2014

Post 19: The Kitchen Sink

I tried to come up with a clever title for this post that incorporates the phrase "everything but the kitchen sink," but since our sink is not the only thing needing an update, I left it plain and simple.

Simply put, our sink was gross.


It was rusted out and needed to go!


This is after cleaning it with bleach for the  photo...


Yuck!


At least the faucet wasn't bad, though.


As long as you don't have to turn the water on!


Yikes!  Okay... it was time for an upgrade.


We hopped on over to Lowes and bought ourselves a granite composite sink that would blend with the counters.


Who's cabinets honestly look better than this?  Haha... Okay, ours do now.


After clearing out that mess, we were ready to get started disconnecting and removing the sink...


...with a little help from Lucy and Gus, of course!


Alan loosened the sink and we pulled it out of the counter top.


We were left with a nice hole in the counter.


Of course, this photo was necessary.


There was a lot of grime to clean up from the old sink.


Nothing a blade and some granite cleaner couldn't solve!


After cleaning up that mess, Alan tried placing the new sink in the hole.  Unfortunately, it was a little snug, so he was going to have to cut the granite tile.


We knew from our stove top experience that this can be really messy, so we covered everything with blankets and tarps to minimize cleanup.


Alan used a diamond blade drill to shave away some of the granite tile around the sink.


See the dust?  It smelled pretty bad too...


After dusting the counters, Alan got ready to install the new sink for real.


We bought a faucet that would take up one hole behind the sink for the faucet and one hole for a soap dispenser.  Alan popped out a second hole with a hammer and screwdriver.


He used his dremmel tool to widen the hole for the soap dispenser to fit.


Not bad!


We placed the sink in the hole one more time to make sure it would fit.  We were good to go!


Alan used caulk and created a bead all the way around the hole.  This would help to keep the sink in place.


Alan put the sink in place and made sure it was secure.


Now for the faucet.


We fit all of the tubes through the faucet hole that was pre-cut in the sink.


Then, we connected those tubes to the existing tubes from the house.


Alan secured the faucet in place from under the sink.


We added the top of the faucet to the base.


Finally, we needed to connect the drains.


Sticking with oil-rubbed bronze, we got a fixed-post assembly and a garbage disposal assembly.


Alan used stain-free plumber's putty to secure the drain parts to the sink.


Using his fingers, he put a small amount of the putty around the curve of the drains where they would rest in the sink.


Alan placed the drain in the sink and hooked it up to the garbage disposal underneath.


He repeated these steps with the second drain.


After putting the plumber's putty on this one, Alan noted that we probably should have avoided getting any on the threads.


After correcting this, he secured and installed the second drain.
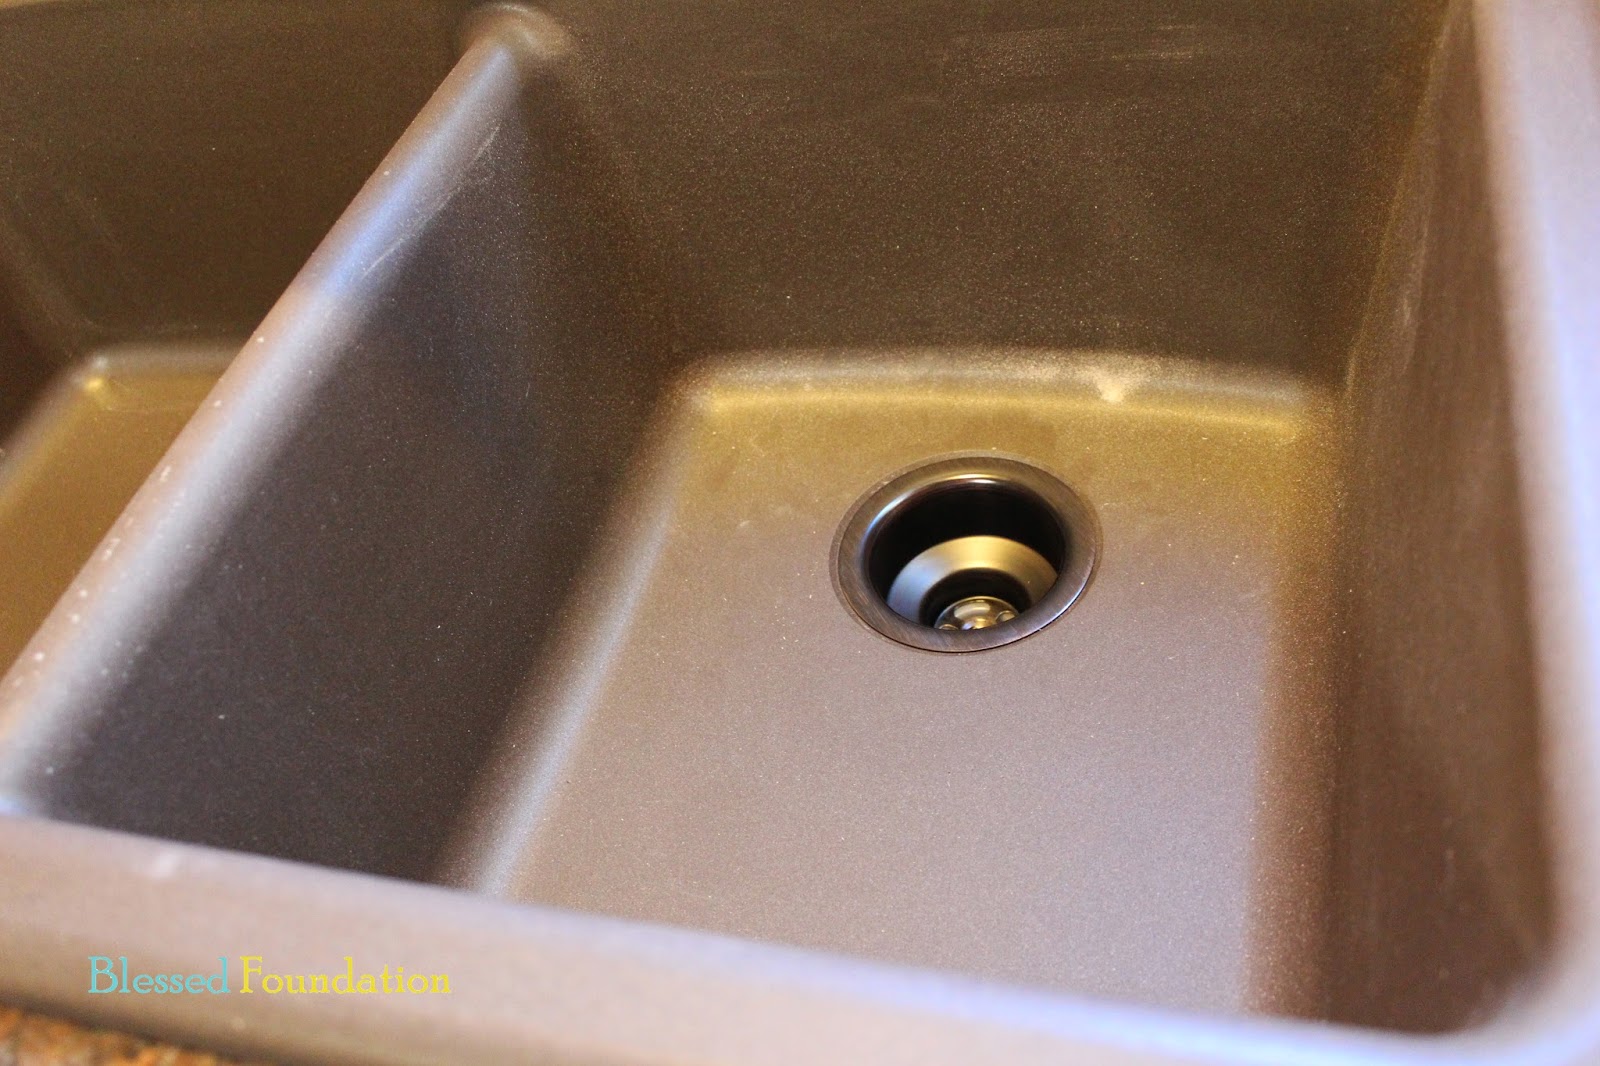


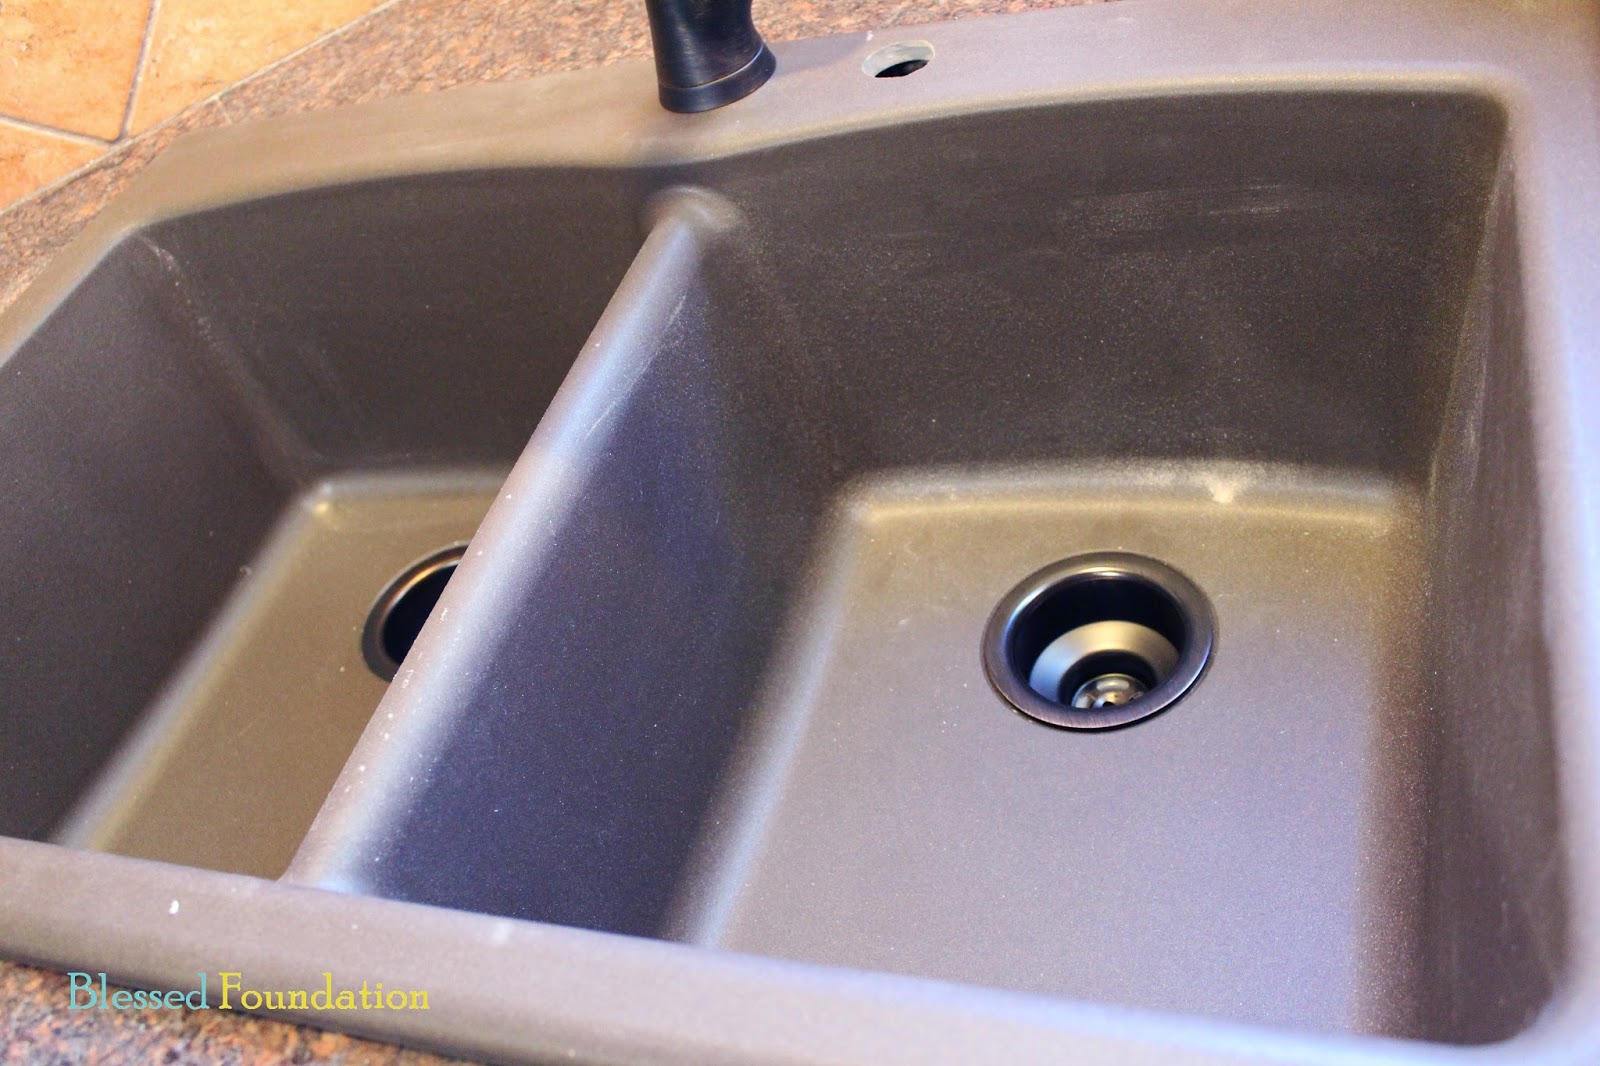
We screwed in the soap dispenser and we were ready for dishes!
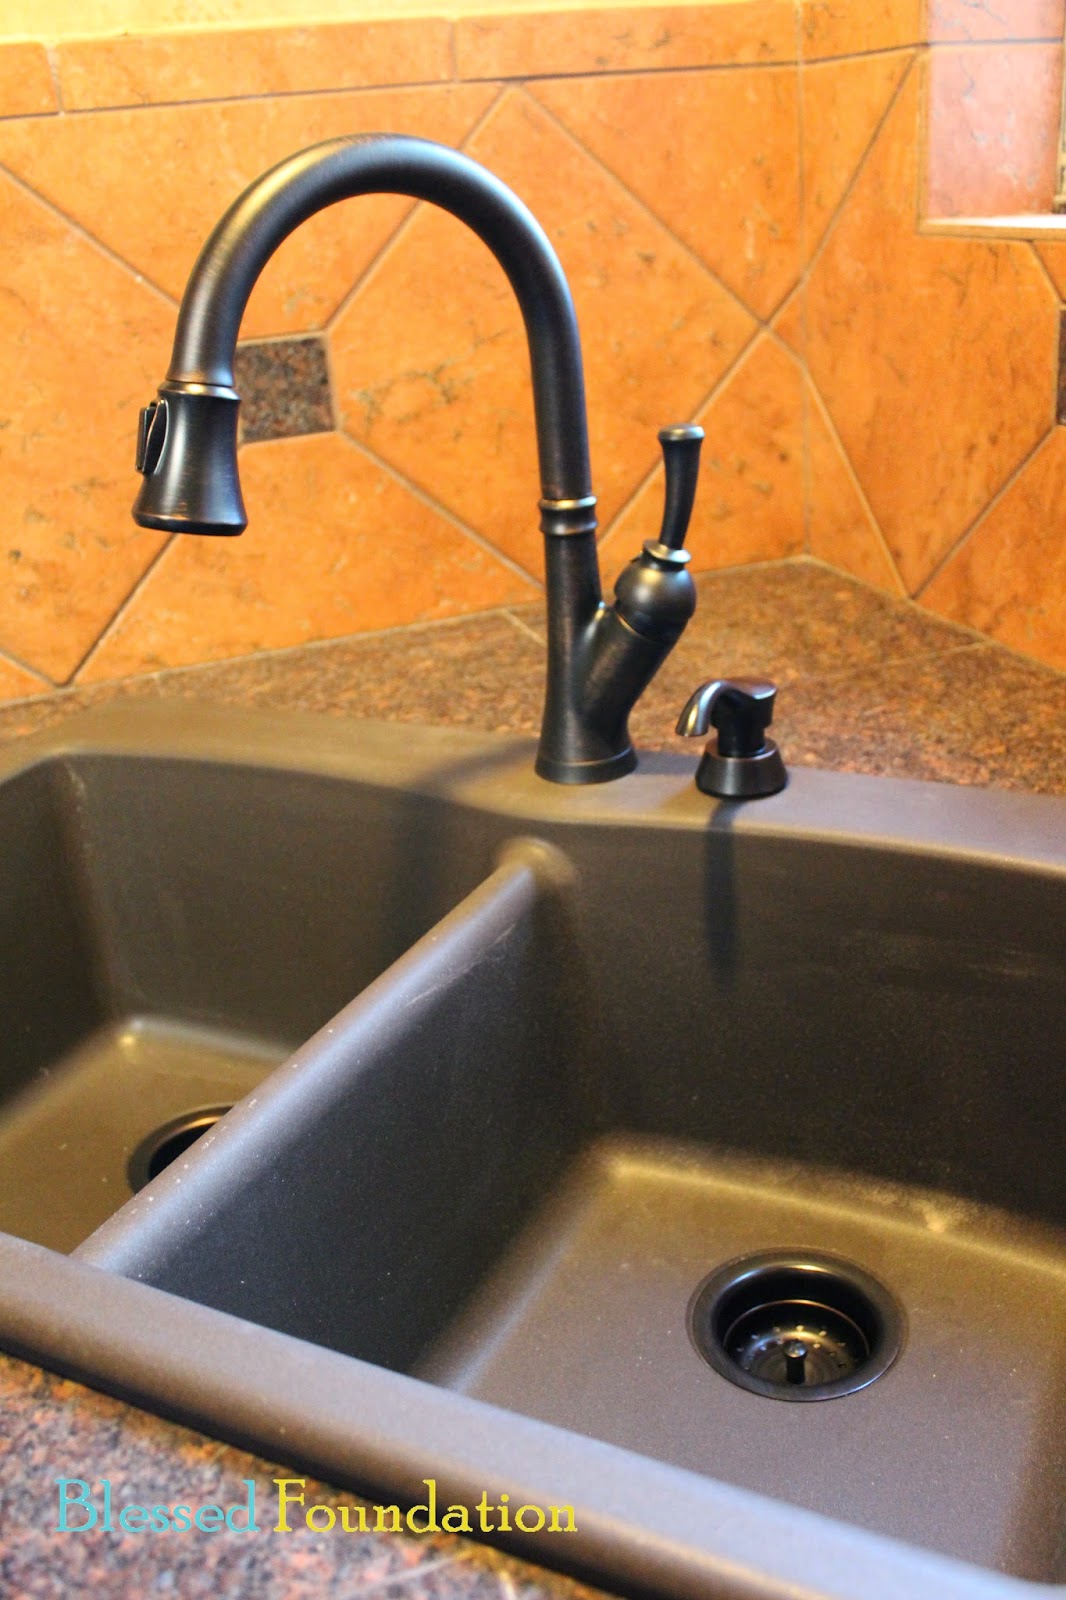

Well... no rush.


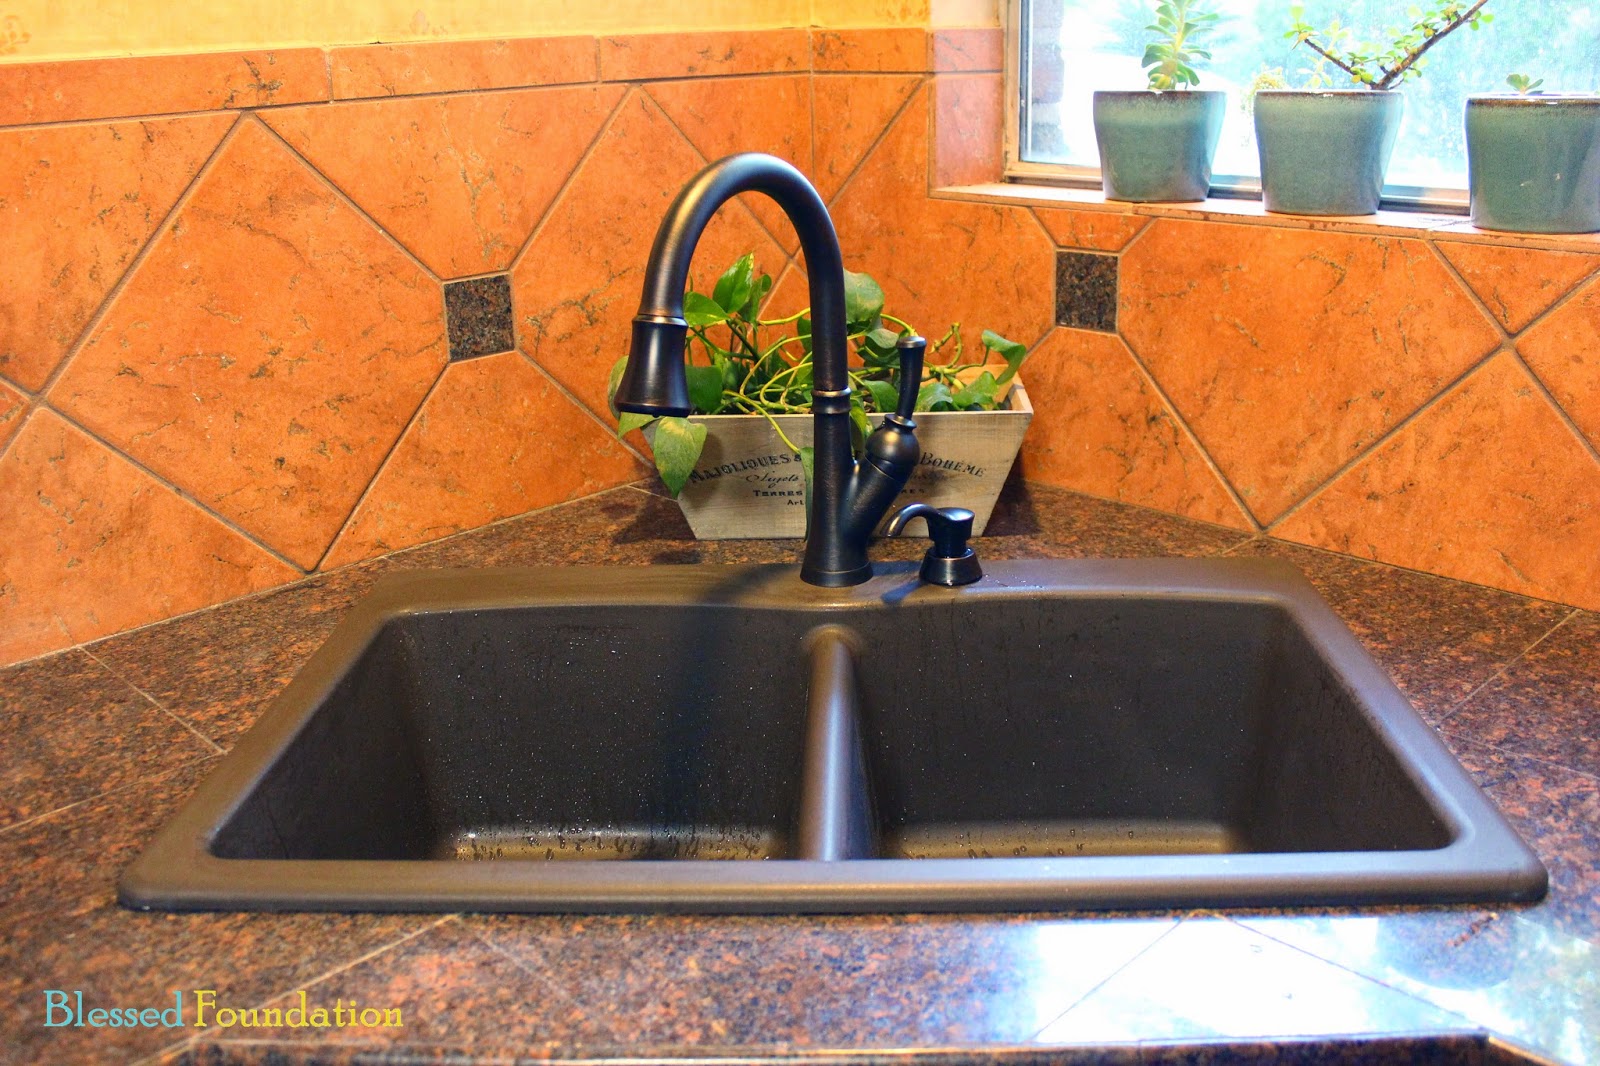
From ew...


To ah!  We love the difference.  What about you?

Hey!  Remember this?


I don't know about you, but I'm pretty tired of looking at these chairs in my living room.  Let's talk about reupholstering!  Click here for my first furniture re-do!

Wednesday, July 23, 2014

Post 18: Dining Room Part 6 -- Prime and Paint

Today, we'll show you how we finished up the dining room project!

We left off with a textured room.


To finish the room, we needed to prime and paint everything.  Alan started by ensuring that all holes and seams in the trim were patched and sanded and then we got to taping the room.


We bought a paint sprayer and wanted to try it out by priming the room with it.  To do this, we needed to make sure EVERYTHING was covered that shouldn't be painted -- including the entries to the room.


We taped the window and the floors really well.


Here are a few last looks at the unpainted trim:


I wish I could have gotten pictures to help describe the paint-spraying process, but the room was sealed off and I didn't want to ruin my camera!  Alan filled the sprayer with primer (he did this several times to coat the room) and slowly walked around the room, coating each wall.  He wore long sleeves, long pants, a hat, and a mask to keep the paint off of him and out of his lungs.  After about 15 minutes, the room was coated!  Not bad to paint a whole room!

The weight of the paint did pull down some of the plastic on the windows, so we got some over-spray, but this came off easily with a blade.


We sure are glad we hung the tarps, though!!


There was a little white mist for a few minutes after Alan sprayed the room with paint, but after that settled, the room looked so clean and bright!


It was so clean that we though about leaving it white... for about 2 seconds!


On to painting!  We started by painting the trim a glossy white.


These pictures serve as proof that I really do help with projects (and apparently didn't brush my hair)!


After the trim was painted, we let that dry before beginning to paint the walls and the ceiling.


We knew we would use the same beige on the walls of this room that we had used in our bedroom -- Sherwin Williams Kilim Beige.  For the ceiling, though, we wanted to do something a little bolder.

We took the same Sherwin Williams paint swatch that we used for our living room and moved one color darker from Rainwashed to Quietude.


It looked so dark when I first started painting...


...but as it started to dry, I knew I would love it!


On to paint the walls!  Alan had been working outside all day while I was painting the room.  He was so great to come in after a long day and finish up the ceiling and the walls!


Remember this?  We started out with a ceiling fan, mirror, doors, and old blinds in our dining room...


...and ended up with our biggest transformation yet!


(Don't mind our table and chairs -- that's a project for another time!!)


I love it!  Now we have a place that we are proud to bring our guests.  What do you think?


Now that our dining room is complete, we were ready to move back to the kitchen to tackle one of our biggest annoyances.  What is it?  Find out here!

Thursday, July 17, 2014

Post 17: Dining Room Part 5 -- Texture

Texturing.


We've only had one experience with it so far -- read more about it in our entryway post!  With as much wallpaper as we have in our house, though, I think we will get pretty good at it!


After pulling down the wallpaper in our dining room, we were ready for our second texturing project.  We didn't want to get texture on anything but the upper half of the wall, hence, our funny tape, newspapers, and drop cloths everywhere.  These helped tremendously!


Alan mixed the mud to a milkshake consistency and then used the hopper that my dad loaned us to get to texturing!


In about 10 minutes, the job was done!


It's hard to see, but the walls are textured in this picture.  You can see the drop cloth on the left pulled away a little because of the weight of the mud.


Here's another view.  The chandelier is wrapped up because we were getting ready to prime the whole room.


Next, we'll show you how Alan used his paint sprayer to prime everything but the floor (and most of the window)!  Click here for the details!


Thanks for visiting!