

When we bought our house, we realized that our new living room was a much bigger space than the living room in our apartment, so we had a lot of unfurnished space to fill. I had been wanting to buy a pair of living room chairs for a while and so this seemed like the perfect time.
I started looking all over stores and the internet for chairs that might look good with our sofas, but I just ended up discouraged. I wanted a pair of matching arm chars that didn't look too modern/out there and that would bring in the blue/cream tones accented in our living room. Not only was I struggling to find a chair that I liked the build AND the fabric, but when I found a chair I liked a little, the price tag was turning me away. (Remember, we needed two chairs!)
Below is a picture of some of the styles/colors I like, but even these chairs (which were closest to what I was looking for) still weren't quite the color, style, or price I was looking for/willing to pay.
Walmart: I'm not crazy about the style of the arms
World Market ($179): I like that the fabric is a little different, but it wasn't very comfortable
Target: I like the style, but we didn't really want leather
Pottery Barn: Um... price!
World Market ($399.99): Price again (we needed two chairs for less than that price)

Needless to say, I was a little frustrated with my options. I looked online at Craigslist for chairs as well, but it was even harder to find chairs that would fit into our color scheme, looked comfortable, AND didn't look dirty/outdated/gross.
I knew if we were going to get chairs that I really liked in the near future, I was going to have to get a little creative. I'd been reading all over Pinterest about people who reupholster chairs at home. I consider myself pretty innovative and brave (at times), so I told Alan that I wanted to get two cheap chairs off Craigslist and reupholster them. I told him that it would save us so much money and it would be exactly what I wanted. After making sure that this project was really something I wanted to undertake, Alan jumped on board and lent his full *emotional* support. (Did it save us money? Yes! Was it exactly what I wanted? They're not perfect, but I'm extremely happy with how they turned out, so I'd say yes again!)
SO, now that I've explained my crazy to you, here's the project:
I found these chairs on Craigslist from a hotel liquidation sale. Basically, a guy had bid on and purchased all of the furniture/toilets/decorations from a hotel that was remodeling. (Apparently this happens pretty often in the hotel industry.) I watched as they were listed for $150 each and then went down in price about every week. Once the chairs were listed for $50 a piece, I contacted the seller. I offered $25 each for two chairs and he came back with $35 a piece. $70 for two chairs seemed okay to me, so we met up and loaded up with two new arm chairs.

Note: I will admit that I let this project drag on for MONTHS. Once I got started, I could finish a chair in just a few days, but with everything else going on in the house and life, the chairs got put on the back burner. Hence, the unfinished living room in this picture from way back when we first moved in. Anyways...
I ended up picking out two different upholstery patterns for the chair -- one for the front of the chairs and the other for the back and sides. I bought seven yards of one for $6.99/yard (for the front) and three yards of the other for $17.60/yard (for the sides and back) totaling just over $100 in fabric. So, I ended up with two chairs for about $170 (still less than just one of the new ones I liked)!

The chairs are very comfortable. I really like the style and think that they go very well with my couches. Obviously, the fabric wasn't working in our home, though.

But no worries. This would be fixed soon enough!

Some warnings about this project: I did not measure ANYTHING. I did not let the OCD/perfectionist in me out -- not even once -- during this project. Probably because I was so desperate to be done with the project. This isn't a perfect tutorial, but this worked for me and I was very pleased with how the chairs turned out.
Reupholstering Tutorial
Supplies
- Flathead Screwdriver
- Pliers
- Trash Can
- Blanket/Knee Pads
- Sewing Machine/Upholstery Needle
- Upholstery Fabric (I bought 5 yards per chair. This was a little too much -- I probably could have gotten by with 4 yards per chair)
- Fabric Scissors
- Upholstery/All Purpose Thread
- Batting
- Ripper
- Staple Gun
- Staples
- Chair for reupholstering

To start, I needed to unscrew the furniture legs. While I was doing this, Alan thought it would be funny to photobomb my picture. Thought I wouldn't notice, huh? Glad I married someone who can always make me laugh!


With the legs off, it was time to get to the fun part. "Fun" may not be the word, but if you're going to do this project, you might as well make the best of it! Get ready to start ripping out staples!

To do this, I used a flathead screwdriver to loosen the staples and some pliers to pull them out (if the screwdriver didn't pull them out all the way).

This took a few hours with Alan's help. It may encourage you to know that I took all the fabric off of the second chair myself and I did that in about 2 hours as well!

The key during this part is to remember the order you remove everything so that you can put the fabric back on in reverse order. This chair basically came apart from bottom to top and from back to front, so I knew I would be reupholstering the chair from front to back and from top to bottom. Also, it's important to keep every piece in tact so that you can use it as a pattern for the new fabric.

Not every staple has to be removed. I only removed the staples that I couldn't rip the fabric out of (I know that sounds vicious, but it's easier than removing each staple one at a time) or that was sticking out too far and be seen through the new fabric.

Progress was slow, but steady.


In general, I used the screwdriver to loosen the staples...

...and the pliers to pull them out. It helped me to loosen a row of staples and then go back with the pliers to remove them.

I didn't want a skirt on the finished chairs, so I didn't need to save this piece, but why not try it on for size?

I kept a bucket or trash can nearby to throw away scrap fabric, staples, cardboard, popcorn -- yes, there was quite a bit of popcorn in these hotel chairs... yuck!


After removing the bottom piece I set it aside. Since there was really nothing wrong with it, I would put it back on the chair when I was finished putting on the new fabric.

Alan and I continued removing staples and each piece of fabric piece by piece, taking note of the order we removed the fabric. We also labeled the pieces so that we could remember where each piece went and in what direction. (This was especially helpful with the side pieces -- I labeled them "left" or "right when facing chair," "top," and "floor" with arrows.)


I'm so grateful for Alan. His help made the project faster and more enjoyable!


Sometimes, we used the pliers to pull a piece of fabric away from the chair instead of removing one staple at a time. If you can do this, I recommend it!

The back piece was actually put on with tacking strips, so we saved those to reuse with the new fabric.


Under the arms of the chair, the side pieces were put on with tacking strips as well. If you're going to save these and reuse them, it's important to keep them flat and in tact. We did our best not to break any of the prongs off of these and label them so that we would know where they went on the material.


Sometimes we could just pull the fabric off and the staples would pop out of the chair.

We had to flatten out this tacking strips so that we could reuse it.

This is the side of the chair after removing the upholstery.

I took off the batting so that I could get to the rest of the staples.

Here's a look at the chair at this point. Remember, we worked from the bottom to the top and the back to the front. The front of the chair didn't look too bad!

So you know what you're looking at here, this is the back of the chair upside down:

Now, I had to remove staples from the top of the chair back...

...and the back of the arms.


Once we had enough staples removed, we could start pulling the fabric off of the chair to see where else we needed to un-staple it.


We're getting close!

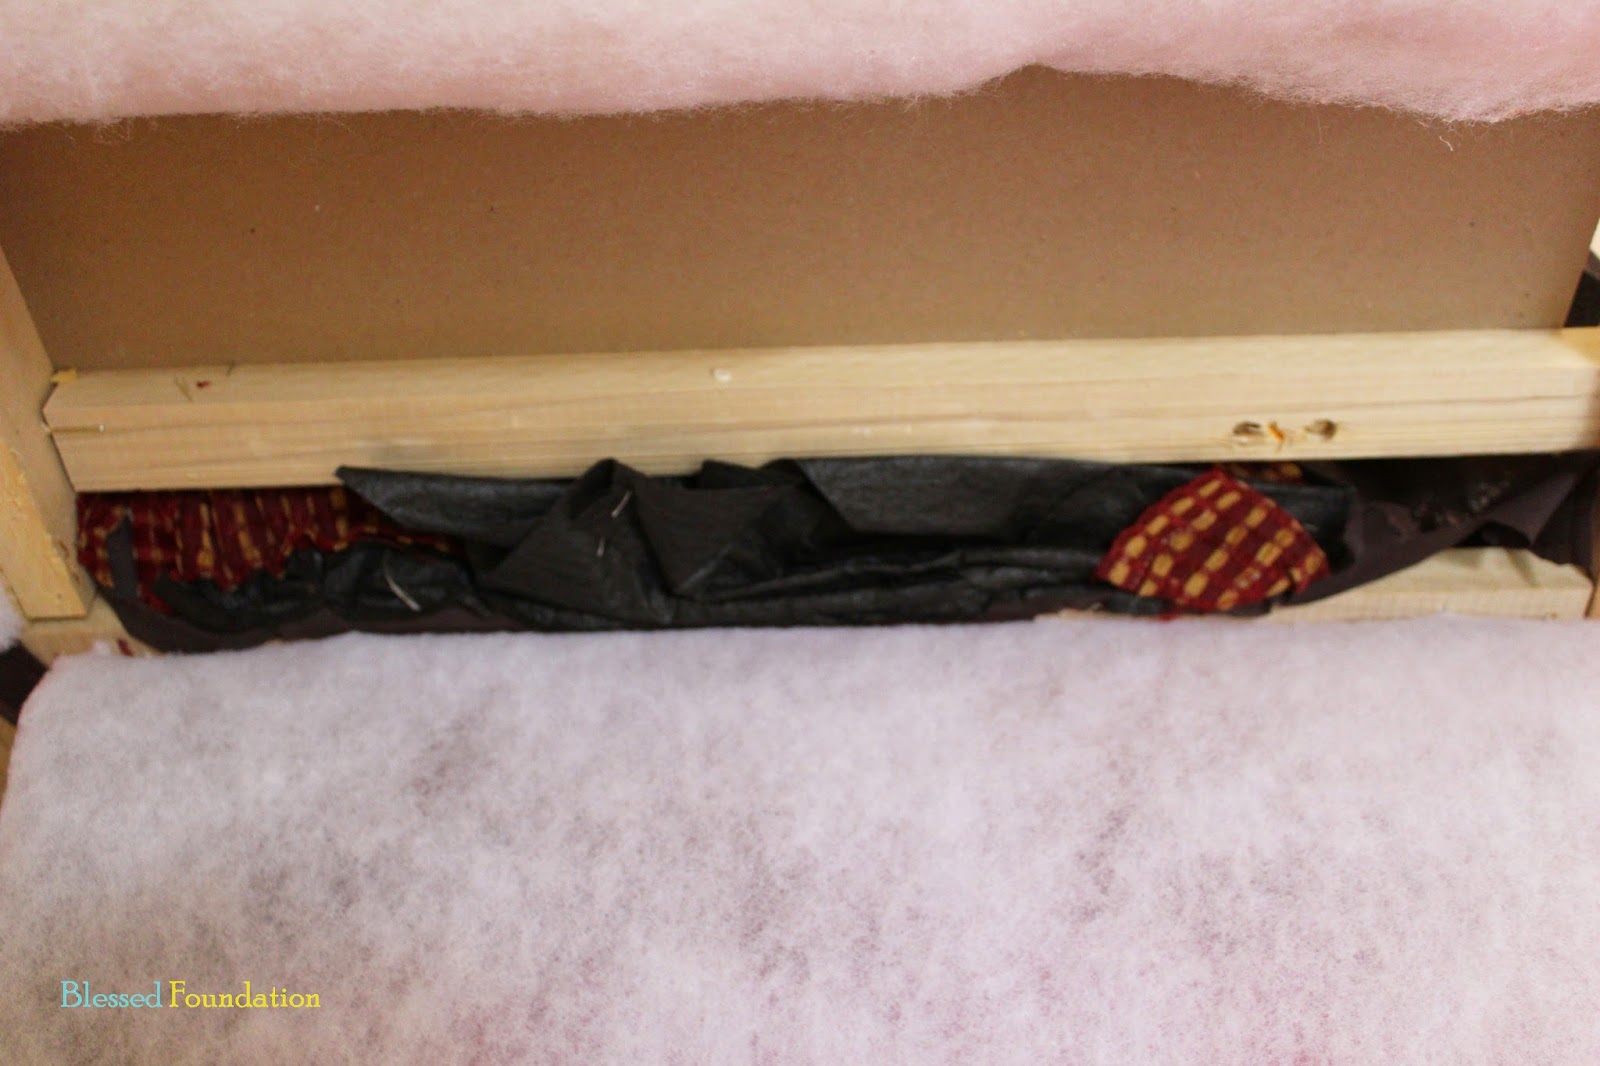
I removed the batting on the back to get to the remaining staples. (All of the pieces in the front were tucked back here.)


Here'a a blurry picture of the side batting after I took it off:

And another closer up. You can see all of the fabric that was tucked and stapled down there.

Finally! All of the fabric and staples were removed. We were ready to start putting the chair back together.

Again, this part of the project took us several hours working together for the first chair, but second chair went much faster. Click here to see the upholstery steps!