

When we left off, Alan and I had just finished taking all of the red fabric off of the living room chairs. Click here for the first part of this tutorial and a list of supplies you will need.
Today, I'm going to show you how I replaced it with the blue material to go with our living room decor.


Since I wasn't going to put a skirt back on the chair, I needed to make sure that it would look fine with a solid piece of fabric wrapped around the front. The batting ended about halfway down the front of the chair, so I cut some additional batting to make it smooth and even.


I stapled this right to the chair so that the fabric would not show a crease or indention once I laid it over the front of the chair.


Now we were ready to start reupholstering!

I picked two fabrics to replace the red on the chairs. The blue would be for the front of the chair and the green/brown/cream fabric would be for the back and the sides of the chair. (I made sure to wash the fabric before cutting to put on the chair. I'm not sure if this is necessary, but it definitely smelled much better!)

I didn't get a picture of the next step, but I took the piece from the front (that would cover the batting I had just stapled on) and ripped it away from the black fabric that sits under the cushion. (I outlined in white where the seams were that had to be removed.) Then, I ripped out the corner seams and pinned the piece onto my blue fabric. I cut this out.

I pinned the blue fabric onto the chair where it would go with the wrong side out. This allowed me to stretch the fabric over the chair to see how it would fit and pin it so that it wouldn't be loose.

Then, I sewed the seams that I had pinned together.

Looks pretty good!

Once again, I put the fabric on the chair with the wrong side out. I pinned it to the black fabric this way so that I would know where to sew it back together.
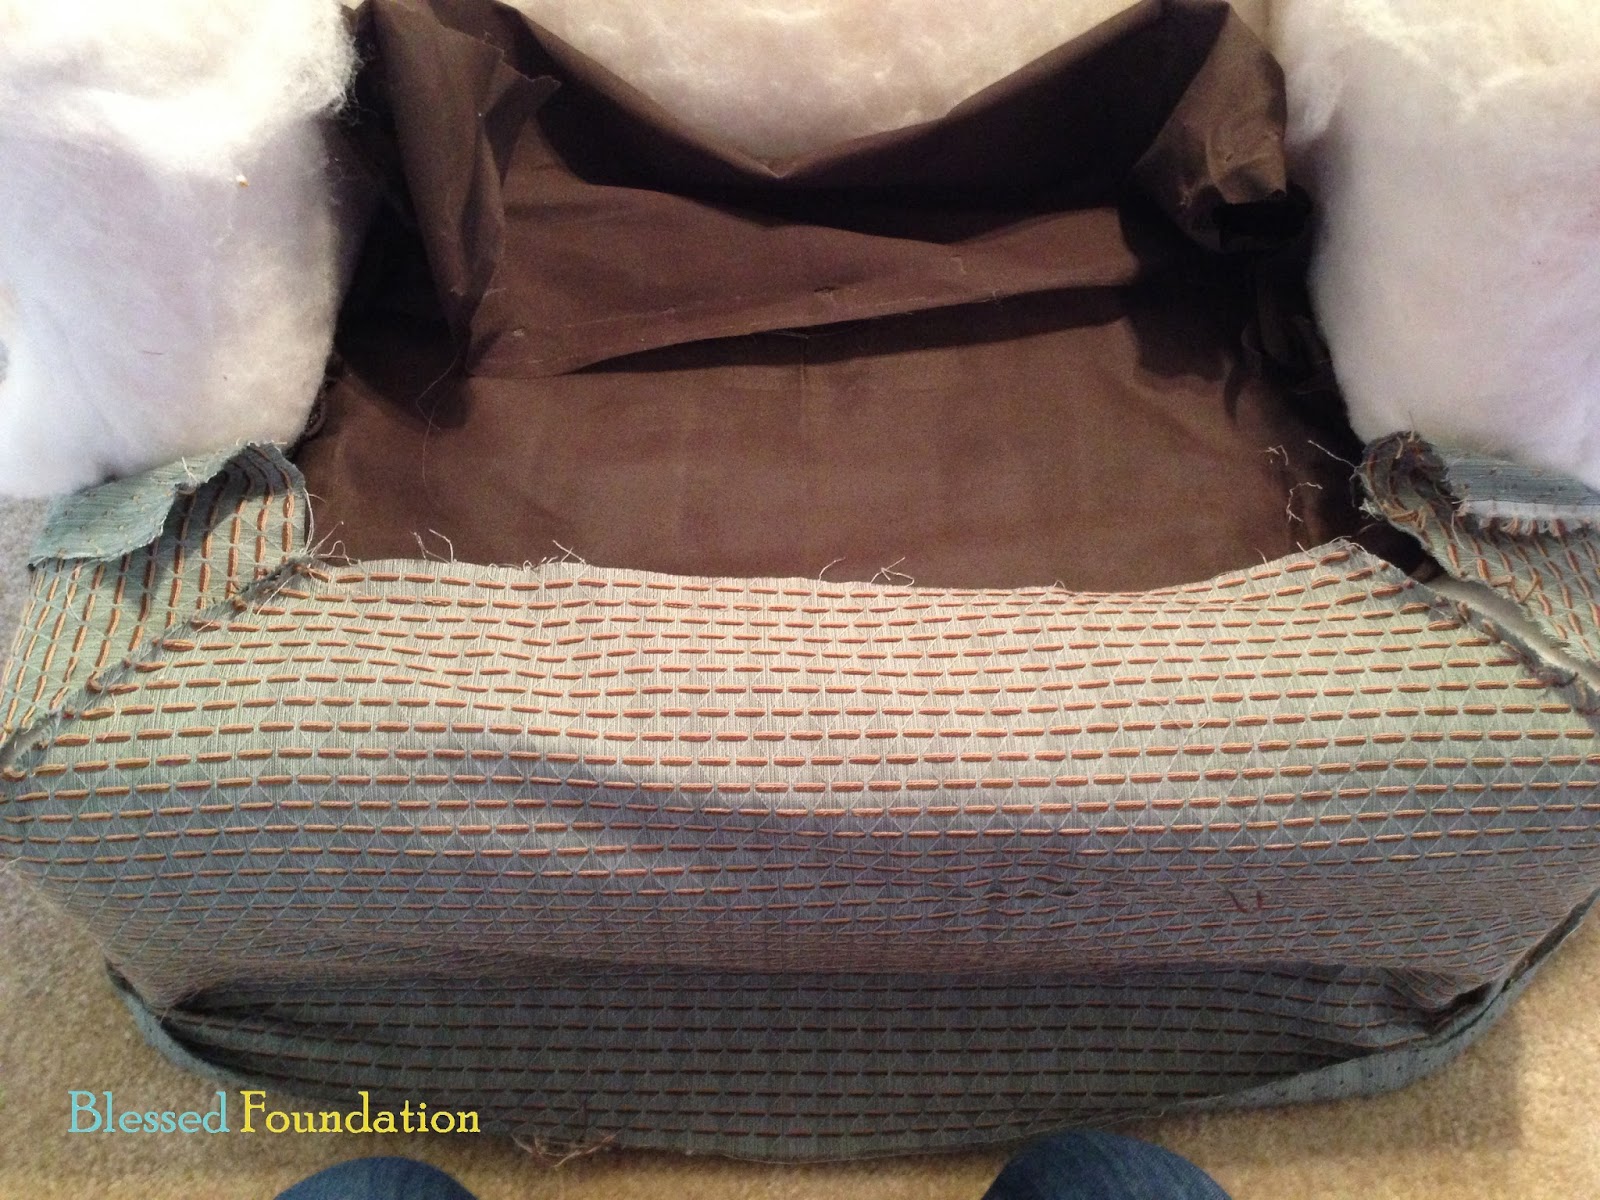
After sewing these two pieces together, I fit them onto the chair and got ready to staple them into place. I used gloves for this part because I had to fit the fabric under the cushions and between some boards and I didn't want to get scraped up!

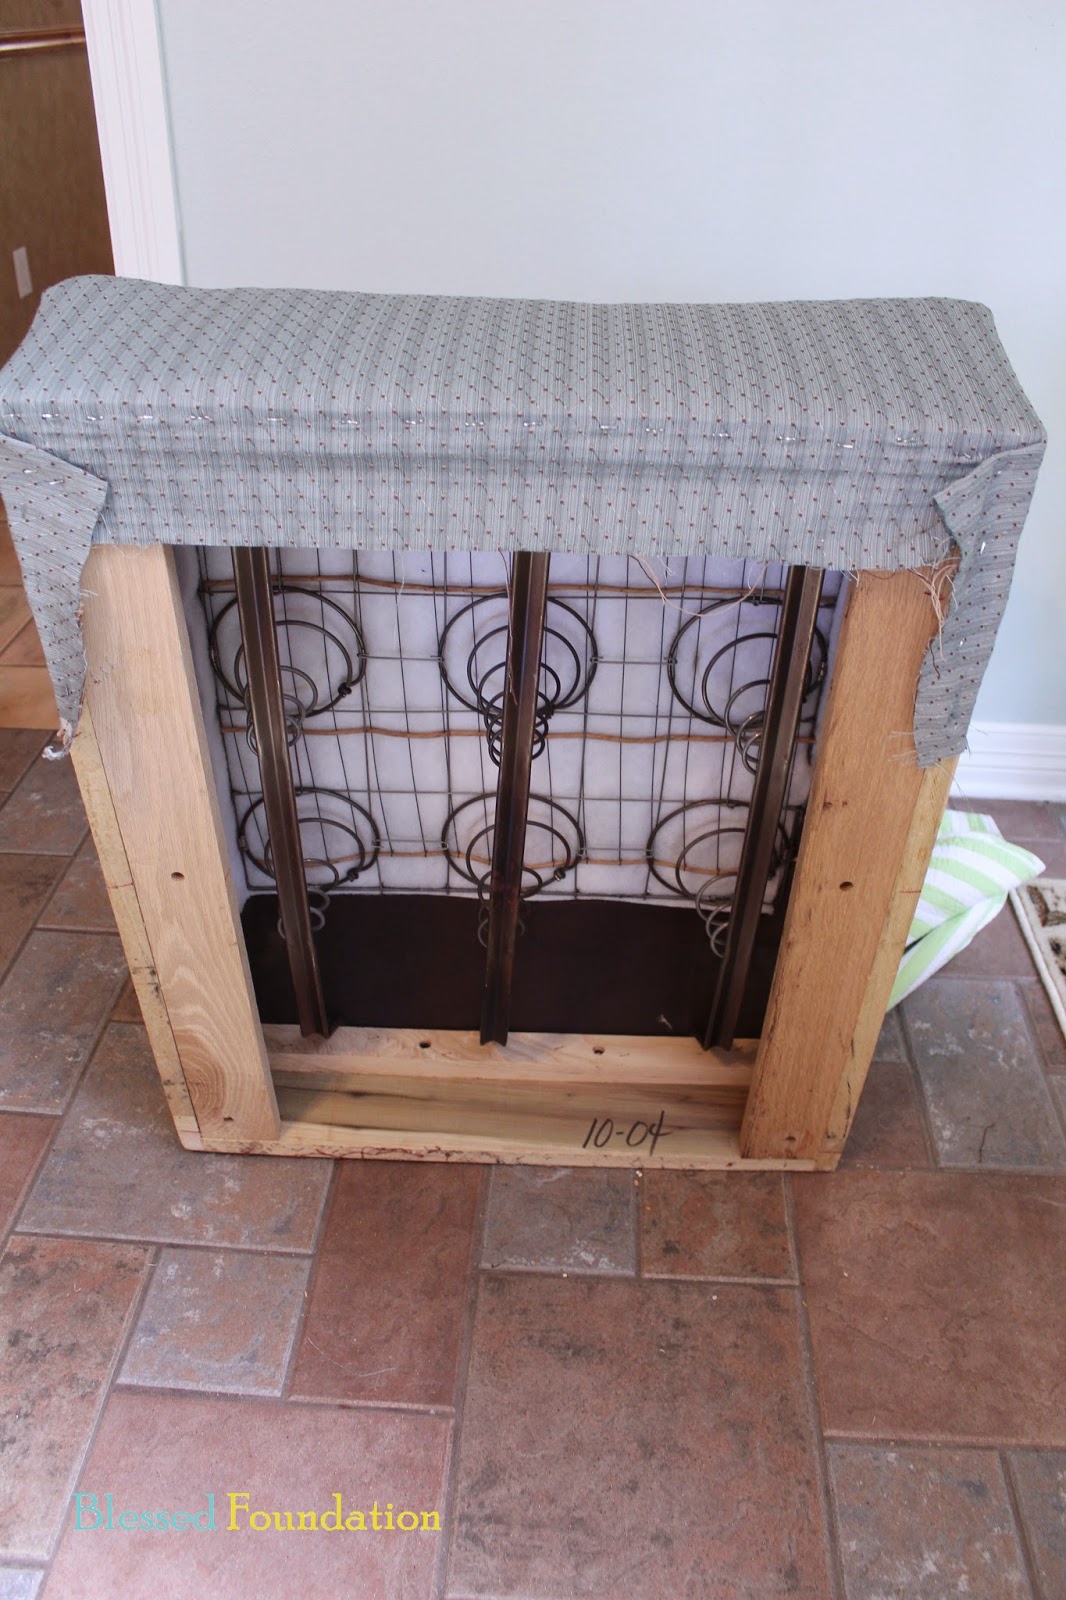
Here's a picture of where the fabric went underneath/behind the chair:

I laid the chair back so that I could begin stapling the front piece in place.

I started by stapling the front side underneath the chair.

Then, I folded the fabric around the corners and stapled the bottom and sides.


Finally, I stapled the black material behind the chair, pulling it as snug as I could the whole time.

(I had already made one of the cushions, so I tried it out to see what the chair would look like! More on how to make the cushion later!)

Still working in reverse, the next pieces I needed to replace were the arms.


The arms had cording, so this would be a little interesting for me. I ripped the pieces of the arm apart so that I could use them as a pattern on the new fabric. I had three pieces: the front of the arm, the "rectangular" piece that goes around the arm, and the long piece that covers the cording. I pinned these onto the blue fabric and cut around them.
Front arm piece:

Cording for arm:

"Rectangular" piece that goes around arm:

After cutting out all of the pieces for the arm, I ironed them with the red fabric so that they would show where they should be folded over for seams.


I recommend ironing the long piece that covers the cording as well so that it's easier to keep the fabric from twisting. I also recommend pinning the fabric around the cording so that nothing moves while you sew it.

To sew the cording, I used a zipper foot so that I could get as close as possible to the cord with the thread. I went slowly, taking out pins as I went.

After the cording was sewn, I pinned it to the "rectangular" fabric that would wrap around the arm. I used the crease that I had pressed into it to know exactly where to pin the cord.

Again, I used the zipper foot and slowly sewed as close as I could to the cording seam, taking out pins as I went.

Finally, using the pressed seam in the front arm piece, I pinned it to the "rectangular" arm piece and cord. This was by far the hardest part of the whole project -- sewing a circle. I would say that this is where I could use the most improvement. I did get two arms (of the four on the chairs) that I thought looked really great. The other two were a little angular, but that's okay. I messed with it enough to feel like I had given it my all and then decided to move on with my life.
My best advice is to pin small sections and sew small sections at a time. If you do a little at a time, it's easier to correct small mistakes and improve for the next section. Then, if it's still not great and you're worried that people are going to ask you why your chair is a little on the lumpy side, tell them that you reupholstered it and you are very proud of it and that should at least be enough either impress them or to help you move on in life! (I know, you're all thankful for the life lesson...)

So here was my perfect arm (the one with the great, circular cording) that I was most proud of. Notice that it is not sewn all the way down the side of the arm. That's because the original pieces were stapled on the side and I was following the pattern I had. Also, I always prefer stapling to sewing because it's so much easier!

I fit the fabric around the arm and started pulling it through underneath the chair to get ready to staple it into place.

Here's a closer look at where the fabric came out under the chair.

And here's a picture of the fabric for the arm behind the chair. I pulled all of the fabric tight and stapled it to the chair.

The last piece I stapled was the cording. I secured this with a staple at the base of the circle on the arm and then pulled it tight down the side and stapled it under the chair.

I repeated these steps for the left arm (which didn't turn out quite as perfectly, but again, I reupholstered two chairs, so I'm proud enough of that)!

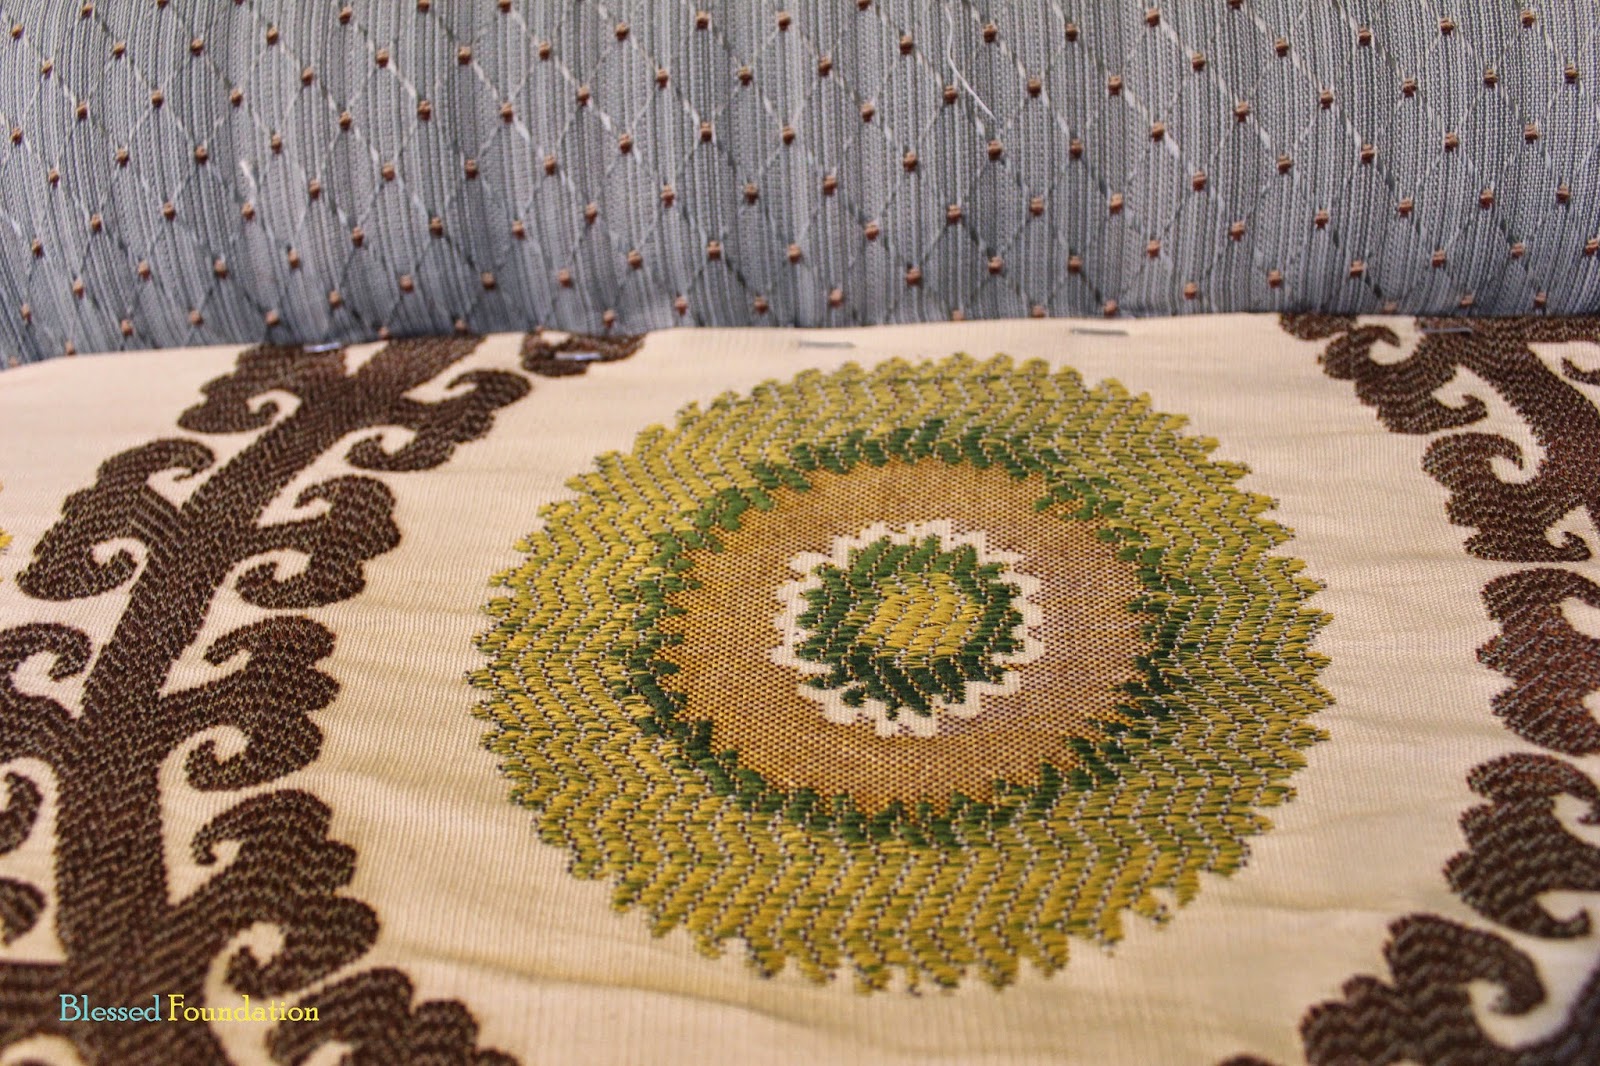
I threw the back piece on the chair because that was the next piece in line to be replaced and I wanted to see how it came together.


I made note of where the cording was sewn and where it was left loose to be stapled.

Then, I used the ripper to take all of the pieces apart. This left me with a main big piece that covered the back of the chair (that you lean against), two side pieces, and two pieces of cording.

This was a lot like the arms, so I'll sum up the steps.
- Pin the old pieces to the new fabric
- Cut the fabric out around your pattern
- Iron the creases to match the pattern
- Pin the cording in place and sew
- Pin the covered cording to the big fabric that covers the back of the chair and sew (make note of where the cording should no longer be sewn but is left loose to staple)
- Pin small sections of the back piece and the cording around the side pieces, lining it up with the ironed creases
- Sew small sections around the side pieces, pin, and continue to sew until all back pieces are sewn together the way the pattern pieces were

After all of the back pieces were sewn together, I pulled the fabric snug around the chair and stapled it in place behind/under the chair. It's coming together!!

At this point, I was done with the blue fabric (except for the cushion). I was so excited to see how the chair was going to look (at least from the front)! Not too shabby if I do say so myself!
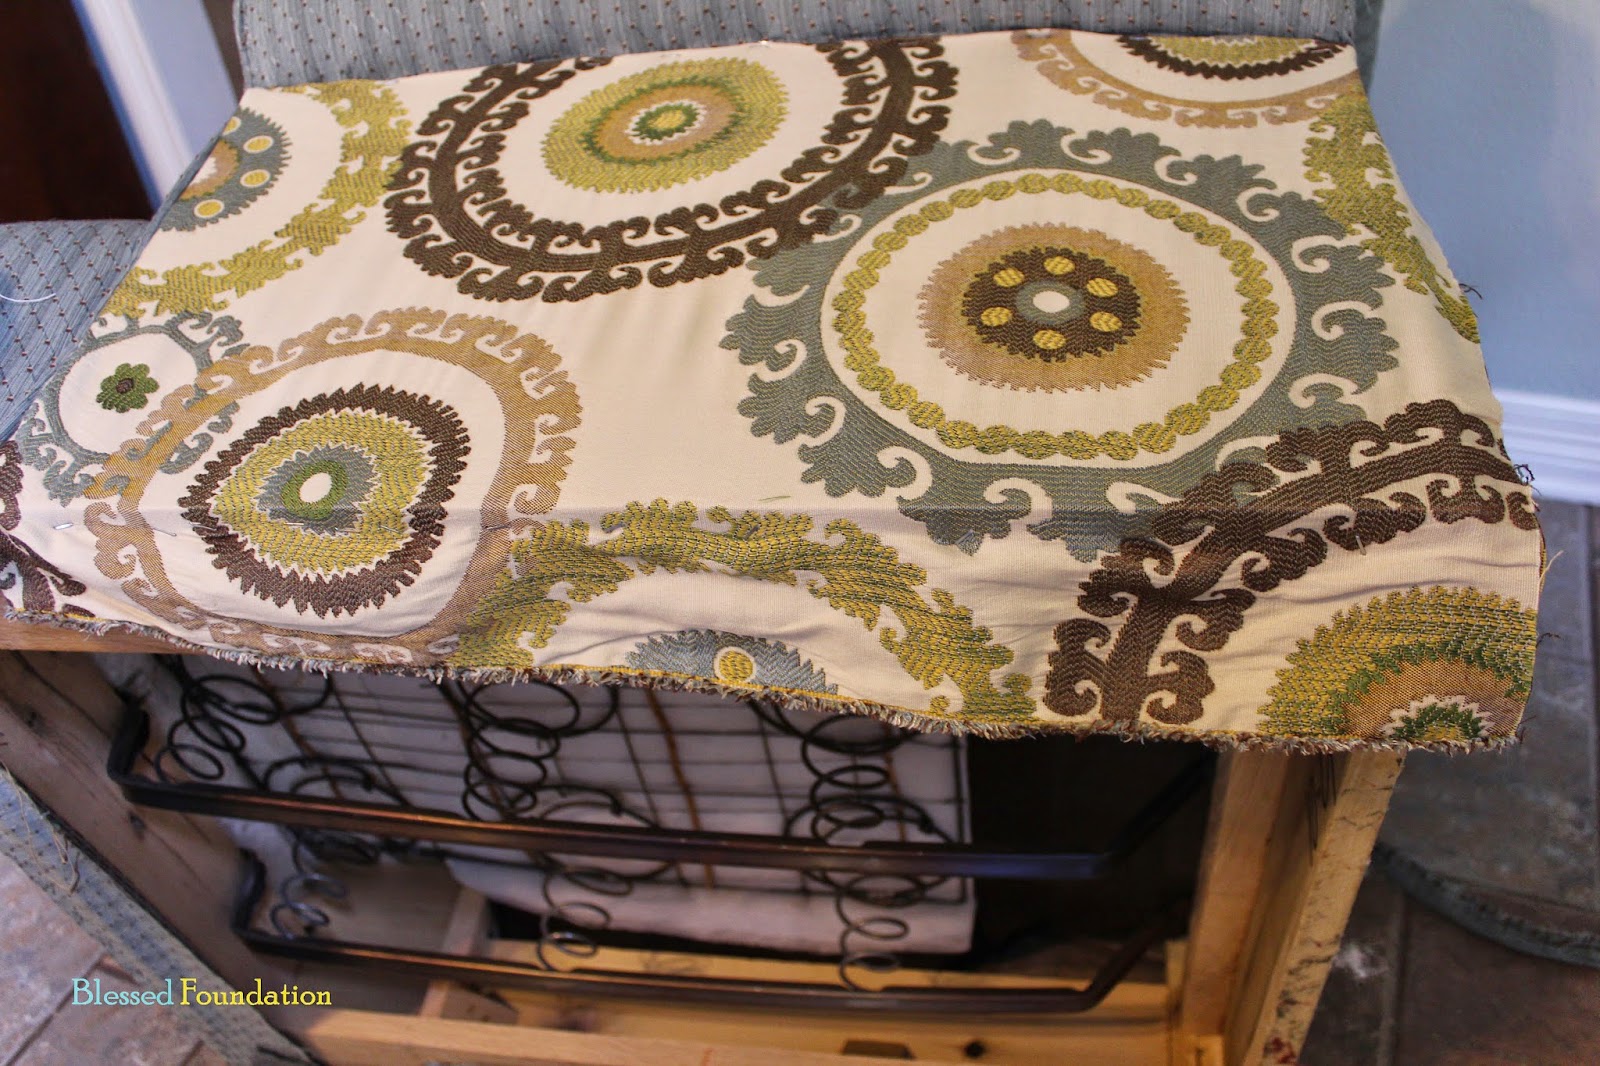
I planned to cover the remainder of the chair (the sides underneath the arms and the back) in the more colorful fabric. After pinning, cutting, and ironing this fabric, I had to figure out how to place the tacking strip in place.
I had a hard time finding a good tutorial on using tacking strips, so I just improvised and did what made the most sense to me. First, I ironed over the crease in the colorful fabric to match the red fabric so that I would know about where the tacking strip should go. Then, I placed the metal under the fold and started poking each little "tack" through the material. I started on one side and worked my way to the other, being very careful not to poke my fingers. After the first "tack", I made sure to pull the fabric taut to each tack after it so that the material wouldn't look saggy once it was on the chair.

Here is a picture of the side of the chair before I put the fabric on. (Notice the staples under the arm to hold the fabric around it.)

Using the side of the fabric with the metal piece in place, I put it up as close as I could to the cording that ran down the side of the chair.

This part was fun -- I used a hammer (covered in a rag to keep the fabric clean) and hammered the metal piece into the wood.


After the tacking strip was hammered into place, I stapled the fabric up under the arm. (The original piece was stapled under the fabric, but I was anxious to finish and I'm thinking no one is really going to look that close under the chair arms to see my staples!)
Here is the fabric secured on the left and the top:

I stapled the material to the bottom side of the chair next. During this step, it was really important to pull it as tightly as possible to make sure that it wouldn't look saggy on the chair, show wrinkles, or stretch out later.

Three sides down...
Last, I pulled the fabric tight and stapled it to the back side of the chair.

I love it! I couldn't wait to finish out the chair with the two patterns.

I repeated the same steps on the left side of the chair.

Here's are a few more looks at the tacking strip and how I placed it:


Once again, I hammered the metal piece into place and stapled the material under the arm of the chair.

I pulled the fabric taut and stapled it under the chair and then behind the chair.

Then, it was time to take the rest of the cording from the back piece and secure it in place.

I put in a few staples in the cording behind the chair...

...and then a few more underneath.

Then, I repeated this on the other side.


The back piece was the last remaining piece to make the chair look like a chair! This piece had two tacking strips, so I was a little nervous about how this was going to work. After securing this piece on two chairs, I suggest hammering in one side and then moving the other metal pieces so that it looks like your fabric is not quite wide enough to stretch across. (If you don't do this, it will not pull the fabric tightly enough from left to right and then it will look wrinkly/loose across the back.) Then, if you have another person who can help you, have them pull the fabric while you hammer in a small section at a time. Alan helped me with one chair and I did the other myself. Either way, it's hard to keep the second side in place, but it helps to go slow and make sure that each section is secure before moving on to the next.

Here's a look at the back of the chair with just the left and right sides secure:

I folded the top of the fabric over and stapled it under the back of the headrest (just like I did under the arms of the chair). Again, I don't think anyone is going to look that closely and these chairs are for me, so I was okay with that.

Finally, I pulled the fabric as much as I could and stapled it underneath the chair. SIGH OF RELIEF! We're done with the tough stuff!!

I took the black material from the bottom of the chair and re-stapled it in place.

I wish I could show you a picture of the finished chair without the cushion, but I must have been too excited to remember to snap a shot. But trust me, it was very satisfying.
Here, I'll show you how I made the cushion to finish off the chair!