

A burlap Christmas tree skirt. That was all I wanted for Christmas. (Well, not really ALL I wanted, but all I wanted badly enough to make it myself!) Every one I found either had something about it (a bow, a Santa Clause face, something flashing...) that just wasn't quite what I wanted or was a little pricey for a round piece of fabric.
Thus, the decision to make it myself came about. I was a little weary of this at first, but surprisingly, it only took me a few hours to whip it together! Here's what I did:
I bought some linen fabric and muslin from Joann Fabric (I used my text message 25% off and spent about $12)!
I decided what I wanted the skirt to look like and that I wanted it to be lined for a little extra weight. I bought plenty of linen, so I just folded the piece over twice to cut the lining all at once.
.JPG)
I measured from one central point on the fold to trace a circle. This was about 21 inches in diameter. I drew the circle in pencil and made sure to pin the fabric together so that it wouldn't move when I measured/traced/cut.
.JPG)
iPhone pictures really aren't the best, but here's another to show my half-circle traced out!
.JPG)
I cut out the circle, then folded it in half again. Using a bowl, I traced an inner circle where the tree base would go and cut this out as well. Then, I cut a slit on one side of the circle so that I could wrap the skirt around our tree.
.JPG)
I didn't take pictures of the next part, but it was pretty simple. I unfolded the fabric and pinned the two pieces together all the way around. Starting with the inner circle, I sewed a half-inch seam all the way around, leaving a small opening on one side of the skirt opening. Flip that inside out, and voila! Perfect (or about as perfect as I can do) circle!

Now, on to the fun part -- a ruffle! I cut 5-inch strips of the muslin (double thickness again) and sewed them together the same way.

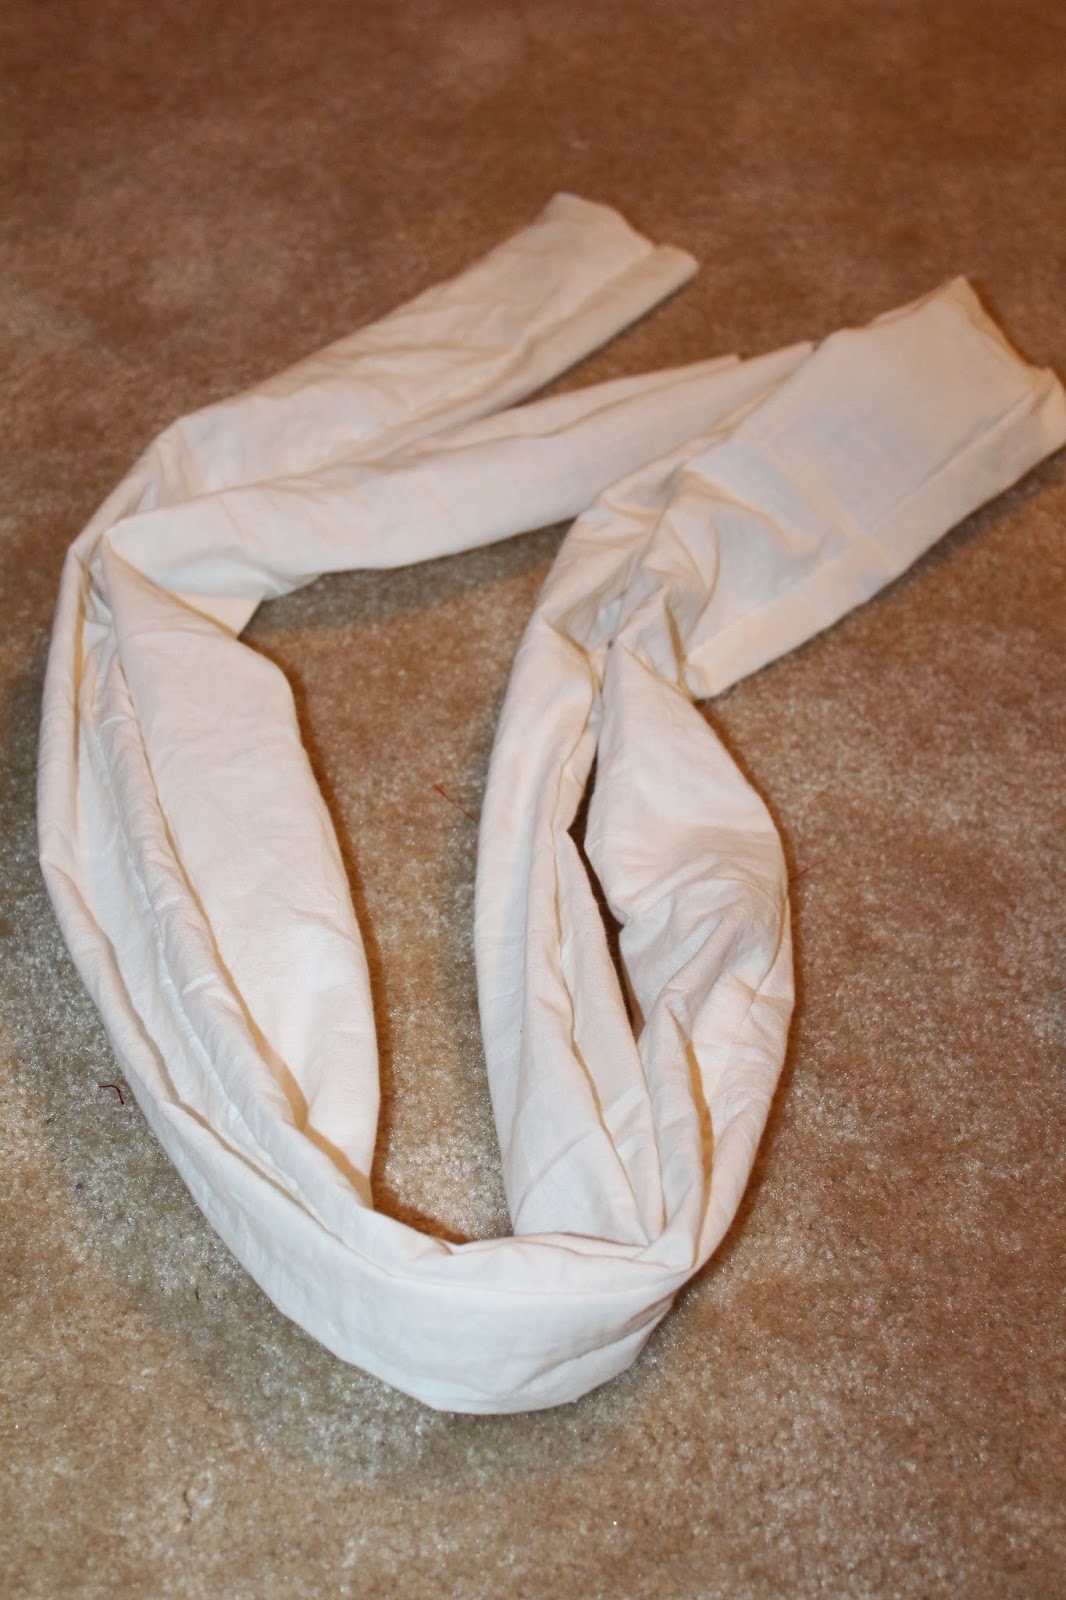
I flipped this inside out a little at a time until all of the seams were hidden.

Beautiful, right?
Nothing a little ironing can't fix!

Again, I missed the photo-op, but I took the lazy way out to make a ruffle from this long strip. I fed the strip through my sewing machine faster than the machine would normally feed the fabric and made "bunches" that way (instead of sewing and pulling the thread and breaking the thread and crying and calling Grandma to help).
After the muslin was fully ruffled, I pinned it around the edge of the linen circle.


I fed this through the machine right down the middle until the ruffle was fully bound all the way around.

Here's what it looks like so far. Now I just needed something to keep it together at the opening.

I looked all over, but we didn't have any large buttons lying around. I could have gone to the store, but the project was going so quickly and it's so easy for me to loose interest in a sewing project that I thought I should find something that would work.
Alan had some washers in the garage that he didn't need, so I went with those! Ta-da!! Don't you love it?

Okay, I know. Unacceptable. I took some of the leftover muslin and hot glued it around the washers to make them look more like buttons.


One...

Two...

Three! I added a few stitches to keep each one in place and I had homemade buttons!

I had some jute left over from a project a while back and so I wrapped some of that around each button as a loop to keep each one in place.
.JPG)
I tried sewing the jute to the other side of the skirt, but got a little frustrated when it just pulled through the thread. I resorted to hot glue for this as well.
.JPG)
And here is the finished tree skirt! (Just what I wanted!)
.JPG)
I think it turned out pretty good!


What do you think?
Like what you see? Read about our next project here!