
If you need a refresher, these are some of our plans:
- Removing all furdowns
- Raising the cabinets on the wall
- Opening up the bar for more "open concept" flow
We'd like to move the cabinets up on the wall. A lot of our stuff (coffee machine, bread basket) don't open all of the way unless you pull them out from underneath the cabinet. (Also, I can't get utensils out of my crock without hitting the bottom of the upper cabinets!) We measured several other people's kitchen cabinets and found that ours are about four inches lower than theirs. Since we wanted to get rid of the furdowns anyways, we thought this was the perfect time to raise the cabinet height.
Here is a reminder of our plans for a more open concept bar area. (The X'd out area shows what we want to get rid of!)


All refreshed? Here we go!
Removing Cabinets
In order to get the furdowns off the wall and move the cabinets up a few inches, we needed to unscrew the cabinets from the wall. I started by removing all of the knobs and pulls from the cabinet doors.

Then, I unloaded the cabinets. We will be "kitchening" out of our dining room until further notice... (Anyone up for takeout?)

Finally, we removed all of the doors from the kitchen cabinets. (This was partially to avoid annoying doors hitting us while we took the cabinets down and partially because we plan on painting them later.)

To keep track of the doors, I made a floorplan and numbered the cabinets with painter's tape. I'll show you in another post how we numbered the cabinets without painting over them!

With the cabinets unloaded and the doors removed, we were almost ready to take the upper cabinet boxes off the wall. First, we decided to remove the crown molding since some of it went out past the cabinet box. See exhibit A.

The molding came off pretty easily with a crowbar and a hammer.


I was careful to label all of the pieces so that we would be sure where they went when we put everything back together. (I know -- the dust is gross!)

To remove the boxes from the wall, we found the screws at the top/back and lower/back of the cabinet, unscrewed them, and brought the them down.


To bring down the cabinets over the stove, we had to unscrew the vent hood. (I know you can't tell by this picture, but I really was so excited! This was going to open up the room so much!)

For boxes we wanted to take down separately, we just unscrewed them from each other at the front sides.

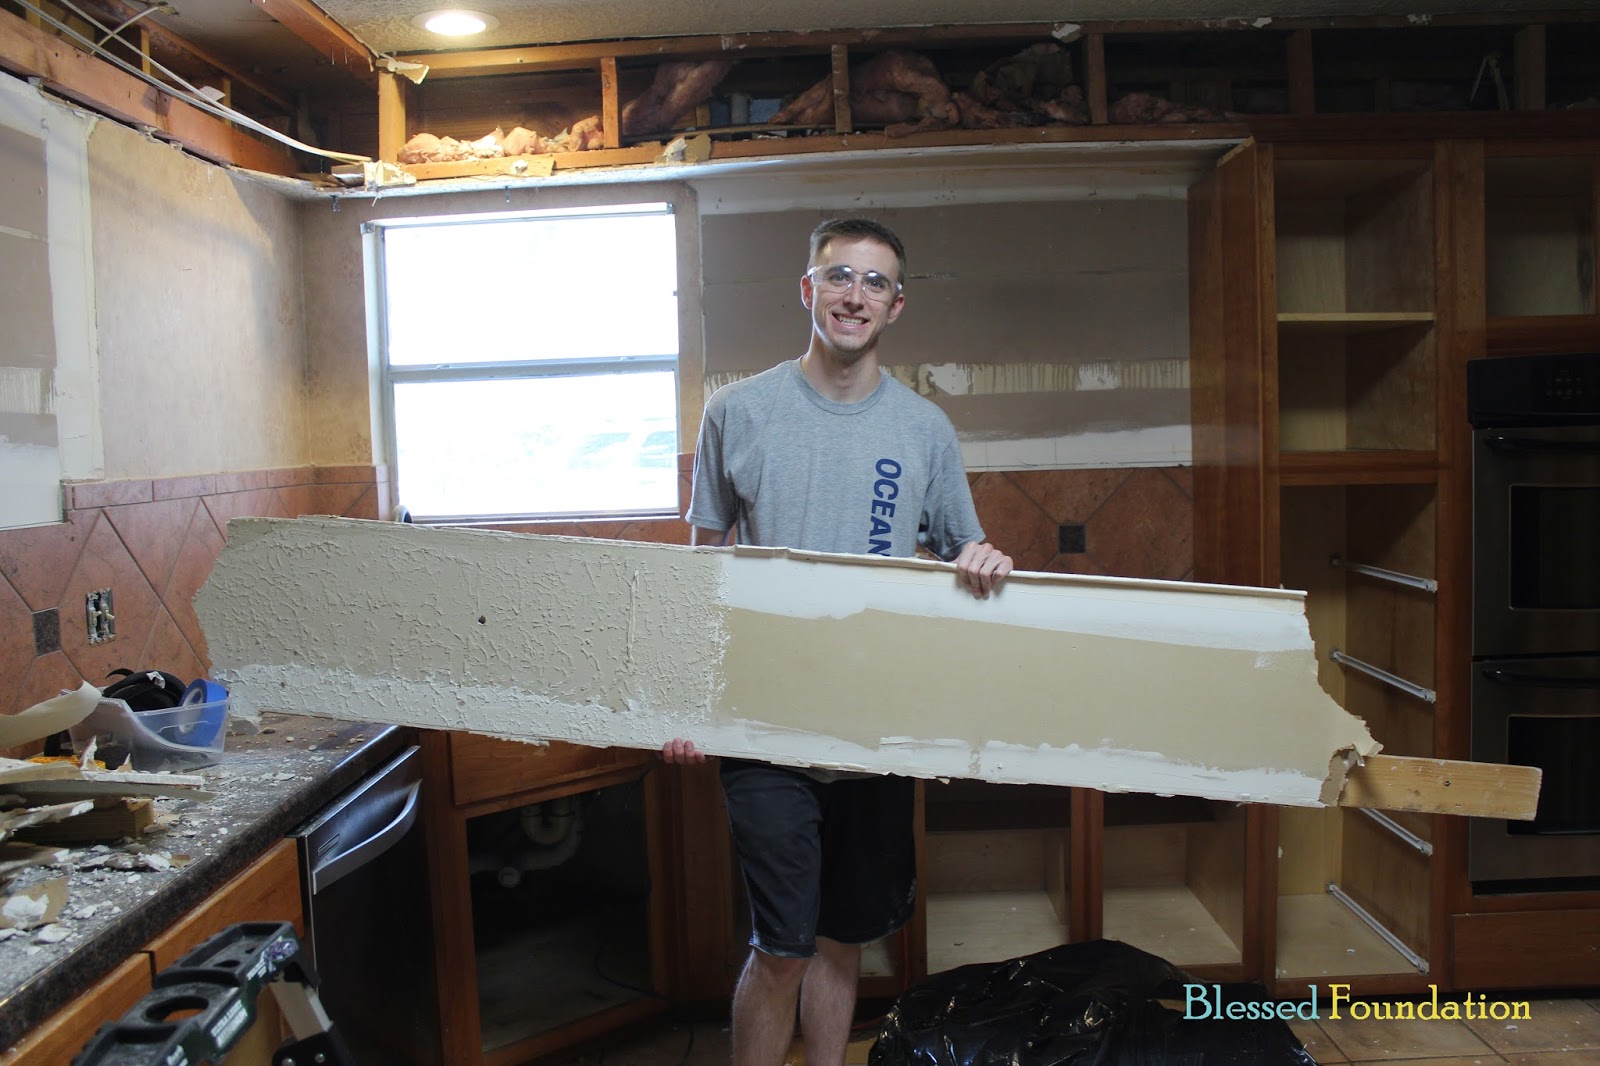
Removing Furdowns
Once the cabinets were off of the wall, it was time to get the furdowns out of the way.
Say... what's a furdown?
Funny you should ask! I created my own definition on our last project (our half bath).
Furdown: noun /fər-doun/: a section of the ceiling that is dropped lower than the rest of the ceiling, typically to house duct work or fill the gap between the ceiling and cabinetry; similar to soffit.
Here are the furdowns in our kitchen:

The last time we tore out a furdown, we just used a hammer and a crowbar. After that experience, we decided the right tool was a reciprocating saw, so we invested in one for this project.

To start, we made holes in the drywall with a hammer and pulled down the drywall to see what was behind it. We didn't want to start sawing into electrical or plumbing by mistake!


With the drywall down and everything exposed, we were able to see where there was electrical that would would need to work around. Using the reciprocating saw, Alan broke the framework into smaller pieces to pull it down off the wall.

Well... mostly smaller pieces...
With the furdowns removed, our place was a mess!
Fun fact: this was trash day and our trash cans were at the curb waiting to be emptied, so we had to wait to throw all this junk away. AH!

I think when we heard the trash guys come, I ran to get the bins!
So, the kitchen furdowns are off the wall and the trash if off the floor (and counters and sink)!

Just when we felt like we were on a roll, we opened up the furdown over the windows in our breakfast nook.

Unfortunately, it looked like the beam in the wall was load-bearing, so we decided to cover it back up (rather than possibly pay a bunch of money to get it moved). So, a slight bummer, but the next part is so good that I don't even care!

Removing the wall was the best part of the demo in my opinion. This is what we wanted to open up so that we could extend the bar and have a more open-concept feel to the room.


The wall was similar to the furdowns. We took the drywall down and then used the reciprocating saw to help remove the framework. I feel like it REALLY opened up the room. Not only will we be able to see whoever is sitting at the table, but we can also see out into the back yard!
And... this is our kitchen! TA-DA!!!


And hey, as my treat to you, I'll leave you with this. If you're ever feeling bad about your messy house, just remember -- there once was a day when it looked like this at the Sulak's. You're welcome.
