We found a downdraft cooktop on Craigslist (where else?) for a steal.
No, it was not stolen. But it was a great deal. It was brand new, but the owners who moved in to the house where it had been installed brought a different cooktop with them that they wanted to use. We bought the new one from the contractor for a fraction of the price and it works great!
Below is a little peak at the cooktop switch project:
Our old cooktop worked fine, but we wanted something a little less worn and more up-to-date!
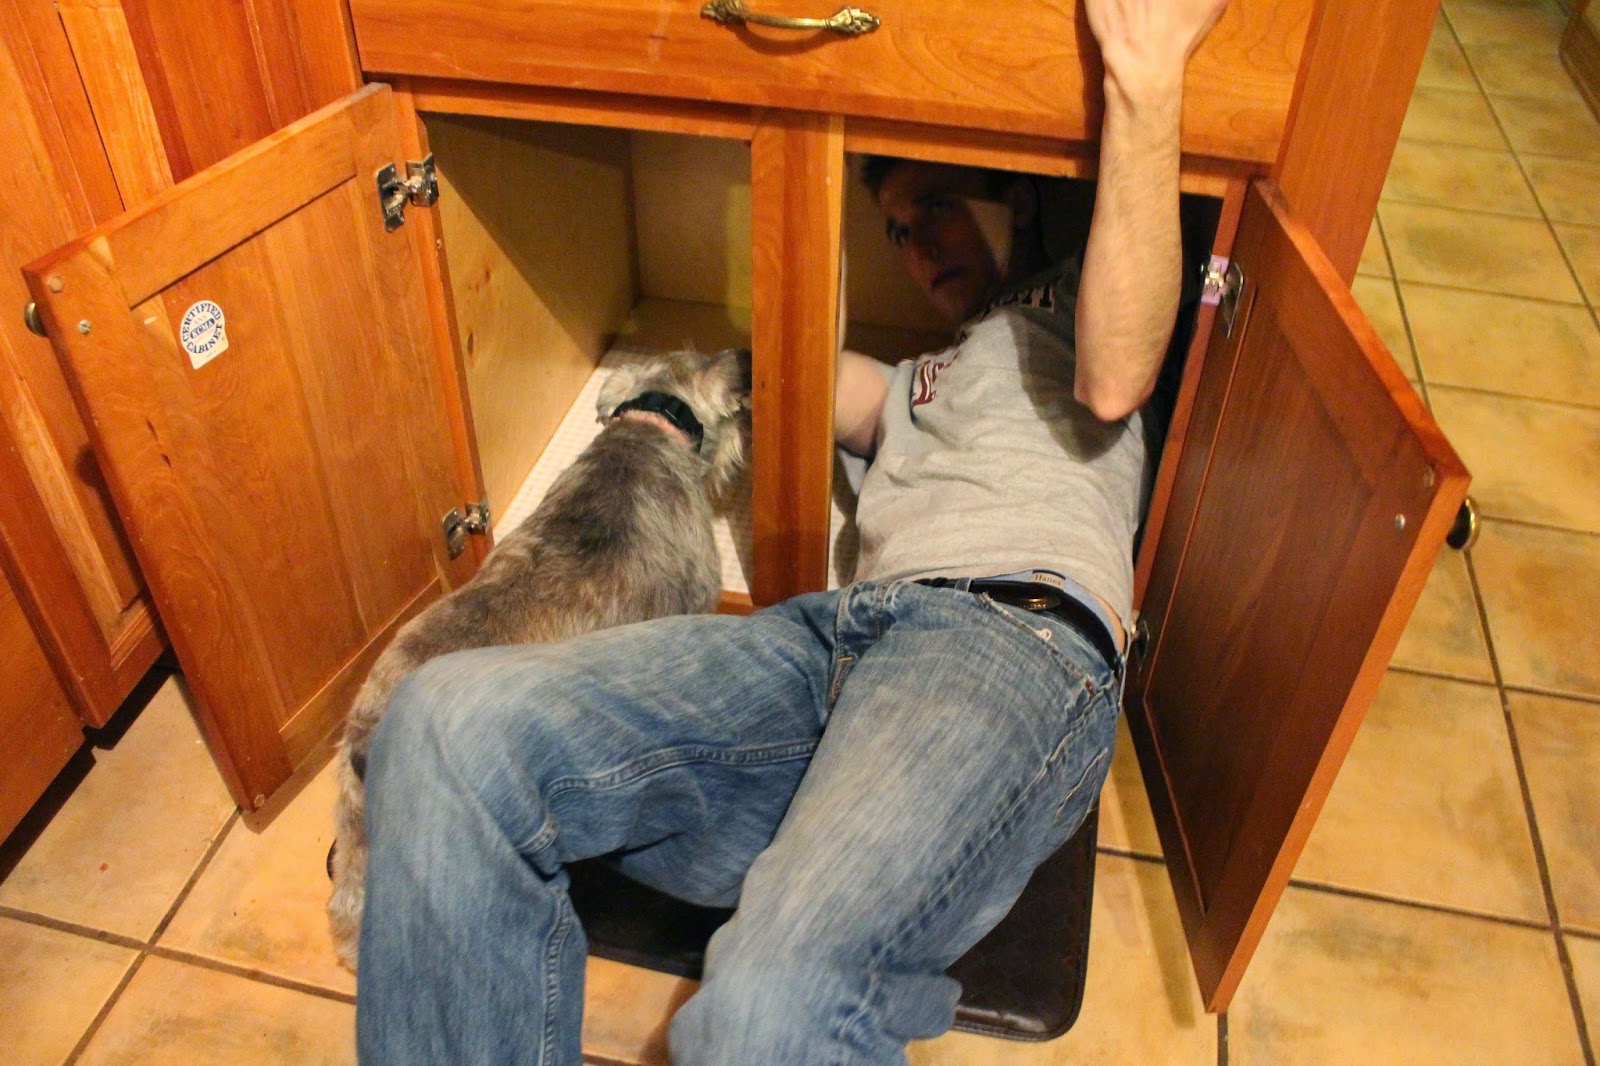
After we cleared out the cabinet, Alan was able to push the cooktop right out to make room for the new one.
 |
| Lucy was a big help! ;) |
I promise I helped him get it out, but someone had to take a picture!!
Here is a picture of the hole where the cooktop sat.
Unfortunately, even though we measured before we bought it, the new cooktop was just slightly bigger than the old one. The counter tops are granite, so I wasn't quite sure if we were just going to be out the money we spend on the new cooktop. Not to worry -- Alan bought a diamond blade for his skill saw and opened up the hole in the granite just enough for the new cooktop to fit in.
*Warning* This will be really loud and produce a TON of dust. We are about three weeks out of this project and I am just now not having to dust everyday. Some good advise I've been given is to keep doors and windows open during projects like this, change the air filters in the house right after the project, and place an air purifier in the room near where the project occurred. I have some advise as well. My advise, though, is the most important of all of these tips, so listen up: Get your advise BEFORE you start this project!! Some of these precautions would have saved me a lot of trouble cleaning, re-cleaning, and cleaning again!
Good news is that after all of the noise and dust, the new cooktop fit right in (okay, there were several tries and cuts made before it fit, but it finally did sit snugly in the space)!
Before:
After:
Now, I know we still have the vent hood above the stove. That's because we haven't installed the vent under the cabinets yet for the new system.
That's another project for another day!
For now, we're moving on to our dining room. Click here to read about our first total room makeover!


.jpg)
No comments:
Post a Comment