
I tried to come up with a clever title for this post that incorporates the phrase "everything but the kitchen sink," but since our sink is not the only thing needing an update, I left it plain and simple.
Simply put, our sink was gross.
.JPG)
It was rusted out and needed to go!
.JPG)
This is after cleaning it with bleach for the photo...
.JPG)
Yuck!
.JPG)
At least the faucet wasn't bad, though.
.JPG)
As long as you don't have to turn the water on!
.JPG)
Yikes! Okay... it was time for an upgrade.
.JPG)
We hopped on over to Lowes and bought ourselves a granite composite sink that would blend with the counters.
.JPG)
Who's cabinets honestly look better than this? Haha... Okay, ours do now.
.JPG)
After clearing out that mess, we were ready to get started disconnecting and removing the sink...
.JPG)
...with a little help from Lucy and Gus, of course!
.JPG)
.JPG)
Alan loosened the sink and we pulled it out of the counter top.
.JPG)
.JPG)
.JPG)
We were left with a nice hole in the counter.
.JPG)
Of course, this photo was necessary.
.JPG)
There was a lot of grime to clean up from the old sink.
.JPG)
Nothing a blade and some granite cleaner couldn't solve!
.JPG)
.JPG)
After cleaning up that mess, Alan tried placing the new sink in the hole. Unfortunately, it was a little snug, so he was going to have to cut the granite tile.
.JPG)
We knew from our stove top experience that this can be really messy, so we covered everything with blankets and tarps to minimize cleanup.
.JPG)
.JPG)
Alan used a diamond blade drill to shave away some of the granite tile around the sink.
.JPG)
.JPG)
After dusting the counters, Alan got ready to install the new sink for real.
.JPG)
.JPG)
We bought a faucet that would take up one hole behind the sink for the faucet and one hole for a soap dispenser. Alan popped out a second hole with a hammer and screwdriver.
.JPG)

He used his dremmel tool to widen the hole for the soap dispenser to fit.


We placed the sink in the hole one more time to make sure it would fit. We were good to go!

Alan used caulk and created a bead all the way around the hole. This would help to keep the sink in place.


Alan put the sink in place and made sure it was secure.


.JPG)


Then, we connected those tubes to the existing tubes from the house.


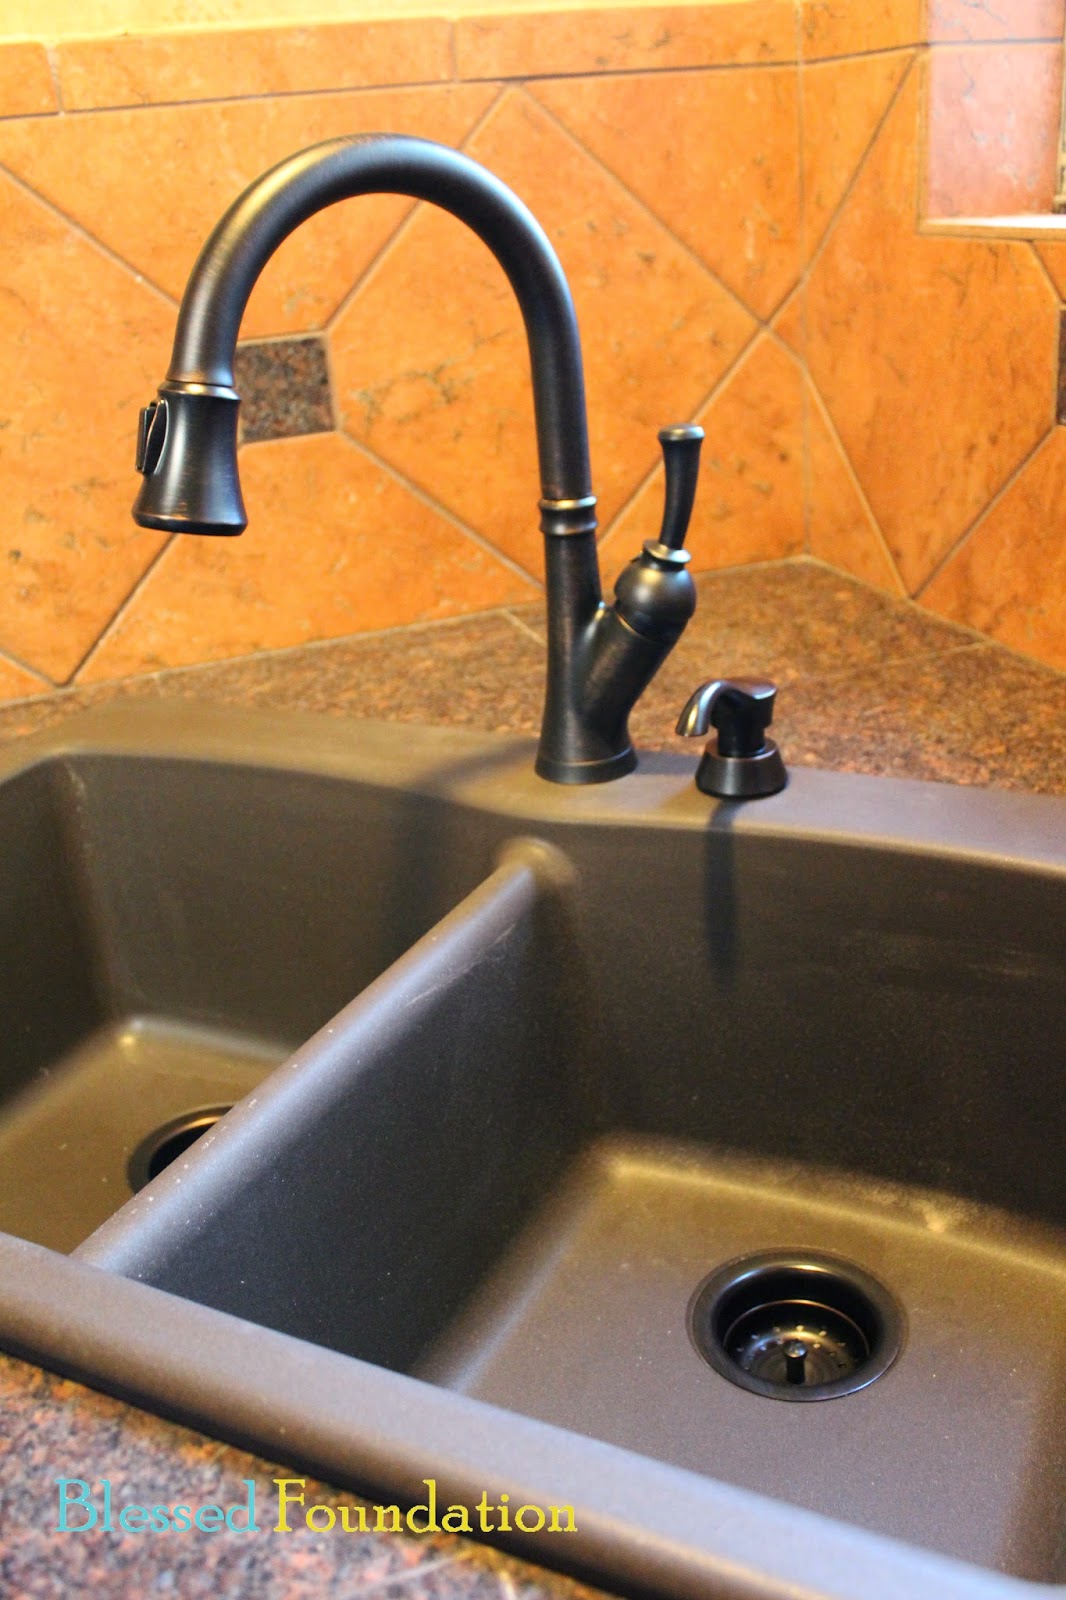
Alan secured the faucet in place from under the sink.

We added the top of the faucet to the base.

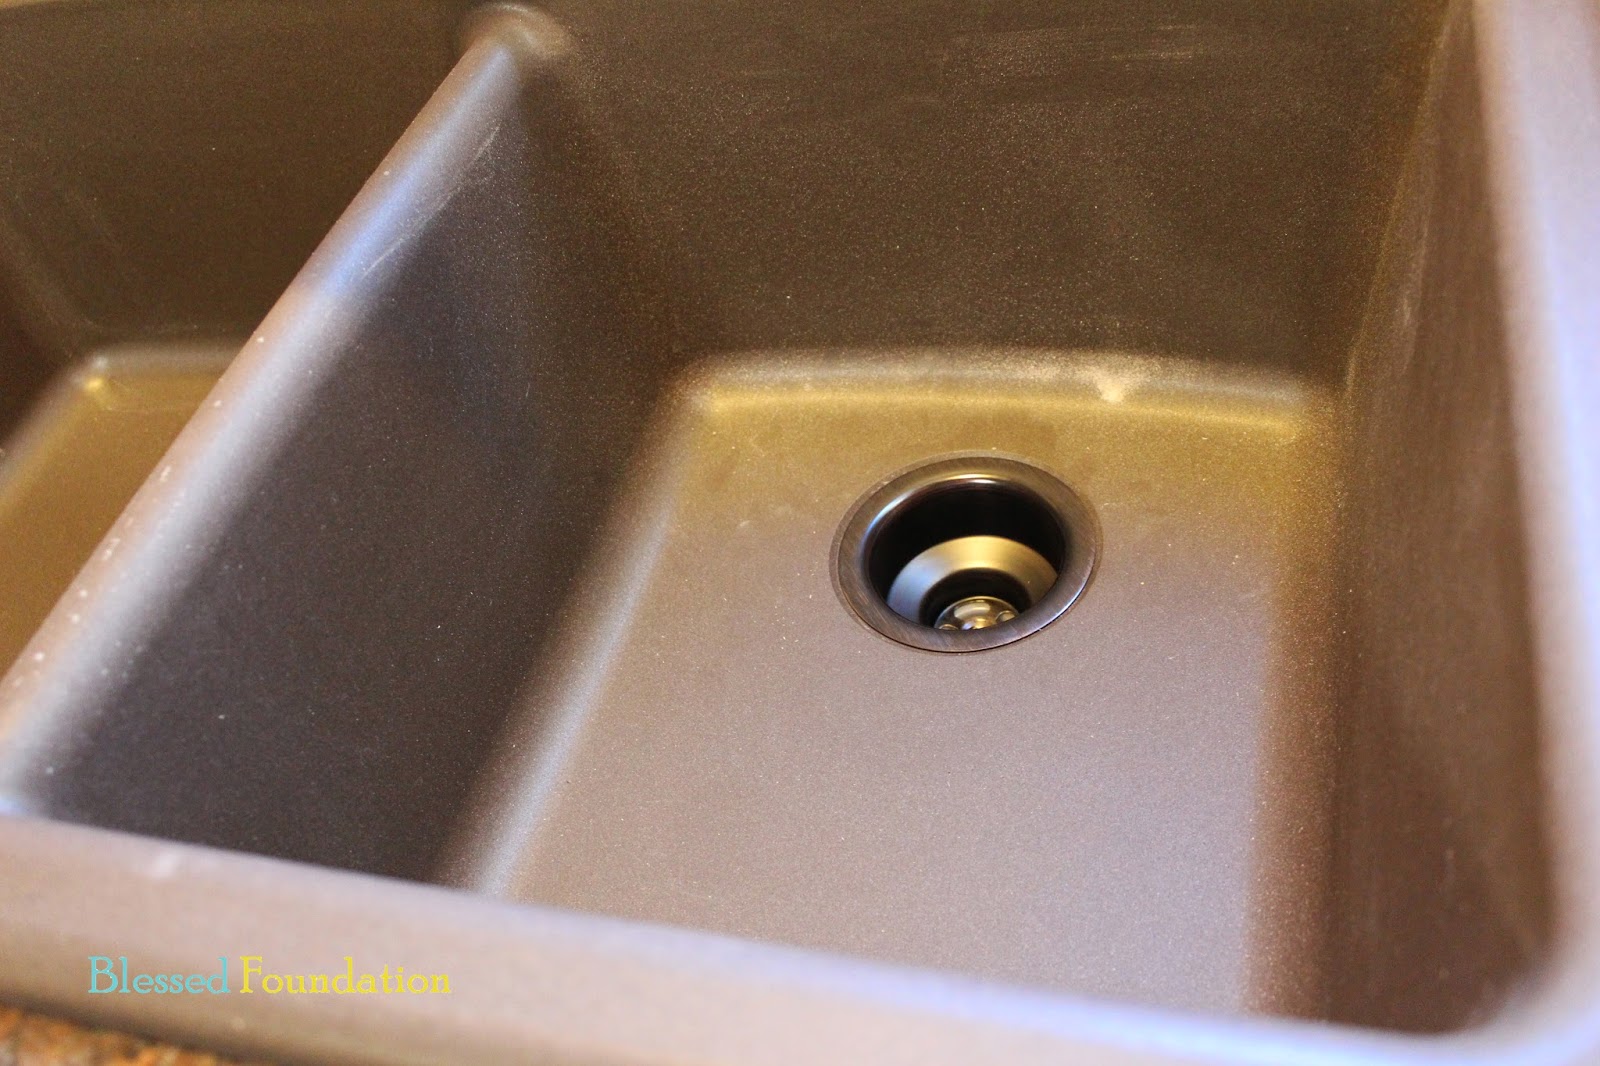
Finally, we needed to connect the drains.

Sticking with oil-rubbed bronze, we got a fixed-post assembly and a garbage disposal assembly.

Alan used stain-free plumber's putty to secure the drain parts to the sink.

Using his fingers, he put a small amount of the putty around the curve of the drains where they would rest in the sink.


Alan placed the drain in the sink and hooked it up to the garbage disposal underneath.

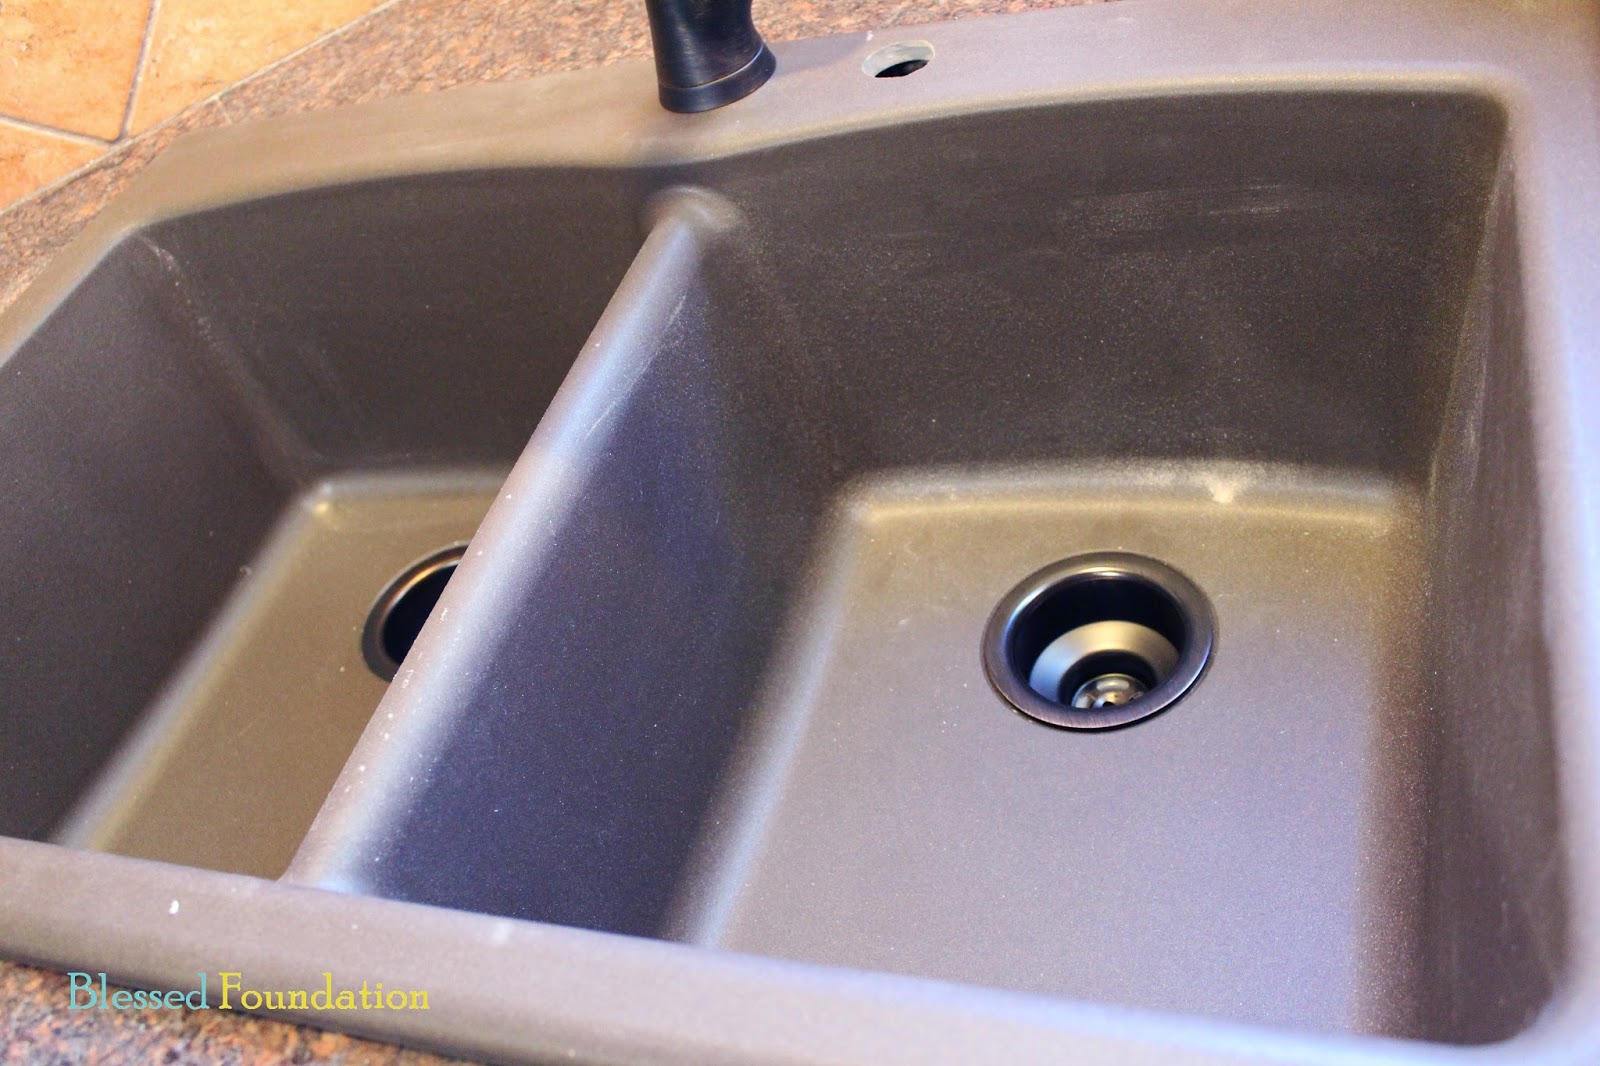
He repeated these steps with the second drain.

After putting the plumber's putty on this one, Alan noted that we probably should have avoided getting any on the threads.

After correcting this, he secured and installed the second drain.
We screwed in the soap dispenser and we were ready for dishes!
Well... no rush.


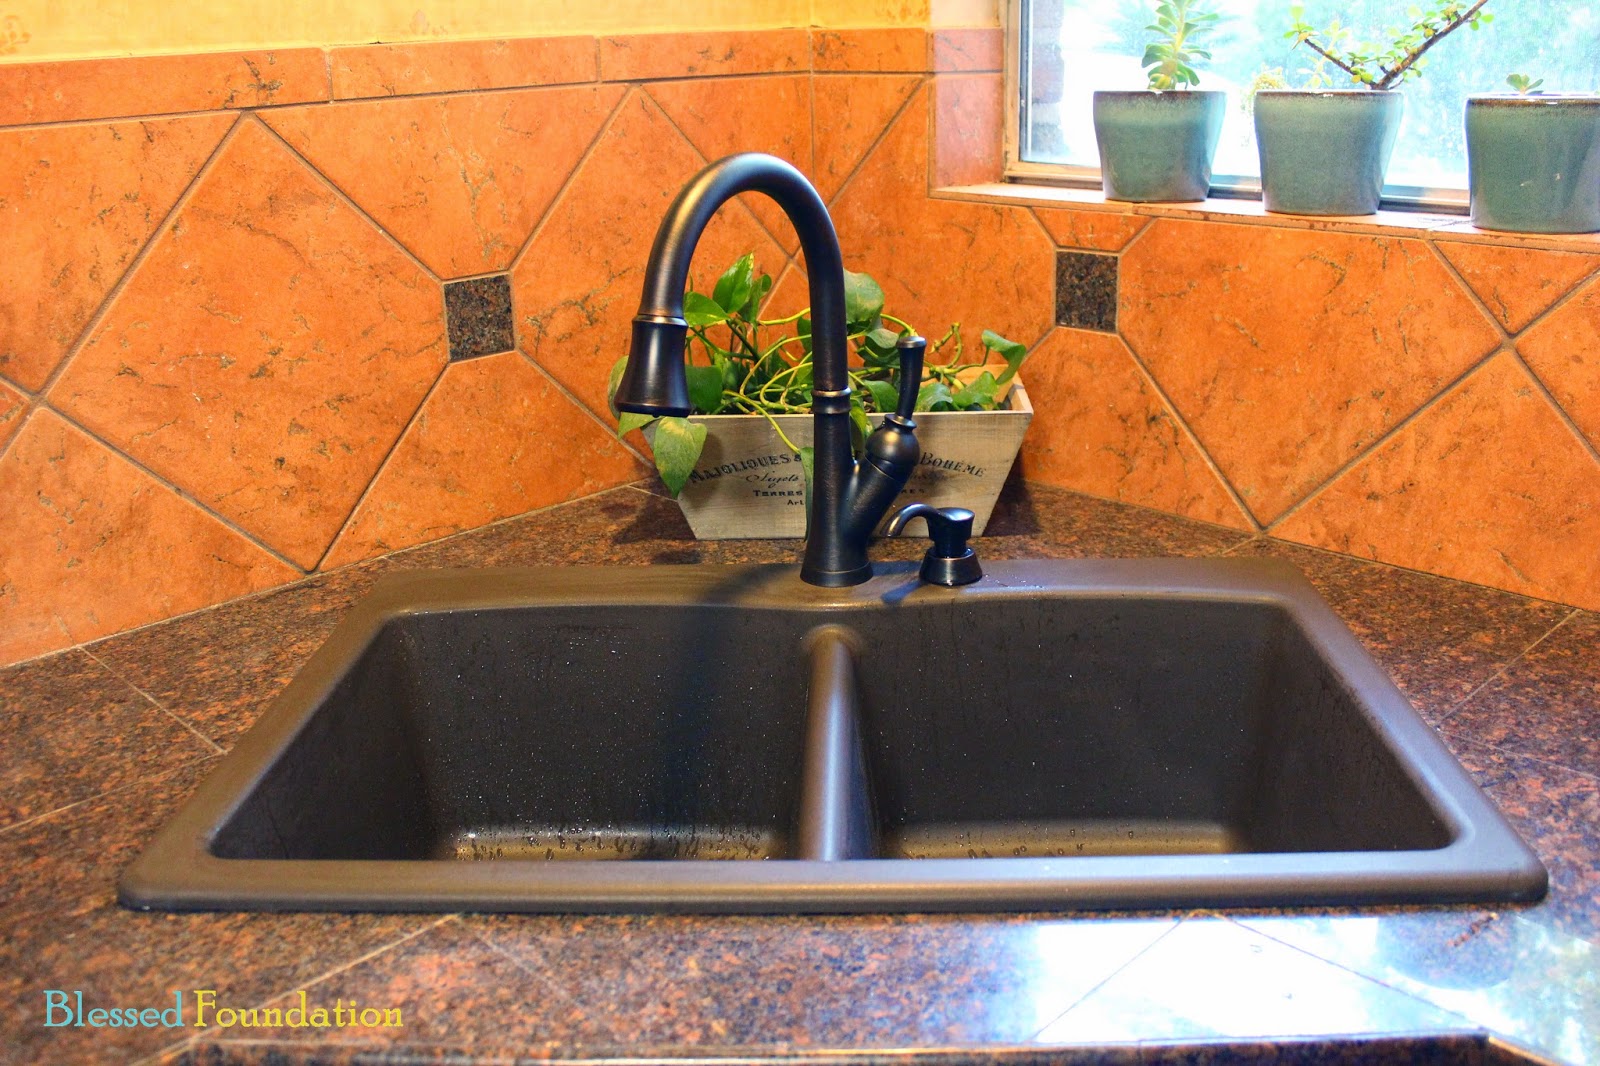
From ew...
.JPG)
To ah! We love the difference. What about you?
Hey! Remember this?

I don't know about you, but I'm pretty tired of looking at these chairs in my living room. Let's talk about reupholstering! Click here for my first furniture re-do!