

When we moved in, our breakfast area was lit by this ceiling fan. It's a pretty nice fan and I think it would look great in a sun room or a larger space, but I'm not crazy about it in this space. It's not quite as bright as I would like and I would prefer to have a chandelier or another non-fan light fixture over our table.

You can tell that when the fan was installed, the owners had to move it farther away from the window than the previous fixture so that the blades wouldn't hit the furdown above the windows. It's just really not the pretty statement piece I would like.

I've been watching a lot of Fixer Upper, and it's made me really want a painted chandelier to go over the kitchen table. Below are some pictures of what I had in mind.

With a price tag starting at $650, though, I wasn't too happy (average price at Magnolia Market, Lowes, and Home Depot at the time I first started looking). I was sure I could replicate something for a much better price.
I have seen similar light fixtures in brass or nickel finishes on Craigslist before, so I figured I could snag one and paint it for a fun DIY. After looking online for a grand total of TWO MINUTES, I found this one listed for a whopping $20. We can afford that. What's even better is that the seller decided to give it to us for free!! (I'm not sure if she was just feeling generous or our project clothes made us look like we couldn't afford to spare $20, but she blessed us and we are so grateful!)

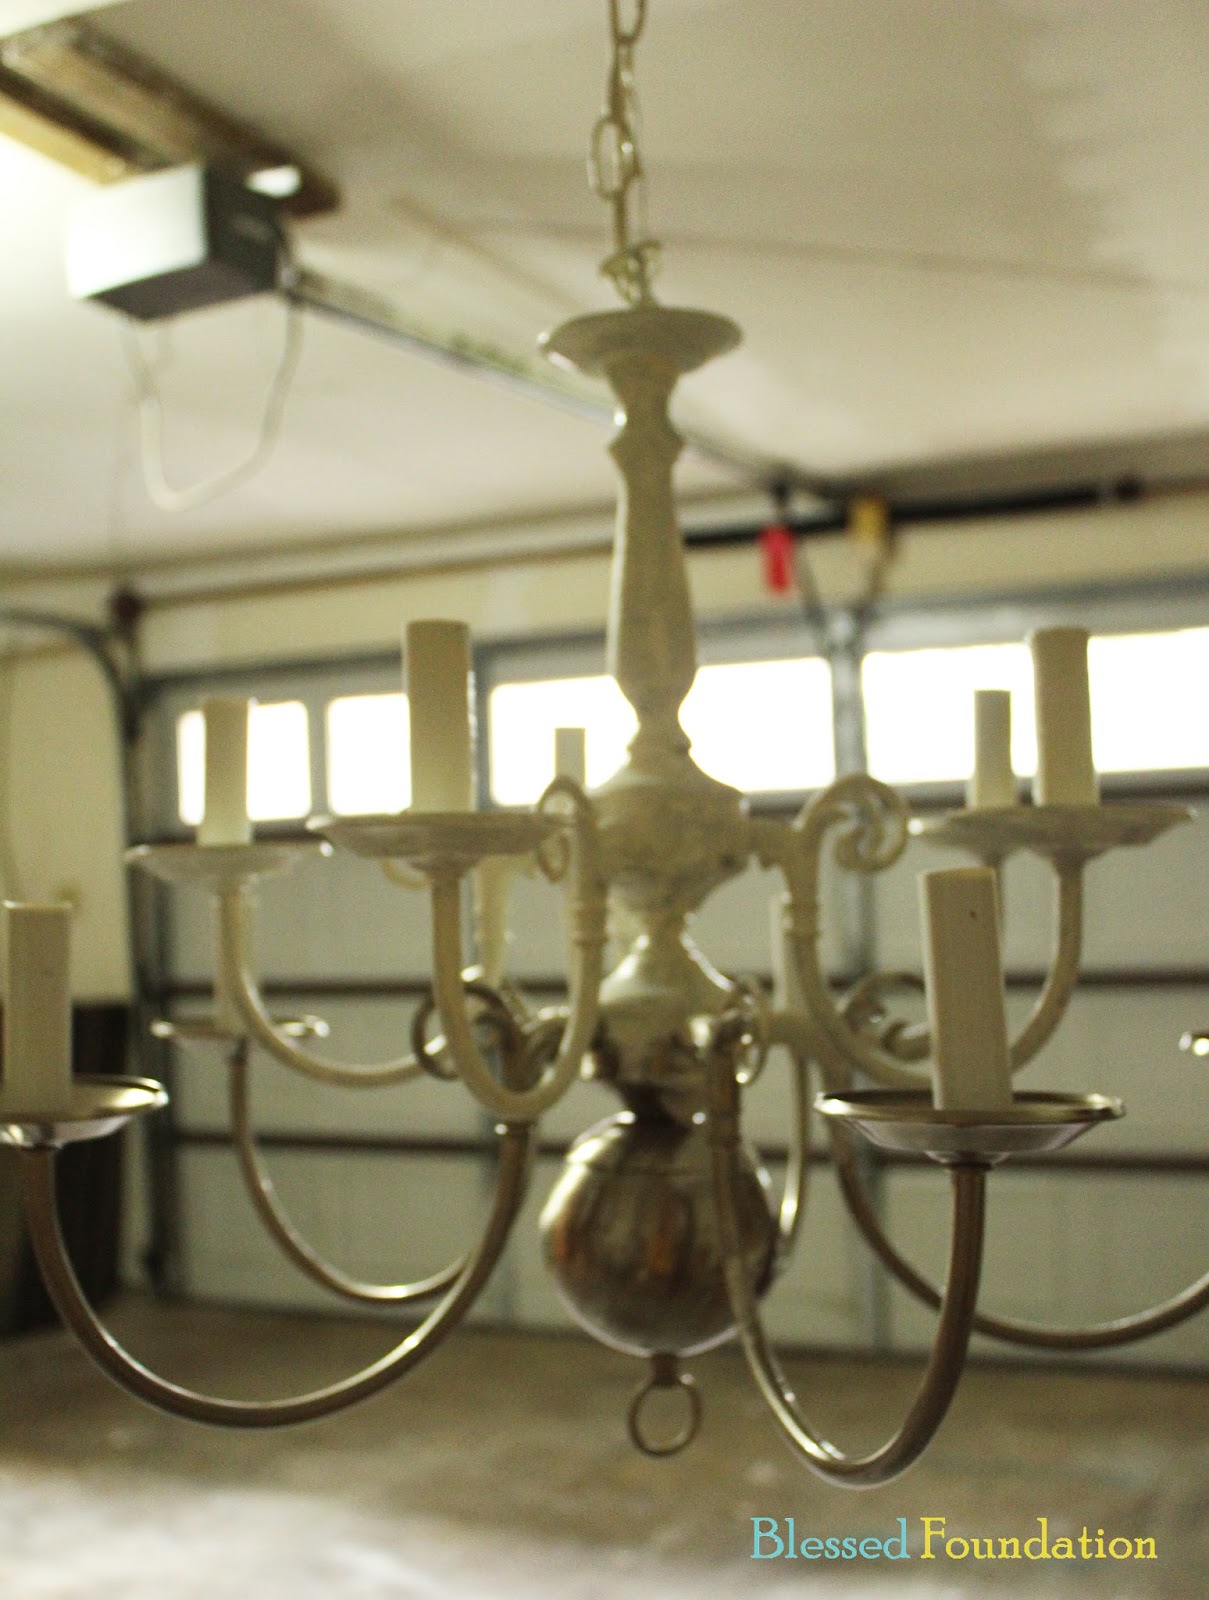
It didn't take long to get this project going. Alan used a small hook screwed into a stud to hang the chandelier in the garage for me to paint. I secured the extra wires out of the way with some painters tape and I was ready to get started.

Remember our dining room table project when I experimented with chalk paint? (That table has since been moved to our kitchen.) When I was reading every blog I could find that talked about chalk paint, I was amazed at the range of surfaces people use the stuff on. One that stuck out to me in particular was -- you guessed it -- chandeliers! I like the texture it leaves and since 1.) it will perfectly coordinate with the table in the kitchen and 2.) I have a ton of the stuff left over from the table project, I decided it was the perfect paint for the project.

This project was pretty straight forward. I just started painting at the top and worked my way down.

This was after the first coat of paint. I was pretty sure that two coats would be perfect. I let this one dry overnight before applying the next coat.

Here is the chandelier after the second coat went on. I went ahead and painted the candle tubes with the chalk paint as well because the white plastic against the color of the chalk paint was a little gross (Old White is closer to a cream color with a little hint of yellow).

This turned out to be a pretty inexpensive project. Here was the break down:
- Chandelier: free
- Chalk paint: left over (originally, $37. I had half a can left and I barely made a dent in it for this project)
- Candelabra lights: $12 for 10 bulbs
Total: I "guesstimate" less than $20 total! Not bad for a chandelier! Now to get rid of that pesky fan...

We were able to sell the fan on Facebook for $70. So, I'd say we really profited on this project!
I couldn't wait to get this up in place of that ceiling fan -- it fits the space so much better. I'm already liking the room more!

On to more kitchen projects (we're gonna be here a little while longer!). Check out our painted kitchen cabinet tutorial!

No comments:
Post a Comment