
So, about this wallpaper...
What can you say about this wallpaper?
You could say it has nice straight green stripes...

You could say it has a pleasant gold border...

You could say it really brings out the age and story of the house...


You could... but we won't.
This wallpaper needed to go. We knew it from the moment we first stepped into this house. This entry-way needed brightening up, and peeling off that green paper was step one.

We started by taking off all of the hardware from the walls. Whoever installed the wallpaper added a lovely trim piece to finish it off. We plan to paint our entry-way the same color as our living room, though, so this dividing piece was not necessary.
I thought that I would have no problem pulling this piece off the wall...

But I quickly discovered that it takes a little more strength and tools that what I had.

Alan had no problem removing it, though!

On to wallpaper -- I can help with this part!
My mom mailed us these tools to use when she found out how much wallpaper our house contained. It must be a motherly thing to help your children out of wallpaper, because our first housewarming gift was this wallpaper spray from Alan's mom -- these were our tools:
.JPG)
Step 1: Score your walls.

We used the wallpaper scorer that my mom mailed us to cut holes all over the wallpaper. Sidenote: this made a HORRIBLE sound. Like, nails on a chalkboard horrible.

I know we don't have a picture to prove it, but I did help Alan score the wall. He was much better at it than I was, though, so I volunteered for the next step.
Step 2: Spray wallpaper gel all over the wallpaper.
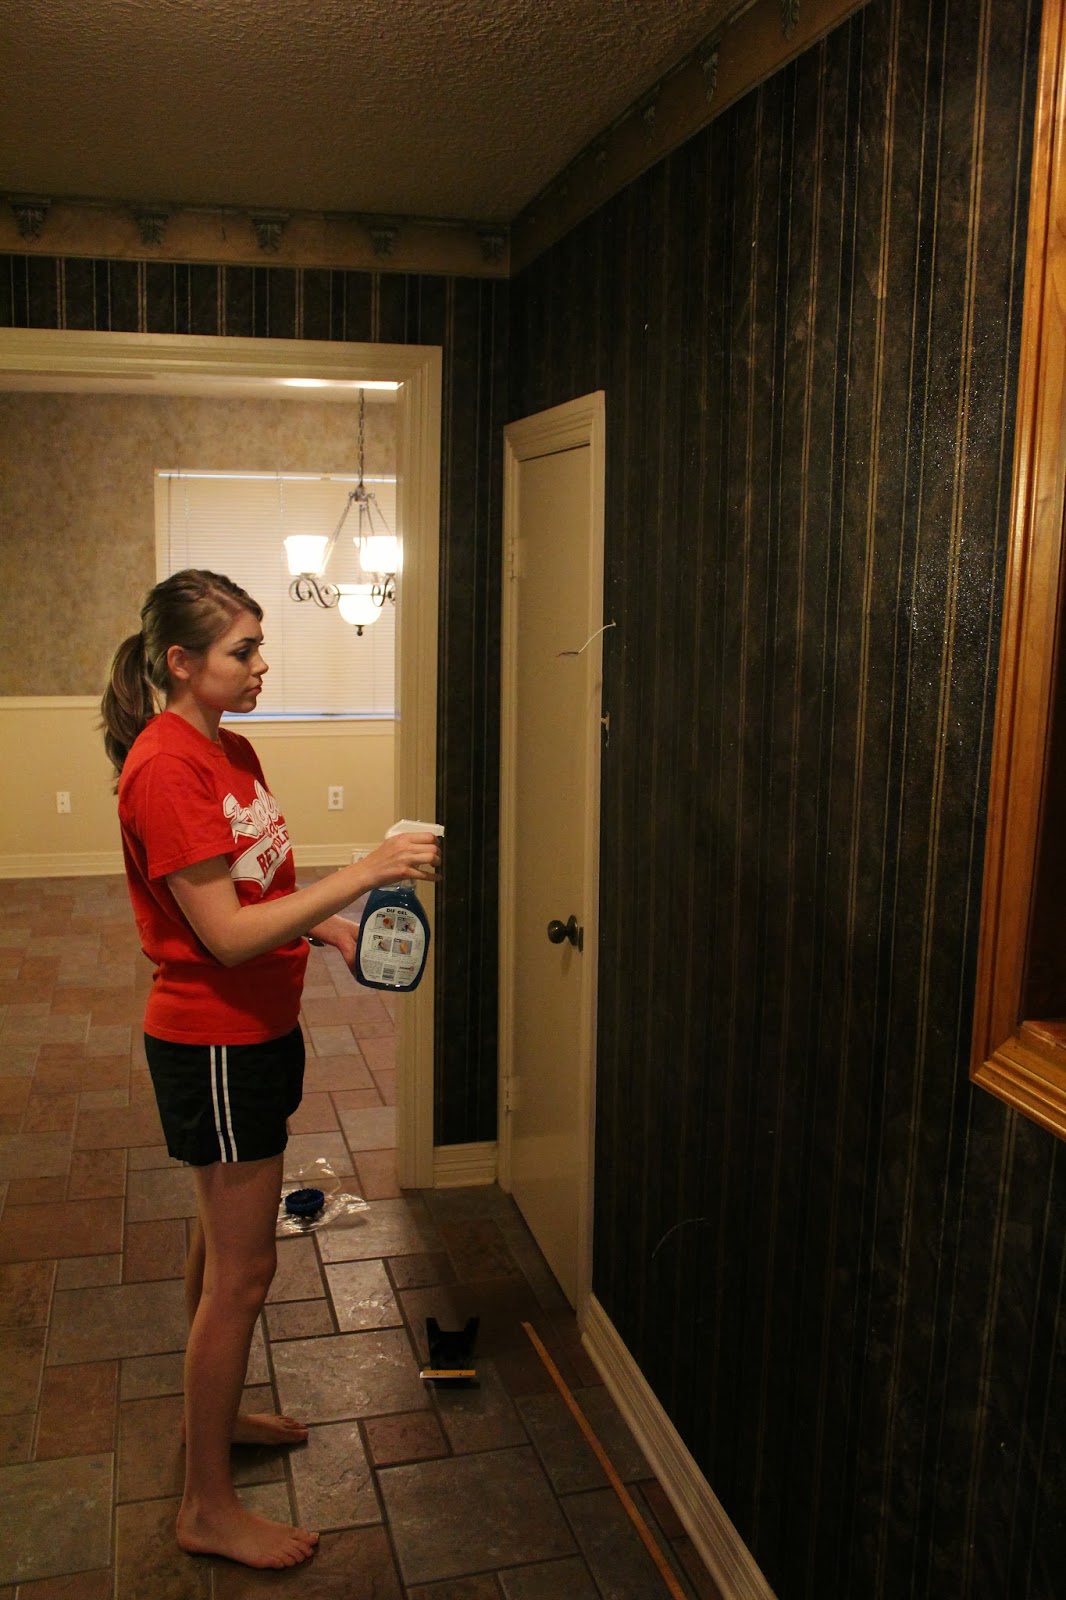
I got right to work with the wallpaper gel spraying down the walls. Not to sound wimpy, but my wrist got really tired!
We made sure that all of the paper was good and damp to make it as easy as possible to peel the paper off.
Step 3: Wait 15-20 minutes.
Here's a picture of what our walls looked like after they were sprayed down:

Step 4: Start tearing wallpaper off the walls.

For this, we used the razor scraper my mom sent us.
.JPG)
Starting in the middle of the wall was tough because we couldn't find an edge piece to get under, so we moved to the corner instead.


Success! In just a few minutes, Alan had taken off our first piece of wallpaper!

We split the walls and worked on this together for about an hour...


... until all of the green was finally down!
.JPG)
We were done! (I thought)!
Alan pointed out that we had only removed the top layer of the wallpaper. (Can you believe that there are multiple layers? That is not fair!!)

The back layer that was glued to the wall was still stuck. Alan was worried that this would be much more tedious work than it was to remove the green layer, but we got right to work with the same steps as before.
.JPG)
Step 5: Re-score the walls.

Step 6: Re-spray the walls.
Step 7: Wait 15-20 minutes.
Step 8: Use the razor scraper to start tearing the back layer off of the walls.

Unfortunately, we didn't have two razor scrapers, and Alan was kind to let me use the one we had. He used a large spackle knife to take wallpaper off of the walls. (It didn't work quite as well, but you can see on our floors that he didn't let that slow him down!)
*Sulak Suggestion
We highly recommend investing in a spackling knife if you plan to do any type of home renovation. Not only is it great for patching walls and ceilings with putty, but it also comes in handy when you're cutting in a corner with paint, scraping old texture off a wall, removing wallpaper, and many other handy tasks!

Alan's premonitions about the second layer were right on target. It was glued all over, so the paper came off in little tiny strips.
*Sulak Suggestion
We quickly discovered that the more damp the sticky layer was, the easier it was to scrape off (and in larger pieces). We started by using a damp wash cloth but ended up using a spray bottle of water to dampen an area and then scrape off that section of paper. This made our job a HUNDRED times easier! Once an area was damp, we just started scraping and the back layer of paper came off in sheets!
Make sure your wallpaper is nice and damp when you are removing it. Spray down a section right before you are going to begin scraping it off the wall and the paper will come down in larger sections and much easier!
Make sure your wallpaper is nice and damp when you are removing it. Spray down a section right before you are going to begin scraping it off the wall and the paper will come down in larger sections and much easier!

Talk about a mess!!
I will say that I really wish we had put a drop cloth down before we started this part. Wet wallpaper on your floors is not the best combination -- later on we spent quite a bit of time learning how to remove wallpaper from tile!
*Sulak Suggestion
Put a drop cloth down before you begin removing wallpaper to save your floors!

Step 9: Sand down the walls.
To finish off the walls before texturing and painting, Alan wanted to make sure that we had a smooth surface to work with, so he went back over the walls with sandpaper.

Finally -- we are wallpaper free! (In the entry-way, at least). I already think it brightens things up -- maybe we'll just leave it like this! (Not!) Click here to see how we textured the room to get it ready to paint!
No comments:
Post a Comment