Wednesday, April 22, 2015

Post 26: Dining Room Table Tutorial


I love two-toned pedestal tables.  I think they have an pretty, farmhouse look and are a lot brighter than most tables when they are painted white.

When I found this table on Craigslist for $50, the wheels in my brain started spinning with the transformation possibilities.  I couldn't wait to refinish the top and try the famous Annie Sloan Chalk Paint out on the base.


Alan happily started sanding the top to get it ready to stain when he realized that unfortunately, it wasn't solid wood.  We weren't going to be able to stain a broken veneer, so we were faced with roadblock number 1.

We could paint the whole table, but I really had my heart set on a two-toned look, so my awesome husband offered to build a new (solid wood) table top (my hero!).  Alan has some experience building furniture (he built several desks in high school wood shop), so I was really excited to have him crank out something "custom" for me.


While he cut, glued, and sanded the table top, I had my own pieces of the project to complete.  I found these chairs on Craigslist (from our trusty hotel liquidation salesman) for about $20 each.  Again, I saw so much potential if they were painted and recovered, so I snagged six of them for our project.
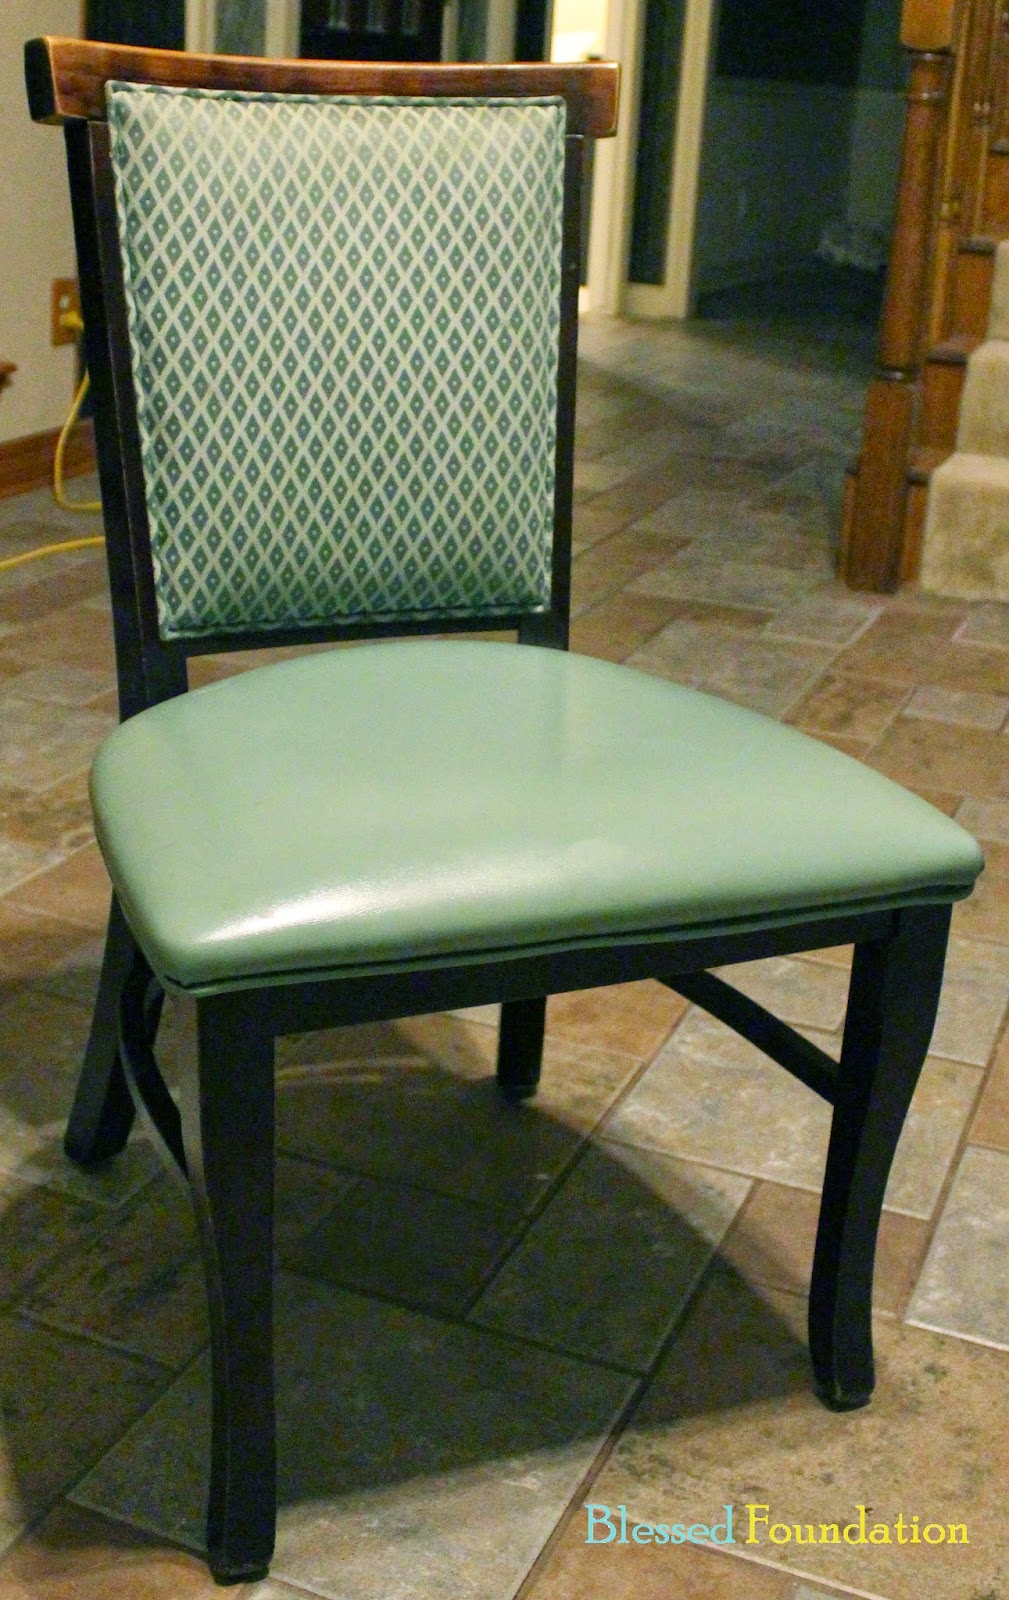


The seat of the chairs were pretty straightforward.  After unscrewing them from the frame, I got to work pulling out staples.  Then, I used the green fabric as a pattern for my new material and stapled the new material in its place.


Uncovering the back of the chairs was not as simple as I had hoped.  I had to get a little messy and cut some of the fabric/padding off of the back rest, but I wasn't planning on recovering that part of the chair anyways.


When I ripped out the back rest of the chairs, it left a groove around the edge where the staples had held the fabric in place.  This was roadblock number 2.  Once again, my awesome husband came to the rescue.  He bought some flat molding from Home Depot and cut it to accent the design of the chair.  After a few staples and some wood filler, we were cooking with gas!


I picked up some Annie Sloan Old White Chalk Paint and white wax from Multiplicity in Katy.  They were really helpful and gave me a short tutorial on how to use the paint, the wax, and the brushes.  When I got home, I got to work painting the chairs and was pretty pleased with how well they covered.  (Remember, chalk paint means no sanding or prep prior to painting your furniture.  Once I felt like painting, all I had to do was start!)


A little paint goes a long way, so I just dipped the tips of the brush in the paint and painted a small section of a chair.


The first coat was a little streaky, but it covered better than I expected after reading several other blog reviews.  


After two coats, I was really pleased with the chairs and was ready to apply wax.  (I waited about six hours between coats and that seemed to be plenty of time.)


The wax was a little more work than the paint.  I think I got a good arm workout, but that made it less fun!


The wax brush is a little different than the paint brush.  It has a hole in the middle of the bristles to make it easier to squish it up into corners or crannies of your furniture.


I dipped the ends of the brush in the wax, enough to get a small amount on the tips of the brush.  


This next part took me a while to figure out how to describe, but the best word I can think of is "jabbing."  Using the wax brush, I jabbed the wax into the surface of the chair in small sections.  I tried to use circular motions when I could, but usually, it wasn't that graceful.  


After I covered a small section with the wax, I went back with a rag and wiped it down.  


After this dried (they say to wait overnight, but I waited just a few hours), the chairs were fully painted!


I took the newly covered seats and (taking some great advice from my mom) sprayed them with Scotch Guard before screwing them onto the chairs.  Not even two days later, we had a spill on one of the chairs.  I was so happy when it wiped right off like it never happened!  (Picture of the finished chair at the end!)

Back to the table top.  My mom came in town for a few days and was so great to help us sand and stain the table.  After the top was stained (Minwax Dark Walnut), I painted and waxed the base, and then we went back with polyurethane over the top to finish it.  (We did about three coats of satin polyurethane, sanding with high-grit sandpaper in between each coat.  After the last coat, we went over the top with steel wool.)


The finished product makes my heart sing.  I am so happy with how the table and chairs look and I really think they bring the room together!


Tuesday, December 16, 2014

Post 24: Coffee Table Makeover: Gel Stain


My Pinterest boards have been collecting pins on gel staining for over a year now.  I've read blog after blog that says that this stuff is hands-down, the best solution for your dinged-up wooden furniture.  All you have to do is lightly rough up your piece and then put your stain on?  Surely it can't be that easy.  I had to find out for myself.

When we moved into our house, our living room looked pretty comical with this single ottoman to bridge the gap between our couches and living room chairs.


We bought this coffee table off of Craigslist just after moving in to help fill the space.


We paid $50 for the table with plans to refinish it.  When we got it, it was already pretty beat up, but about a minute after moving it in, Gus added his signature to the table top.


The poor guy didn't know what a coffee table was!


Also after moving in, our neighbors GAVE us two end tables that they were planning to sell in a garage sale (have I mentioned that we have awesome neighbors???).  


We were planning to darken the coffee table a little, so we thought we'd try making the side tables match.  Since getting the tables, other projects have taken precedence to refinishing them, but I have been eager to finish off this room so that we can have one space in our house that doesn't feel like it's "under construction"!  I'm was finally ready to test the gel stain and see for myself if it really is as wonderful as people claim.  If all else failed, we decided that a painted coffee table is okay.  (*Gasp!*  If you're against painting wood, don't read our post about wainscoting!)

I bought the java-colored stain online here for $14.95 plus $7.99 shipping.  I looked for a place that stocked the stain locally, but didn't have any luck.  I'm sure there was a cheaper way to get it, but I had high hopes for the stuff, so I thought I'd splurge!


My supply list was as follows:
  1. Coffee table and side tables (duh)
  2. Sandpaper and sander (to briefly "rough up" of the table)
  3. Paper and painter's tape to protect the floor
  4. General Finishes java gel stain
  5. Foam brush
  6. Painting cloths
The gel stain instructions are pretty simple:
  1. Lightly sand
  2. Clean the furniture
  3. Apply stain with a foam brush
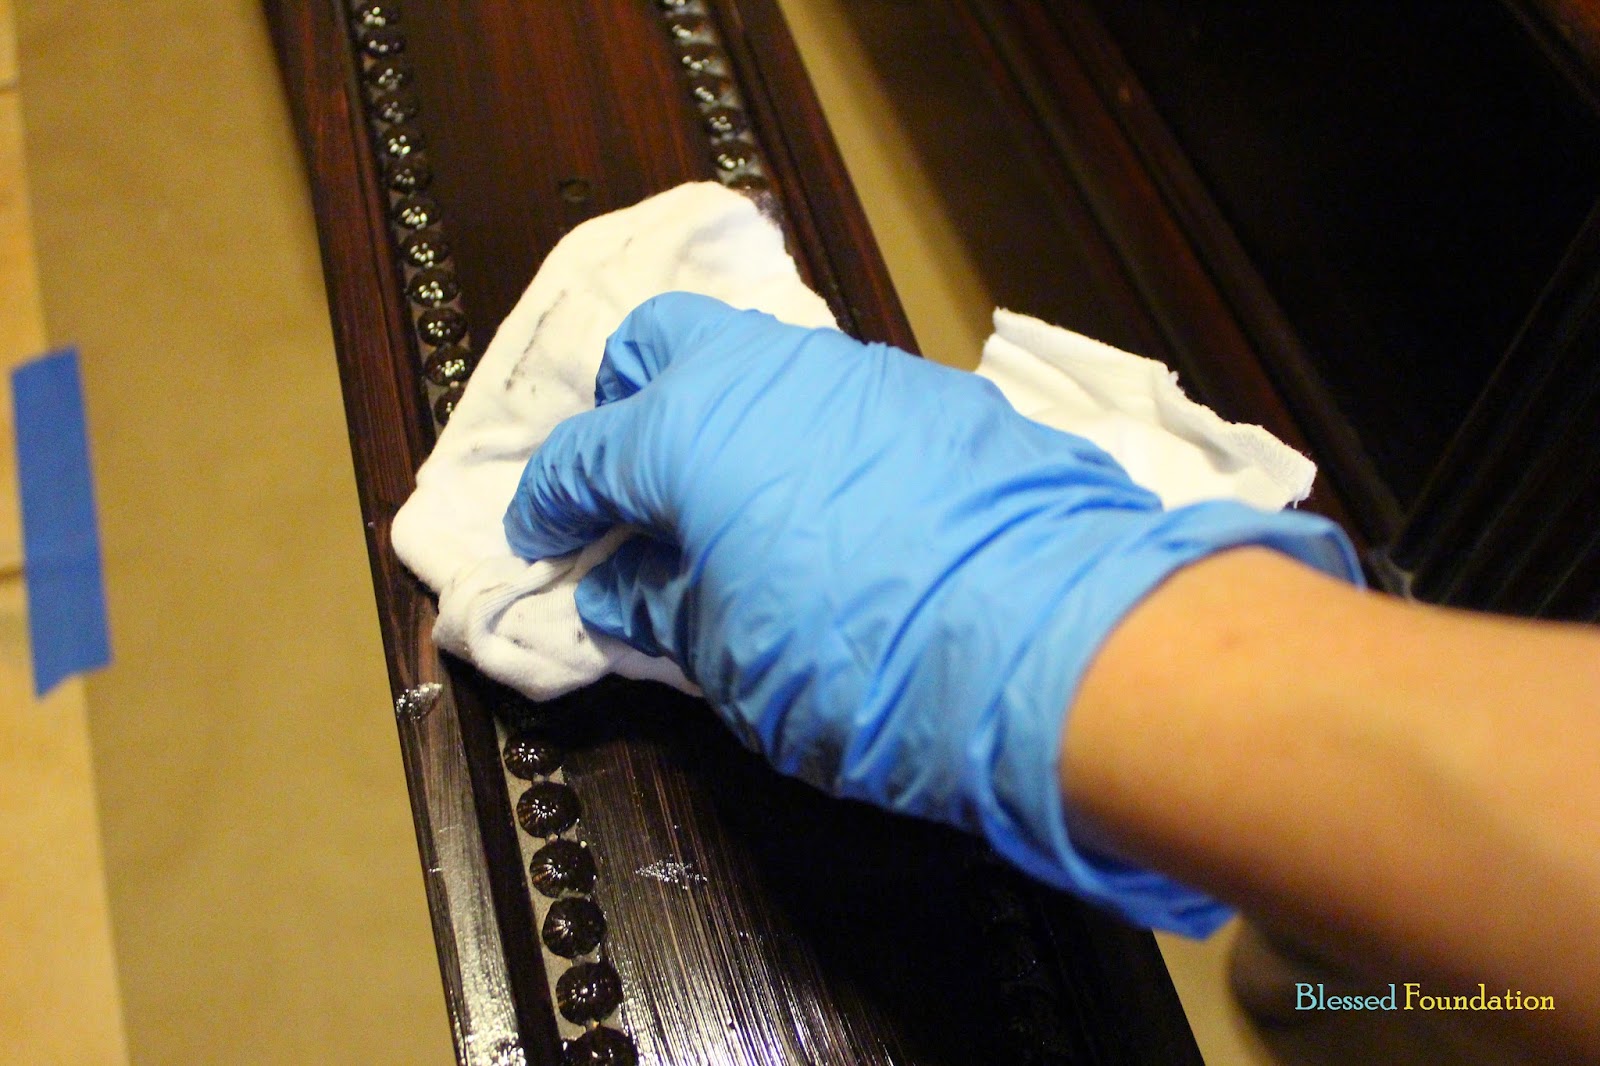
  4. Wipe off stain with a soft cloth
  5. Repeat until desired color is reached (I was going for blue until Alan told me he didn't think that the manufacturer meant that exactly.  Can't say I didn't try!)
  6. Apply polyurethane
NOTE: Most of the blogs I read about gel stain did not follow the instructions on the gel stain can.  Instead of applying the stain and wiping it off, many bloggers chose to wipe it on with a sock, removing the excess in one step.  I tend to be a rule follower, but more on this later...

Step 1: Lightly sand

I used Alan's power sander and quickly sanded each of the tables.  This probably took me ten minutes total.


Step 2: Clean the furniture

I used a wet cloth to get the dust off.


Step 3: Apply stain with a foam brush

Here, I've read that it's very important to wear gloves -- double gloves if you can.  Skipping this can result in splotchy, diseased-looking hands, so I opted to take this advice.


I fancy myself a photographer, so I took the liberty of snapping some pictures to show you what the gel stain looks like.  

Just kidding about the photography part.  I giggled when I saw how blurry my pictures turned out, but I wanted to show that the gel stain looks a lot like pudding.  I think you can still tell if you can get passed the glaucoma effect.


So, following the instructions, I painted the stain on with a foam brush.


Step 4: Wipe off stain with a soft cloth

When I started, I painted the coffee table in small sections and then went back and wiped down each section immediately.  The table was already pretty dark, so I wasn't looking to make it a much deeper color.  I ended up only doing one coat of gel stain on this table and I was really pleased with the end result.


Here are some pictures of the gel on the table before I wiped it off.  It's a lot darker than it is going to be once it's wiped down.


I like this picture because you can see how much darker the stain is than the original finish at the corner of the table.  Of course, I will wipe a lot of this off, so there won't be quite as dramatic a change.


Step 5: Repeat until desired color is reached

I chose not to apply extra coats of the stain to the coffee table because I was happy with the color.  The side tables would require several coats, which I'll show you in a moment.

Here is the color of the coffee table.  I wiped it down a little bit more to help with the streakiness before I used polyurethane.


This is the top of the table before:


And the top of the table after:


You can still see some dings and scratches when you look this closely, but I'm betting no one will.  Darkening the gauges make them less noticeable, and the color of the table is much richer now.  I also think that it looks a little more "distressed" than beat up now.  

Am I being optimistic?  Maybe, but it's my table, and I like it!


Step 6: Apply polyurethane

I applied one coat of satin polyurethane and let it dry.  The can will tell you to sand and apply a second coat (and third, if you'd like), but I was really happy with the way the table looked after one coat, so I left it.  I'm sure we can always go back and apply another if we need to.


Now that the coffee table was done, I need to repeat the same steps on the side tables to make them closer to the same color.

How much darker do they need to be?  I'm so glad you asked!  Here's a color comparison:


That's quite a bit more change than the coffee table required.  Here's where the project got interesting...

I had already sanded and wiped down the side tables, so I went ahead and started with step 3 -- applying the stain with a foam brush.  Here's what the wood looked like with and without the gel stain applied:


After applying the stain, I wiped it down.

Hmmm...  I could definitely tell a difference, but my instincts told me that this was going to take a while...


This is a look at a side table with one coat (wiped off) next to a bare side table:


And this is what the top of the table looked like.  Again, the imperfections of the wood fill up with stain and become darker than the rest of the piece.  I think it looks distressed, but I was still hoping for a much deeper color overall.


The next day, I applied another coat of stain and wiped down the tables.  They were a little darker, but I was still thinking that it was going to take FOREVER to get them dark enough to blend with our coffee table, and I was running out of stain.


I decided to go back and read some of the blogs I had pinned to see if there were any notes about the stain not covering enough or not making the furniture dark enough.  I didn't find anything.

All I read was that everyone was using a men's sock to apply the stain.  No foam brush.  No wiping the stain off.  Just a men's sock.

What is this method everyone is using?  Those instructions are not on the can.  You can't just make up your own rules, can you?

As you can see, Gus shared in my confusion...


Nonetheless, all of the rave reviews I had seen were from these bloggers using a men's sock, so I decided that there must be something to this.  I wasn't quite ready to bring myself to ruin one of Alan's perfectly good socks, but I figured it wouldn't hurt to use a painter's cloth to apply the stain.

That's what I did.  Still wearing gloves, I wrapped my fingers in a painter's cloth and dipped it in the stain.  Then, I rubbed the stain on each section of the wood, making sure I didn't leave any excess or runs.  The stain went on much thicker, so the wood got dark instantly.  Also, since I wasn't using a brush, there weren't streaks that needed to be wiped down.  I was basically doing everything all in one step.

When I was using the foam brush, I was taking a LOT of stain off by wiping the tables down with the painter's cloths.  This time, instead of wiping stain off, I was applying it more smoothly and more concentrated.  This was more like it!


The original colors of the coffee table and the side tables were very different.  The coffee table had more red tones and the side tables were more blonde.  It's no surprise that they didn't have the same tone after applying the stain either.  But, they were both much darker and blended much better than they did when I started, so I was okay with that.

You can see, below, the drawers of the coffee table next to the side tables for a color comparison.


The top of the side tables had the most imperfections, but I liked the way that they turned out.


The next day, I used a coat polyurethane to seal the side tables.

Here are some pictures of the finished project:

The coffee table with less noticeable scratches:


and the side tables:


Before, the coffee table was a little beat up:


Now, it's a little richer in color with less noticeable wear marks:


Here's a look up close at the table top:


And here is the room with all three finished tables.  Notice how Gus is comfortably seated on the couch with no thoughts at all of jumping across my newly re-finished table.

Thanks for the wink, Gus.  We're cool, man.  Click here to see our next project -- a farmhouse table makeover!