

My parents redid their kitchen a while back and installed undermount lighting with their cabinets. I was so impressed with how much it brightened up the room and made it easier to work on the counters.

Since we were going to install a backsplash, I figured that it would be the perfect time to put in undermount lighting just before so that any mistakes in the drywall would be covered up with tile. We've had lots (or what I call lots) of electrical experience now, so I wasn't surprised when Alan said he would be glad to tackle this project with me. This meant we needed to find a way to direct wire the lights and install switches for them. (I read blogs like House of Hepworths, pictured below, where the cords were plugged in. This is a great alternative if your backsplash is already installed.)

We bought three direct wire flourescent lights from Home Depot for about $23 each. We talked about splurging on LED lights, but with a price tag starting at $67 a piece, we decided flourescent would get the job done just fine. Maybe someday, (when we're rich), we'll take the plunge!

These were the steps we took to install our new lights! If you need more detailed instructions or just another look at things, this is where we figured out how to do everything.
Step 1: Trace the outline of the larger electric box and cut the drywall
Make sure the power is turned off to the switches you are working with!! Do this at the breaker box.


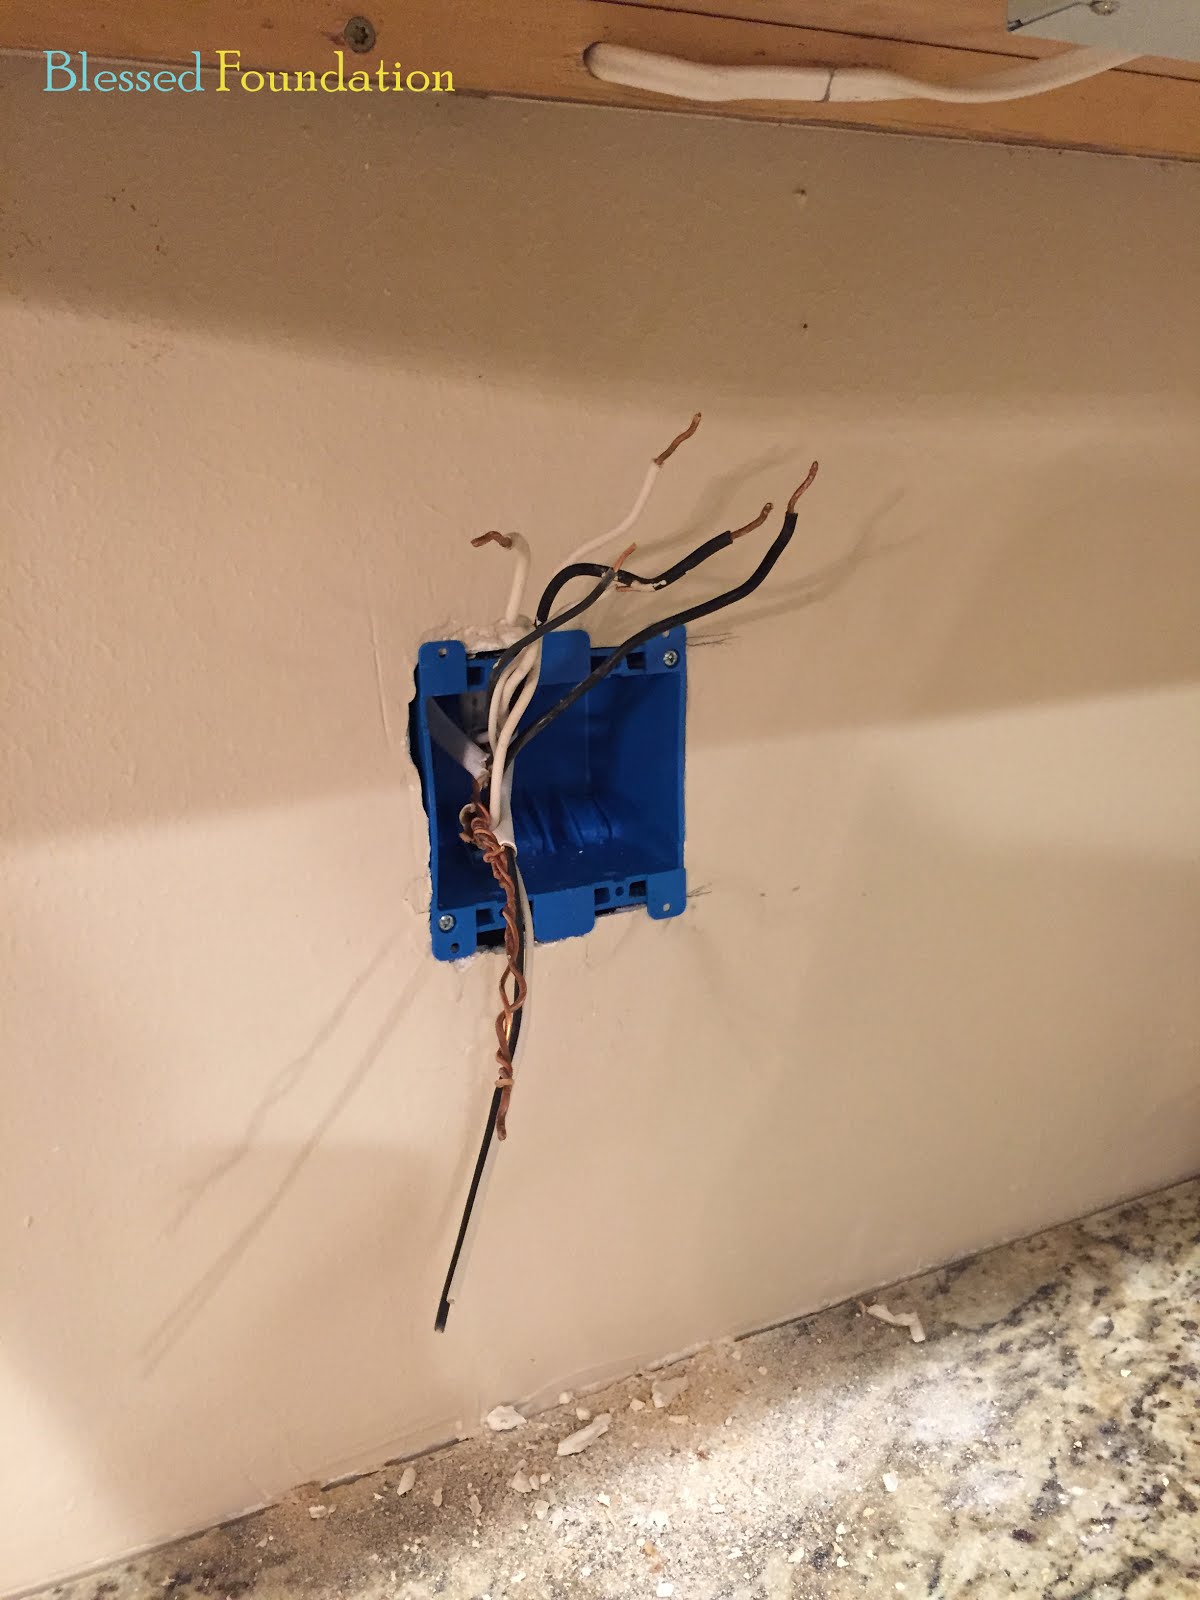
Step 2: Remove the old electrical box


We followed the instructions that came with the light fixture. It only took a couple minutes for each light.

Step 4: Install the light fixture


Step 6: Install the new electric box

Step 7: Install a GFCI outlet

This part was all Alan, but here are the instructions:
- Join the copper grounder wires from the existing and new cables with a connector.
- Cut off some of the new cable, separate the white wire, and cut two eight-inch long pieces. Strip about a half an inch of insulation off their ends and join them to both white wires in the box with a connector.
- Fasten the other end of one of these white wires to the silver GFCI terminal marked white-wire line.
- Cut two eight-inch black wires, strip of half an inch of insulation from these, and join them toteh black wire coming from the existing cable.
- Fasten teh free end of one of these black wires to the GFCI terminal, hot-wire line.
- Wrap the pigtail around the green grounding screw on the GFCI.
- Cover all connects with connectors and wrap with electrical tape for extra security.
Step 8: Install the light switch

Instructions:
- Take the loose end of the remaining eight-inch black wire and connect it to the black wire on the switch using a wire connector.
- Attach the switch's yellow wire tot eh black wire coming from the new light fixture.
- Connect the bare copper ground wire from the GFCI to the switch's grounding wire with a wire connector.
- Connect the final white wire to the switch's white wire.
Step 9: Finalize the fixture and the wall plate
Alan screwed the outlet and the switch into the wall so that they sat flush in the electrical box. We still have to install our backsplash, so we won't put the plate on just yet!

And now, with the flip of a switch... Ta Da!! We have undermount lighting. Yay! Next stop, backsplash!


Neat
ReplyDelete