


My parents recently painted their cabinets, too, so we got a lot of tips and tricks from them and we found some great tutorials on Pinterest. We did our research and came up with a "process" that we felt pretty good about, and then we got to painting! We were even blessed by Alan's mom and aunt who came and helped us get through a day of painting!! Here's what we did:
We chose to use Benjamin Moore Advance paint in semi-gloss. (I've read that the higher the gloss, the more durable your paint will be, so semi-gloss seemed like a good choice. I'm a messy cook, so surfaces I can easily wipe down are a must!) This particular paint is self-leveling and we read a lot of reviews that said it is extremely durable, so we thought it would be a good choice for our cabinets. You can buy it at any Benjamin Moore store, or Ace Hardware usually sells it as well.

Our color choice was Sherwin Williams Alabaster. We used the color in our half bath and have really liked it, so we decided to use what was tried and true.

We chose to do this project over Labor Day weekend, thinking that would give us four solid days to paint (Friday through Monday). We were able to finish most of it, but we spread out the final coats a few days to give everything a good chance to set. Then, it took us a few days to get everything back together... So, about two weeks later, we were pretty much done!
This project took over our whole first floor. We had cabinet doors EVERYWHERE and the only place to sit downstairs was in our bedroom. This was so unsettling. Every meal was a drive through meal. BUT, it was only for about a few weeks. And I love the way the cabinets turned out. So, worth it? Yes. (But I don't want to do it again soon if I can help it!)
So here we go. This was our supply list. We had most of what we needed already, but what we didn't, we ordered on Amazon or picked up at Home Depot.
Rubber Gloves (to protect from the TSP, paint, and tack cloth)
Bucket
Sponge
Sander
Medium Grit Sandpaper (80 to 100)
Medium Grit Sandpaper (80 to 100)
Fine Grit Sandpaper (120 to 150)
Vacuum
Painters Tape
2 x 4 Boards and tables we could paint on (we used the boards we tore out of our furdowns)
Preparation
We spent a few days getting ready to paint. Some of this was done during other projects, but here's everything all together so you can see the full process!
1. Remove cabinet hardware

2. Remove doors and label
We made a "map" of our cabinets to assign all of the doors and drawers a number. Then, we labeled the doors in the hole where the hinge connected (see step 3). We labeled the drawer faces on the back side where they would be covered by the drawer itself.

3. Remove hinges and label
This really goes along with step 2, but we used a permanent marker to label the hinge holes in each door and the inside of the hinges (where they wouldn't show). We kept them together in Ziploc baggies. We labeled exactly where each hinge was originally (top, bottom, and which door) so that everything would fit back exactly as it was when we finished. We didn't want any crooked doors when we were done!

4. Take down upper cabinet boxes
We did this earlier when we removed our furdowns, but you can read about that here.
5. TSP
Using a bucket of warm water mixed with TSP, a sponge, and some rubber gloves, wipe down all of the cabinets to remove any grime or build-up that may exist. Follow the instructions on the TSP box for how to mix everything together.


We did this earlier when we removed our furdowns, but you can read about that here.
5. TSP
Using a bucket of warm water mixed with TSP, a sponge, and some rubber gloves, wipe down all of the cabinets to remove any grime or build-up that may exist. Follow the instructions on the TSP box for how to mix everything together.


6. Sander/Deglosser
We chose to use sander/deglosser to help cut through the varnish of the cabinets before we took sandpaper to them. We just used an old rag and rubbed every surface in circular motions. It left a milky residue on the doors as it ate through the finish.


7. Sand
Use medium grit sandpaper to sand through the rest of the varnish of the cabinet doors, drawers, and boxes. We spent about a minute on each side of every door.

We chose to use sander/deglosser to help cut through the varnish of the cabinets before we took sandpaper to them. We just used an old rag and rubbed every surface in circular motions. It left a milky residue on the doors as it ate through the finish.


7. Sand
Use medium grit sandpaper to sand through the rest of the varnish of the cabinet doors, drawers, and boxes. We spent about a minute on each side of every door.

8. Vacuum the dust
I used the vacuum arm and a good attachment to get the majority of the sawdust out of all the crevices of the doors and boxes.

9. Tack cloth
Go over all surfaces with a tack cloth to remove any remaining dust. I recommend wearing work gloves when you do this, or else your hands will end up really sticky and covered in all the grime you pick up off the cabinets.

Go over all surfaces with a tack cloth to remove any remaining dust. I recommend wearing work gloves when you do this, or else your hands will end up really sticky and covered in all the grime you pick up off the cabinets.

10. Prepare the space for painting
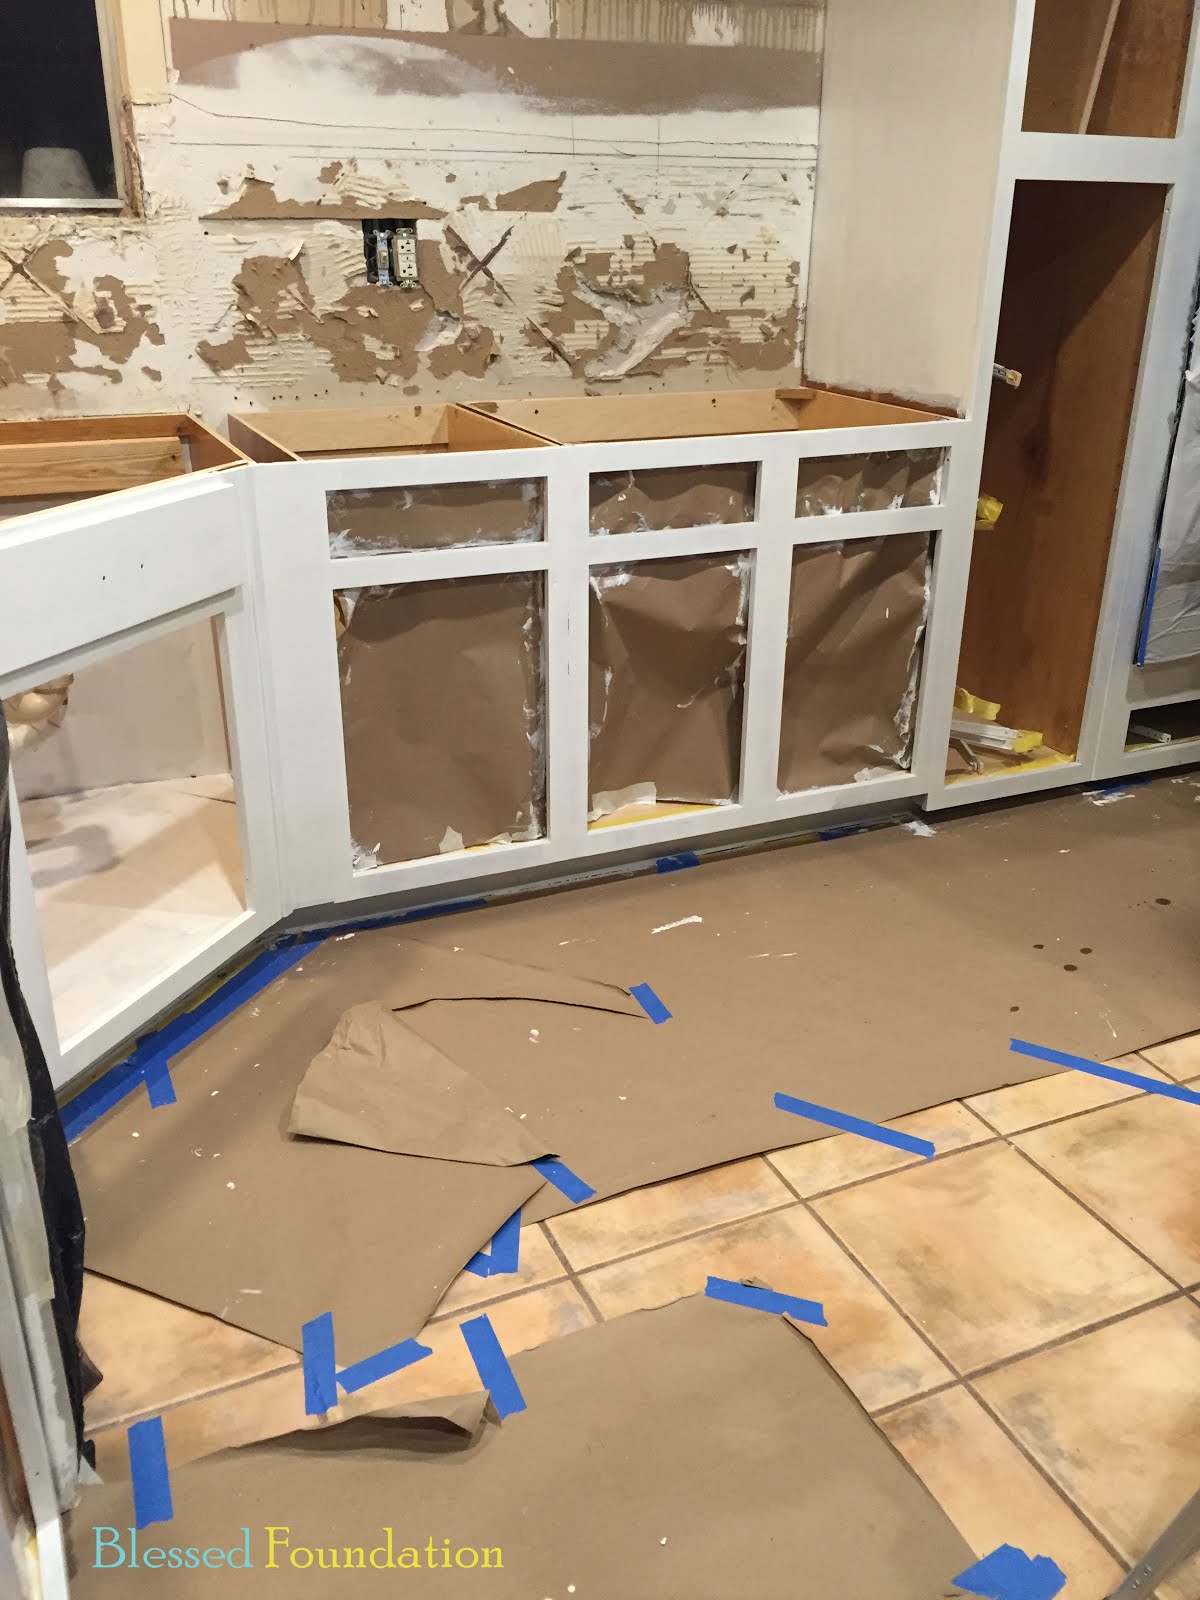
We prepped by taping around all of the cabinet boxes at the base, rolling out and taping down butcher paper, covering furniture and appliances with plastic, and setting up tables and 2 x 4s to keep the cabinet doors raised for painting.


This took over our house. Really. We had about four square feet to sit on the first floor and our bedroom to escape to. Yikes! But so worth it for the finished product. Keep reading.
We prepped by taping around all of the cabinet boxes at the base, rolling out and taping down butcher paper, covering furniture and appliances with plastic, and setting up tables and 2 x 4s to keep the cabinet doors raised for painting.


This took over our house. Really. We had about four square feet to sit on the first floor and our bedroom to escape to. Yikes! But so worth it for the finished product. Keep reading.

Once the preparation was done, we used the following method/order to tackle the painting:
Painting
Day 1:
Prime back of doors and drawers
Painting
Day 1:
Prime back of doors and drawers
Prime cabinet boxes and trim
Flip doors and drawers and prime the fronts (the primer dries pretty fast, so we were able to paint both sides in one day)


Painting tips:
We painted all of our cabinet doors using the angled brush first to paint the "trim" on the doors and then using the roller for the flat surfaces. The diagram below shows the order we painted them. Basically, we started with the paint brush on the sides/edges, then we painted the beveled trim on the inside. Next, we used the roller for the inside and border flat surfaces. Then, we used the brush to go back around the edges to catch any drips.


Painting tips:
We painted all of our cabinet doors using the angled brush first to paint the "trim" on the doors and then using the roller for the flat surfaces. The diagram below shows the order we painted them. Basically, we started with the paint brush on the sides/edges, then we painted the beveled trim on the inside. Next, we used the roller for the inside and border flat surfaces. Then, we used the brush to go back around the edges to catch any drips.
Day 2:
Quickly sand all surfaces using a fine grit sandpaper, tack cloth, and repeat the steps from Day 1


Day 3:
Quickly sand and tack cloth all surfaces
Paint back of doors and drawers
Paint cabinets and trim


Day 4:
Flip doors and drawers and paint the fronts

Day 5-6:
Repeat Days 3-4
Day 7:
Sand any blemishes and tack cloth. Caulk any cracks or holes that were missed.

Day 8-10:
At this point, we were so tired of having cabinets hanging out in every room of our house. So, we decided to go ahead and hang everything back up and then see what needed touching up.
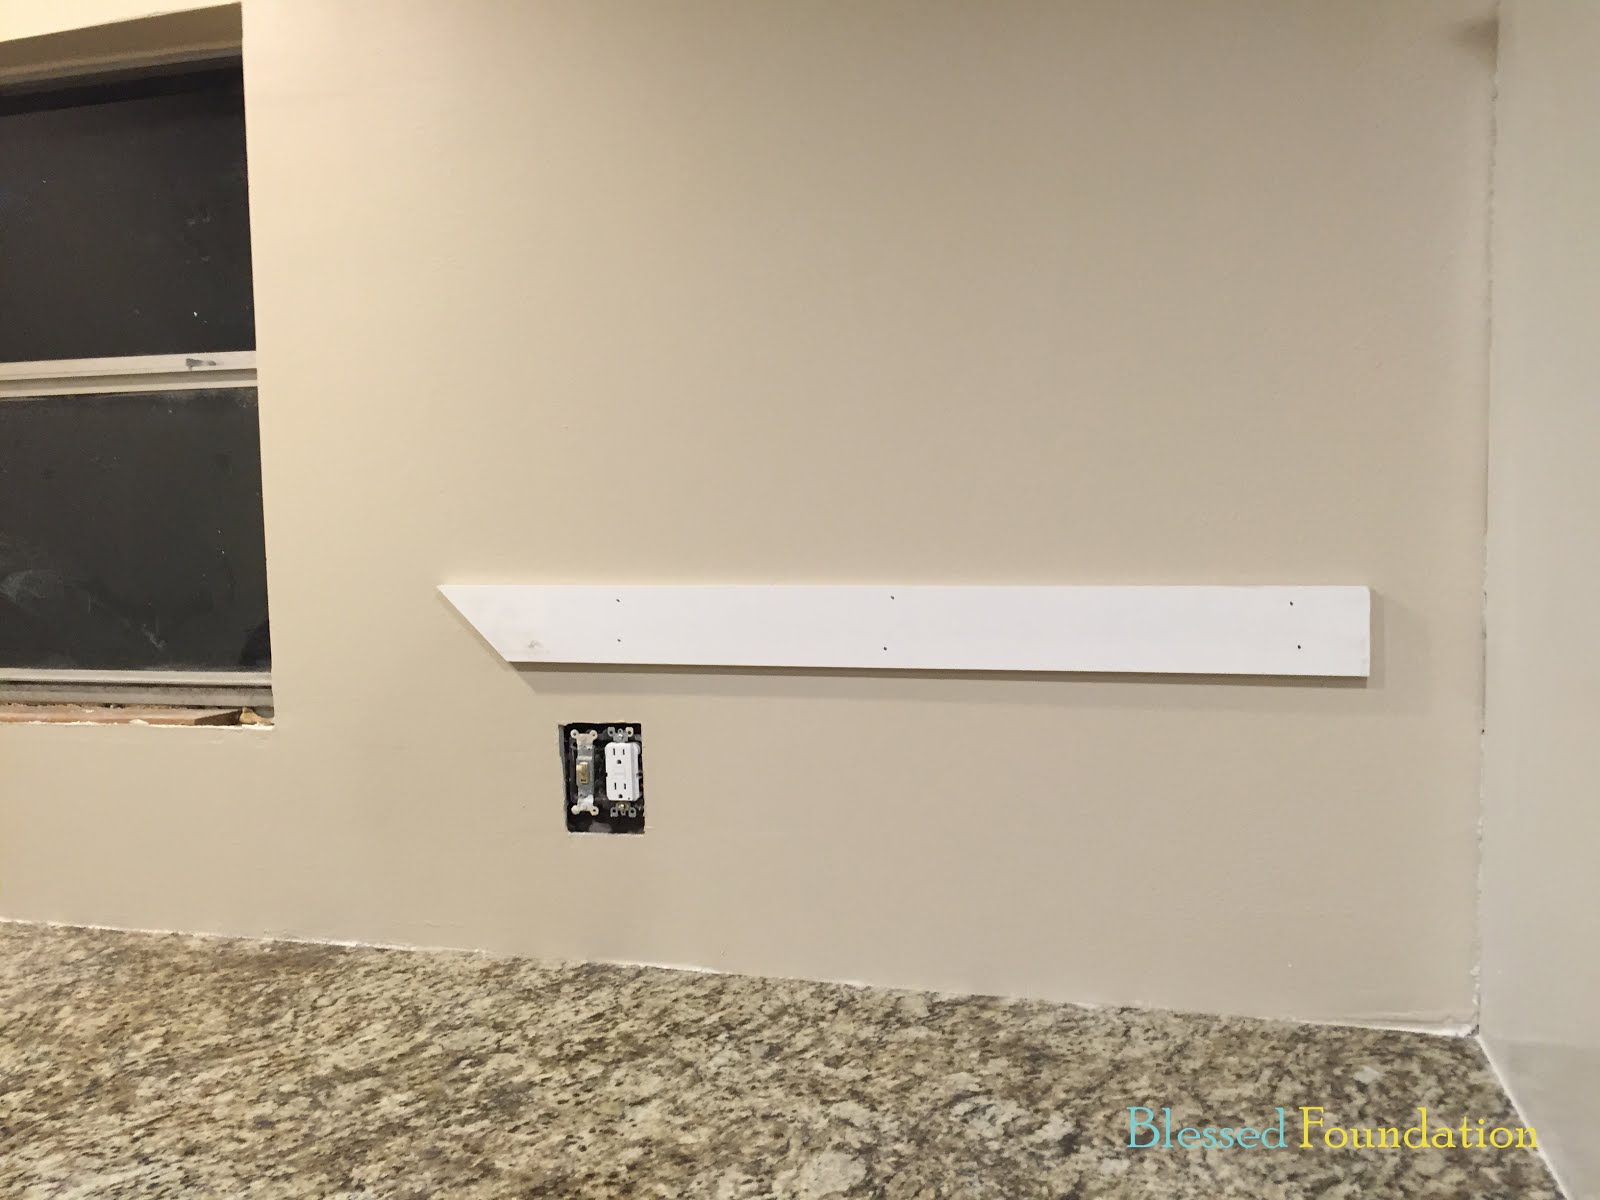
To hang up the boxes, we marked where we wanted them on the wall and then screwed in a board at that height. This gave the box a place to rest while I held it against the wall and Alan screwed it in. (Remember, we raised the cabinets about four inches! This part really made a difference to me!)


Next, we hung the doors and drawers. Remember, we labeled our hinges when we took them off, so it was easy to match everything up.

Then, we cut and nailed in the crown molding to the cabinets. Some of the molding had to be cut because we had fewer cabinets, and previously, the molding ran along the furdown (even where there weren't cabinets. We just used the miter saw and then went back with caulk where there were any imperfections.

Day 11:
Go over all surfaces with one or two very light coats of paint using the roller. Use the angled brush to fix any trim that needs extra paint and to clean up any drips from the roller. Here, Alan used the roller and I followed behind him with the brush.

This went really fast and made all the difference in the cabinet finish. (You can see at the top of the door Alan is painting, below, the sanded area that we had to paint over.)

Ta-da! Much better!


Day 12:
We wrapped up this part of our kitchen flip by cleaning up and attaching new hardware that we purchased from 99 Cent Knobs.

What do you think?

We're almost done! Drop by soon for our undermount lighting tutorial and our first stab at installing a backsplash.


