Wednesday, April 16, 2014

Post 12: Kitchen Updates - Cooktop

Cooktop

We found a downdraft cooktop on Craigslist (where else?) for a steal.

No, it was not stolen.  But it was a great deal.  It was brand new, but the owners who moved in to the house where it had been installed brought a different cooktop with them that they wanted to use.  We bought the new one from the contractor for a fraction of the price and it works great!  

Below is a little peak at the cooktop switch project:

Our old cooktop worked fine, but we wanted something a little less worn and more up-to-date!


After we cleared out the cabinet, Alan was able to push the cooktop right out to make room for the new one.
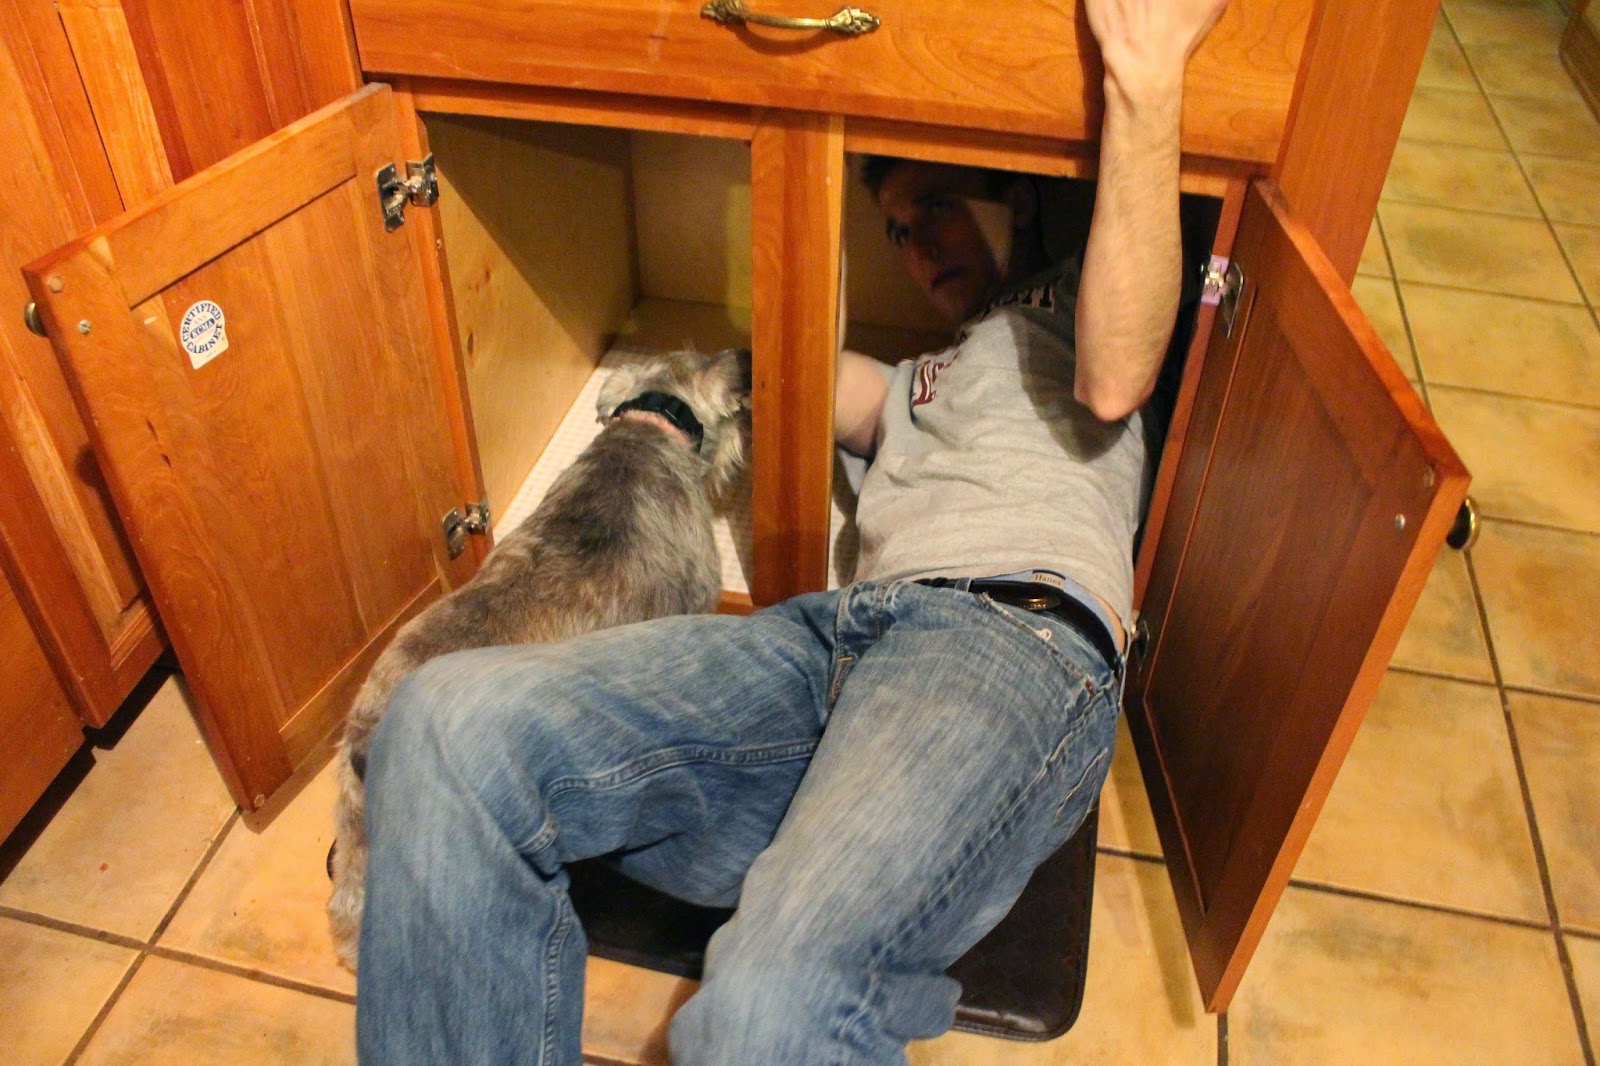
Lucy was a big help! ;)
I promise I helped him get it out, but someone had to take a picture!!


Here is a picture of the hole where the cooktop sat.  


Unfortunately, even though we measured before we bought it, the new cooktop was just slightly bigger than the old one.  The counter tops are granite, so I wasn't quite sure if we were just going to be out the money we spend on the new cooktop.  Not to worry -- Alan bought a diamond blade for his skill saw and opened up the hole in the granite just enough for the new cooktop to fit in.

*Warning* This will be really loud and produce a TON of dust.  We are about three weeks out of this project and I am just now not having to dust everyday.  Some good advise I've been given is to keep doors and windows open during projects like this, change the air filters in the house right after the project, and place an air purifier in the room near where the project occurred.  I have some advise as well.  My advise, though, is the most important of all of these tips, so listen up: Get your advise BEFORE you start this project!!  Some of these precautions would have saved me a lot of trouble cleaning, re-cleaning, and cleaning again!

Good news is that after all of the noise and dust, the new cooktop fit right in (okay, there were several tries and cuts made before it fit, but it finally did sit snugly in the space)!


Here's a look at the transformation:

Before:


After:


Now, I know we still have the vent hood above the stove.  That's because we haven't installed the vent under the cabinets yet for the new system.

That's another project for another day!

For now, we're moving on to our dining room.   Click here to read about our first total room makeover!

Friday, April 4, 2014

Post 11: Kitchen Updates - Microwave

When we first looked at our house, we knew the kitchen had some great potential.  

"Potential."  

Meaning, it needed some work.


The cabinets are custom and beautiful, but there isn't a whole lot else that we love about our kitchen.


We know that a lot of work has probably already gone into this room and we are so blessed to have all of the cabinet space and appliances.  BUT, we still have some big plans for the space and wanted to share a few of them.

In this corner of the kitchen, we want to open up the room to the eating area where Alan is standing. ;)


Plans are to install a microwave drawer (there was no microwave in the kitchen), change out the stove for a downdraft model, and remove the cabinets between the kitchen and the eating area so that both areas flow together.  If you're a visual person, check out my awesome drawing:


We know this is a lot of work and there are a lot of things that may not turn out exactly as we envision, but we'll learn as we go and get advise before we start something we can't reverse!  I think we'll be able to come close to what we're picturing, though. =]

So, let's start from the beginning, shall we?  The microwave.

Microwave

We found this cool microwave drawer on sale for a great deal at the Home Depot and snatched it up.  There were some drawers in our kitchen that we decided we could sacrifice to make space for a built-in appliance.  Unfortunately, we didn't know the first thing about installing a microwave, so it just sat in our garage for several months.


Living in a project house means that many nights, we rush home from work only to begin work on some part of the house.  There's not always the time (or need) to cook a huge fancy meal for dinner (and thankfully, my husband doesn't demand this), so we go for what's fast.  In my book, that usually means heating something up in the microwave.

We has been relying on one of these old microwaves for several months to get us through.  Now, at first glance, this may not look too bad, but you need to know that this is a microwave I bought for my freshman year in college, so it is several years old and only 700 watts.  It worked fine for most things, but  it had some age and wear that caused a few issues in cooking.  (We never could really figure out how to make it pop popcorn!)


After a few too many cold or partially cooked meals, we decided it was time to bite the bullet and figure out how to get the microwave drawer installed.

Fortunately, the day of the install, Alan's mom stopped by to say hello and in doing so, saved us from ourselves.  We told her our plans to put in the appliance (which was along the lines of "that's where we're going to put it") and she had the bright idea to call in some professional support.  

Apparantly, Alan's Uncle Jimmy used to do cabinet work -- how did we not know this?  We called him up and he graciously drove on over to help us out.  Thank goodness he did, because it turned out to be a big ordeal!  They had to cut the cabinets, put in a shelf to hold the microwave, and piece some of the cabinet front back together beneath the microwave without showing the cuts or nails.

I wish I had taken pictures throughout the project, but it was a big commotion to get the microwave installed in the cabinets, so I mostly tried to stay out of the way.

Thanks to Uncle Jimmy and Alan, we got our microwave.  I think it is perfect for this kitchen!  (And just for grins, I got a picture of the old microwave so you can see the difference!)

Before:

Sorry for the finger in the picture!

After:


I love it!  Family is great -- thanks Uncle Jimmy!

Here, we share about our cooktop project!!

Sunday, February 2, 2014

Post 10: Wall Decor

A while back, we posted about the new paint in our living room.  We haven't painted the ceiling in the living room yet and we still need curtains, but our house is a work in progress, so we are going to celebrate the small stuff.  (Shouldn't we always?)

Anyways, it's been driving me crazy to have bare walls, so I've been collecting pictures, signs, and nick-nacks, hoping that something would pop up on Pinterest about home decor that would encompass the random items I had piling up.  (I'm a big planner, so I want a whole wall planned out before we start hanging stuff.  I'm trying to swallow that nails can be moved and holes can be patched if changes are made, but I'm not there yet.)

Here are some pictures of how the living room and staircase turned out with the new wall hangings.  What do you think?

Here is a clock my grandparents gave me when I first moved to Houston.

My sweet friend, Hallie, took this shot of Alan and me in our wedding garb last summer so that we could have some outdoor wedding shots together.  The window frame is a Canton First Monday purchase -- I love the chippy-paint look.

We found the candle holders on a trip to the Family Dollar Store -- $10 for the pair.  They were black, but not to worry!  I bought a $3 can of sage green spray paint and fixed them right up!

Alan and I want to fill our house with pictures of the special people in our life.  Here is a wall of niece and nephews along with a sign my Aunt gave me when I first moved into my apartment.

Last, but not least -- a family gallery wall on the staircase!  I tried a Pinterest technique to hang the pictures in just the right places and it worked like a charm!  (Well, Alan did the leg work, but he did an awesome job!)


I ended up going to Goodwill and purchasing a few frames ranging from $.30-$.99 and spray painting them to fit the color scheme.  The 8X10's are on old fence boards from our yard...  So we're cheap, but this whole wall cost us less than $50 and the pictures were about $35 of that!

This post wasn't intended to force you to look at pictures of my beautiful family (or was it?).  I love having the walls dressed up!  On to the next project!

Click here to see how we installed a microwave drawer in our kitchen!

Monday, December 2, 2013

Post 9: Bringing in the Holidays! Christmas Tree Skirt


A burlap Christmas tree skirt.  That was all I wanted for Christmas.  (Well, not really ALL I wanted, but all I wanted badly enough to make it myself!)  Every one I found either had something about it (a bow, a Santa Clause face, something flashing...) that just wasn't quite what I wanted or was a little pricey for a round piece of fabric.

Thus, the decision to make it myself came about.  I was a little weary of this at first, but surprisingly, it only took me a few hours to whip it together!  Here's what I did:

I bought some linen fabric and muslin from Joann Fabric (I used my text message 25% off and spent about $12)!

I decided what I wanted the skirt to look like and that I wanted it to be lined for a little extra weight.  I bought plenty of linen, so I just folded the piece over twice to cut the lining all at once. 


I measured from one central point on the fold to trace a circle.  This was about 21 inches in diameter.  I drew the circle in pencil and made sure to pin the fabric together so that it wouldn't move when I measured/traced/cut.


iPhone pictures really aren't the best, but here's another to show my half-circle traced out!


I cut out the circle, then folded it in half again.  Using a bowl, I traced an inner circle where the tree base would go and cut this out as well.  Then, I cut a slit on one side of the circle so that I could wrap the skirt around our tree.


I didn't take pictures of the next part, but it was pretty simple.  I unfolded the fabric and pinned the two pieces together all the way around.  Starting with the inner circle, I sewed a half-inch seam all the way around, leaving a small opening on one side of the skirt opening.  Flip that inside out, and voila!  Perfect (or about as perfect as I can do) circle!


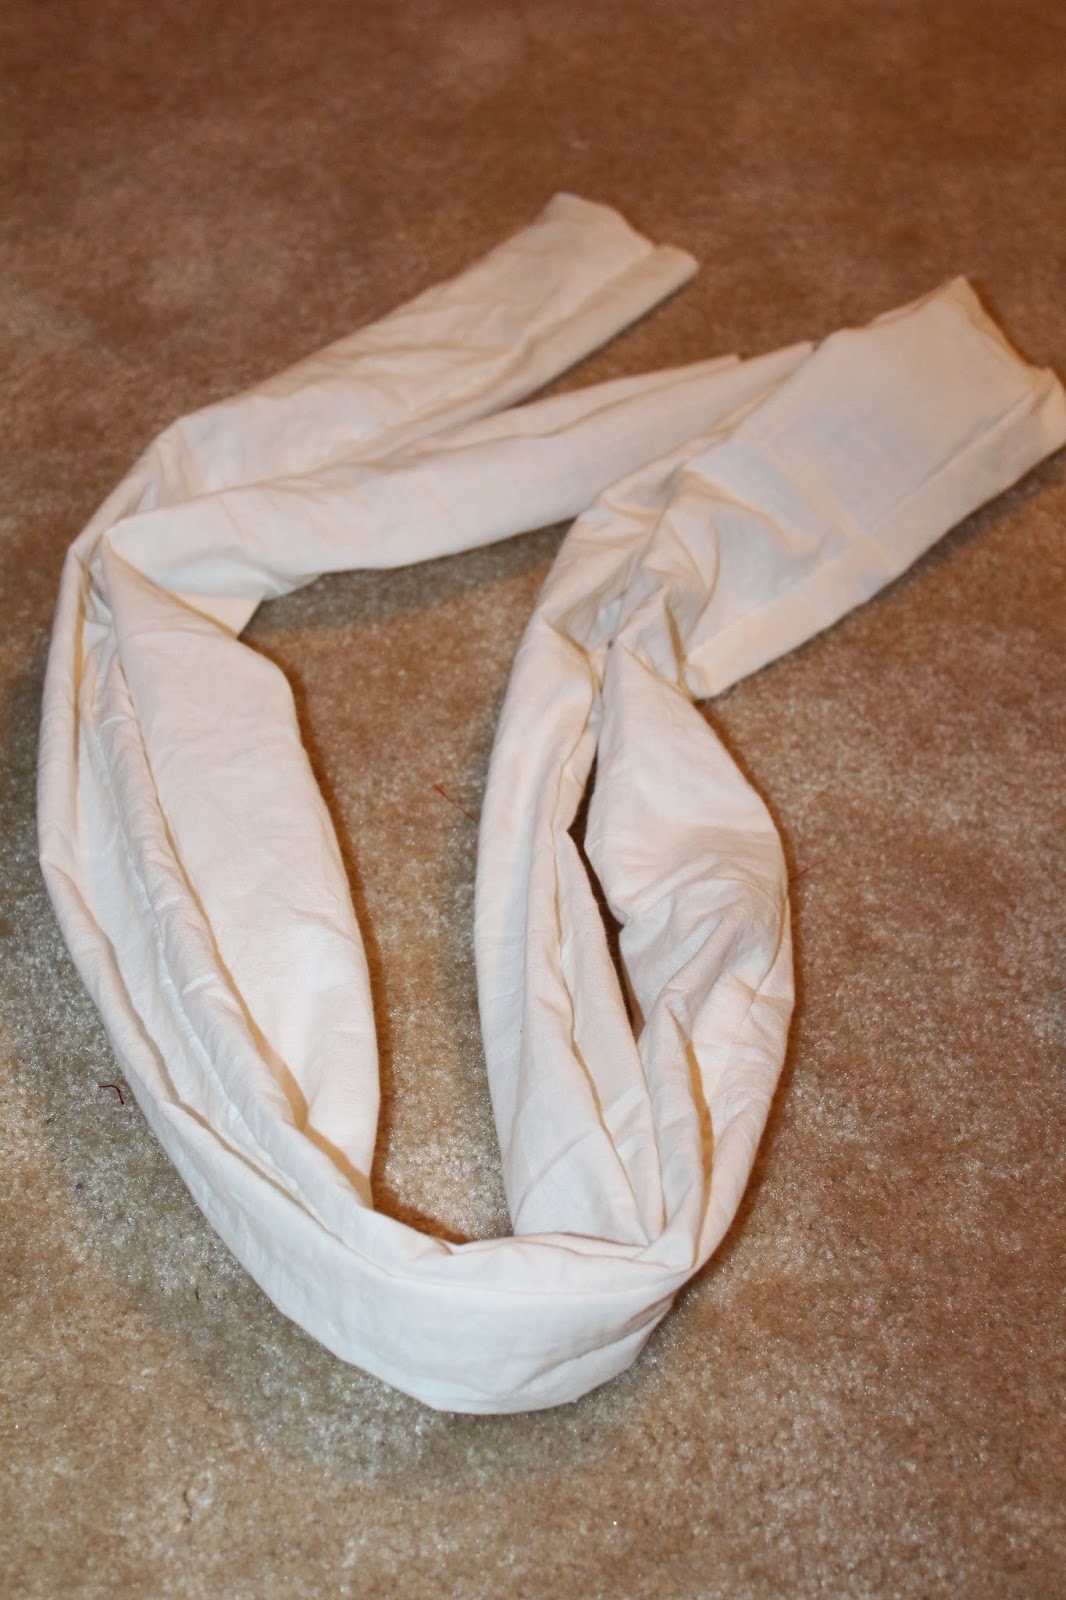
Now, on to the fun part -- a ruffle!  I cut 5-inch strips of the muslin (double thickness again) and sewed them together the same way.


I flipped this inside out a little at a time until all of the seams were hidden.


Beautiful, right?


Nothing a little ironing can't fix!


Again, I missed the photo-op, but I took the lazy way out to make a ruffle from this long strip.  I fed the strip through my sewing machine faster than the machine would normally feed the fabric and made "bunches" that way (instead of sewing and pulling the thread and breaking the thread and crying and calling Grandma to help).

After the muslin was fully ruffled, I pinned it around the edge of the linen circle.


I fed this through the machine right down the middle until the ruffle was fully bound all the way around.


Here's what it looks like so far.  Now I just needed something to keep it together at the opening.


I looked all over, but we didn't have any large buttons lying around.  I could have gone to the store, but the project was going so quickly and it's so easy for me to loose interest in a sewing project that I thought I should find something that would work.

Alan had some washers in the garage that he didn't need, so I went with those!  Ta-da!!  Don't you love it?


Okay, I know.  Unacceptable.  I took some of the leftover muslin and hot glued it around the washers to make them look more like buttons.


One...


Two...


Three!  I added a few stitches to keep each one in place and I had homemade buttons!


I had some jute left over from a project a while back and so I wrapped some of that around each button as a loop to keep each one in place.


I tried sewing the jute to the other side of the skirt, but got a little frustrated when it just pulled through the thread.  I resorted to hot glue for this as well.


And here is the finished tree skirt!  (Just what I wanted!)


I think it turned out pretty good!


What do you think?

Like what you see?  Read about our next project here!