In order to put drywall up (without hitting the wires with a nail), we needed to conceal the wires in the walls and behind the studs. This would be really simple if at least one end of the wire were free, but, since all of ours were hooked up (you know, bringing power to our home), it was a little more troublesome to hide them. Here's what we did.
Note: I realize this might be a little boring, so I livened it up with some help from Lucy and Gus. Enjoy!
Step 1: Decide if the wires are long enough
Huh?

Since the Romex cables had to reach their destination on either side without the extra space in the furdown, some of them were no longer long enough.
I still need more.

Think: it's a further distance to go around a corner than it is to cut across the middle. Previously, the Romex was cutting across the middle through the furdown and now we need it to go around inside the wall.

To see if a wire was long enough, we just held it up across any stud it would cross and saw if it had enough length to reach the extra distance.
If it was long enough, this was a simple fix. We could go straight to step 3.

If it wasn't, there was a little more involved before we could get to that step. (I didn't measure, but I drew out what this looked like in case you're visual like me!)

Which leads me to step 2.
Step 2: Lengthen the wire
We had quite a few Romex cables that weren't quite long enough, so we had to figure out how to lengthen them. Luckily, my husband is basically an electrician, so this was no sweat. ;)

(Okay, there may have been a little sweat.)
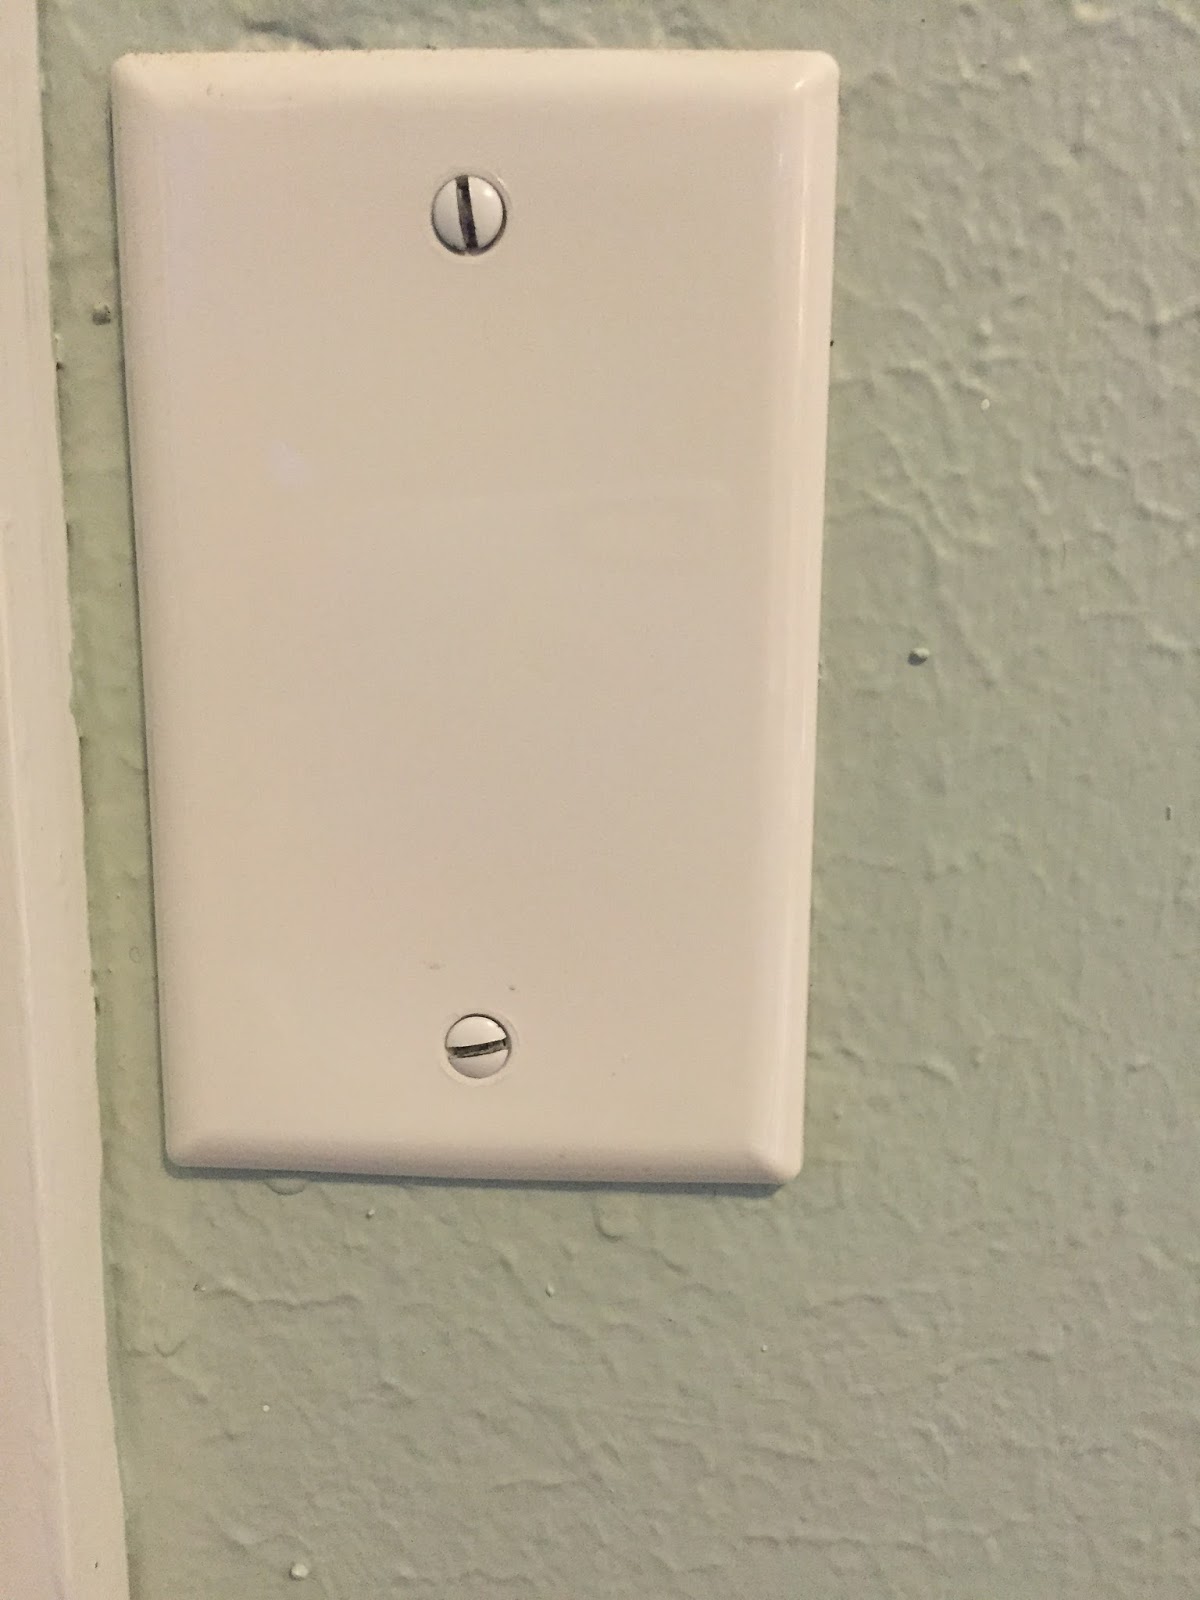
Before we go into this step, let me tell you what we learned about electrical wires. When you have a connection point between two wires (basically, where two wires are twisted together to continue the power supply), that connection point has to be accessible. If this is in the attic/basement, it simply has to be visible, but when there is drywall covering it up (like in our kitchen), there has to be a removable plate in front of it. My understanding is that this is so if anything goes wrong, you don't have to knock out a bunch of holes in the wall to find and access it (and it signals electricians to know there is an extra connection in the cables). Here's a picture of where a junction box was used without an outlet.
Prior to working with any of these wires, we turned off the power to our kitchen at the breaker box. With the power off, it was safe to disconnect the wires and lengthen them. At this point, we had to decide how to make the fewest connection points. Each connection requires a junction box, so we wanted to keep those to a minimum. (I really didn't want a bunch of blank outlet plates on the wall of our newly renovated kitchen.) Here's how we went about this part:
A. Can the wire be disconnected at the outlet?
Yes
Remember, the wires we are working with all power something in our house, mostly in our kitchen. Several of them go straight to outlets or switches. For these, we removed the outlet plate, pulled out the outlet or switch, and disconnected the wire from the back. Then, we either moved the cable behind the necessary studs and reconnected it, or we lengthened it.

To lengthen the cable, we attached a new length of Romex to the outlet (as much as we needed to make the whole cable long enough) and then connected it to the existing cable in a junction box.

I tried to draw kind of what this looked like so that it would make more since. (I know, I'm an artist... not!) Drawing A is essentially what we started with. The Romex was not long enough to stretch around any studs and was pretty much already taking the shortest path from the power source to the outlet. Drawing B shows how we detached the existing Romex from the outlet, added a new length of Romex, and then connected the two in a junction box.

Note: Since we are doing a big "renovation" already, we decided it was okay to take out some of the drywall to access existing junction boxes more easily. This will all be patched and hidden when we put the room back together.

No
For wires that weren't connected at outlets we could reach (or we didn't know exactly where they led), we cut them with wire cutters and connected the ends to an extension of Romex in a junction box.

B. Connect wires within a junction box
We were fortunate to only have to install one junction box. Alan was really clever about figuring out how to get everything to connect all in one place -- yay!

Junction boxes have holes at the back corners for wires to feed through.


Don't fall asleep on me. We're almost done!

Note: This step really worked in tandem with step 2 depending on if it benefited us more to move the wire with a free end.
Once all of the wires were long enough to be concealed in the wall, we had to decide just how to do that. There were several options.
A. Weave the wire behind the necessary stud(s).
This one is pretty simple. With one end of the wire disconnected, move it behind any studs that it is in front of and reconnect it at a junction box.

B. Drill holes and weave the wire through the stud(s).
For a wire that wase free at one end, sometimes it was best to drill holes through each of the studs it would cross and feed it through the holes. Once this was done, we reconnected the wire at a junction box.


C. Conceal the wire behind a cable protector.
This step worked for all wires, even if they weren't disconnected on one end. The basic idea of this option is to notch out a section of the stud where the cable crosses it, push the cable into the notched-out section, and cover it with a cable protector. We bought a cool little tool to help us get this job done easily -- a Dremel Multi-Max.

We used the wood cutting blade and cut out sections that could be covered by the cable protectors.

It took about five minutes for each "notch."


Now everything's hidden and ready for the next step!


Almost everything!!

After all of this, we had an electrician out to install recessed lighting. Now, instead of one big light in the center of the room, we have great lighting on all sides of the room.
Before:

After:

That is all for our part of the electrical work. I promise, it's not that scary.
But this is!

(Okay, enough of my dogs.) See you later for our countertop and backsplash demo!